Table of Contents
What is iPhone Photography?
It’s a whole new way to use your iPhone to record moments and surroundings. iPhone photography is the same as photography without a camera and editing without a computer. Although iPhone cameras are less sophisticated than DSLR cameras, the quality of a photograph is determined by factors other than the equipment used. It’s all about your imagination, composition, and command of the tools at your disposal. Learning to shoot better iPhone shots is simple, and it’s a terrific way to save money on camera equipment while also making more room in your backpack.
How can you get the most out of your iPhone photography?
Even though we carry iPhones with professional-quality cameras these days, not everyone knows how to capture professional-quality images. Some people devote years to learning professional photography skills.
However, all you need are a few basic iPhone photography skills. Like any new ability, iPhone photography requires practice and experimenting, but even beginners can create excellent iPhone images with minimal effort.
Use these tips and tricks to improve your shots.
1. Clean lens
It is easy, but so many of us overlook it! Because our phones’ cameras lack lens shields, they become filthy in our hands, wallets, bags, and so on, resulting in smudges, dust spots, or hazy regions on our images. To clean the lens, use a microfiber cloth or the inside of your shirt. If you remember to do this frequently, your images will be a lot sharper. This is especially critical if you’re using any of those iPhone clip-on lenses, such as macro lenses.
2. Prevent camera shake
The sharpness of an image is one of the primary aspects of photography. This signifies that you want the subject to be sharply focused, with no (unintended) blurring.
A shaky camera is one of the factors that influence photo clarity. Shaky cameras result in poor photo composition, blurred images, and poor focus quality.

You can shoot images by clicking the white shutter button, volume key, or volume key from a wired or wireless earphone. I recommend using earphones. To achieve minimal camera movement, we must manage our breathing, keep the iPhone as motionless as possible, and provide as little disruption to the iPhone as possible.
You may use a tripod for more difficult photographs, such as low-light photos, action shots, or photos of moving water. But you will need to invest in an iPhone tripod to remove camera shaking for razor-sharp images.
Pro-Tip
• For levelling your smartphone on the tripod, use iPhone’s system app Compass.
• When using a tripod you’ll need to use a self-timer.
3. Grid composition

Composition, or how the components in a shot are ordered, is one of the most important principles in photography. Your iPhone camera’s grid function can help you improve your composition abilities. Placing your major themes along these lines results in more aesthetically appealing photographs.
The Rule of 3s, for example, stipulates that when splitting the shot into thirds, horizontal and vertical, the subject should be positioned along the lines. Turning on the grid function on your iPhone camera will allow you to simply begin practising these guidelines, displaying precisely where the grid lines are to assist frame your shot.
You may enable the grid by heading to Settings > Camera > Grid (under the Composition menu). Grid lines appear on your capture screen to help you compose your photo.
4. Depth
Most photographs seem better when they have a feeling of depth to them. Adding depth draws the viewer’s eye into the scene. This is especially true for landscape photography. There are various strategies for adding depth to your photographs.
• In your composition, use leading lines. Roads, walkways, railway tracks, waterways, and fences are all good places to start. Compose your image so that the line runs from the foreground to the distance. This guides the spectator through the scene, making your photograph more interesting.

• Include a foreground element. Look for intriguing pebbles, flowers, leaves, or other items. If you’re having problems including foreground components in your photo, shoot from a lower angle. Include subjects in the foreground, center ground, and background. This simple iPhone photography trick will immediately increase the three-dimensionality of your photos.
• Something in the foreground should be used to frame the photograph. Archways, window frames, and overhanging tree branches are all possibilities. By shooting across a frame, the viewer’s attention is drawn to the scene beyond. This is a wonderful technique for adding depth to your photos.
Pro Tip: Portrait mode may also be used to add depth to a shot.
5. HDR mode
Our eyes are capable of perceiving highly contrasting sceneries, such as sunsets, and we’re so used to it that we don’t even notice. However, the iPhone camera (or any other sensor) is incapable of recording such wide dynamic ranges of luminance.
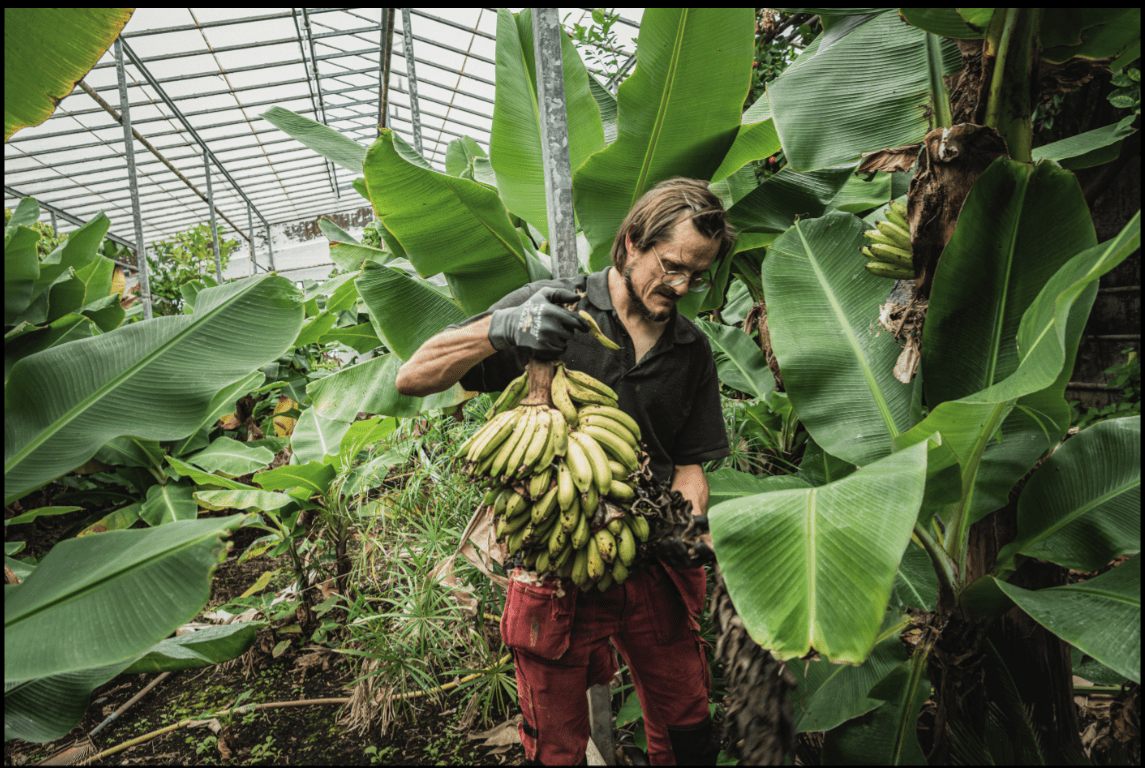
The ratio of light to dark in photographs is known as HDR (high dynamic range). It might be difficult for your iPhone’s camera to correctly expose all portions of the photo in settings with a lot of detail. Your sky may have lovely highlights, but your foreground will be dark.
When you use the HDR mode in the Camera app, your iPhone takes three shots, each with a different exposure setting, and then combines them to create a precisely exposed and high-contrast image.HDR mode is ideal for landscapes, still-life photography, and photographs with strong shadows or low light. It’s not ideal for scenarios with a lot of movement.
Other settings you can explore include frame rate, 4k, cinematic and slow-mo and Burst mode.
6. Accessories
Purchasing new iPhone accessories may not come to mind while studying how to shoot good images with a phone. If you want to photograph with your smartphone regularly, you might consider investing in some simple equipment. Some of them are vital, while others are beneficial under the correct circumstances:
• Tripod
• A portable battery charger.
• When photography after dark, a little LED light helps. LED light projected at an angle is far more flattering than any smartphone flash, which shoots at the same angle as the lens is facing. This is an excellent example.
• A simple backup strategy or gadget for when your phone’s storage is filled.
• Clip-on lenses broaden the capabilities of your lens.
• Shooting with your phone regularly increases your chances of dropping it! Purchase a phone case.
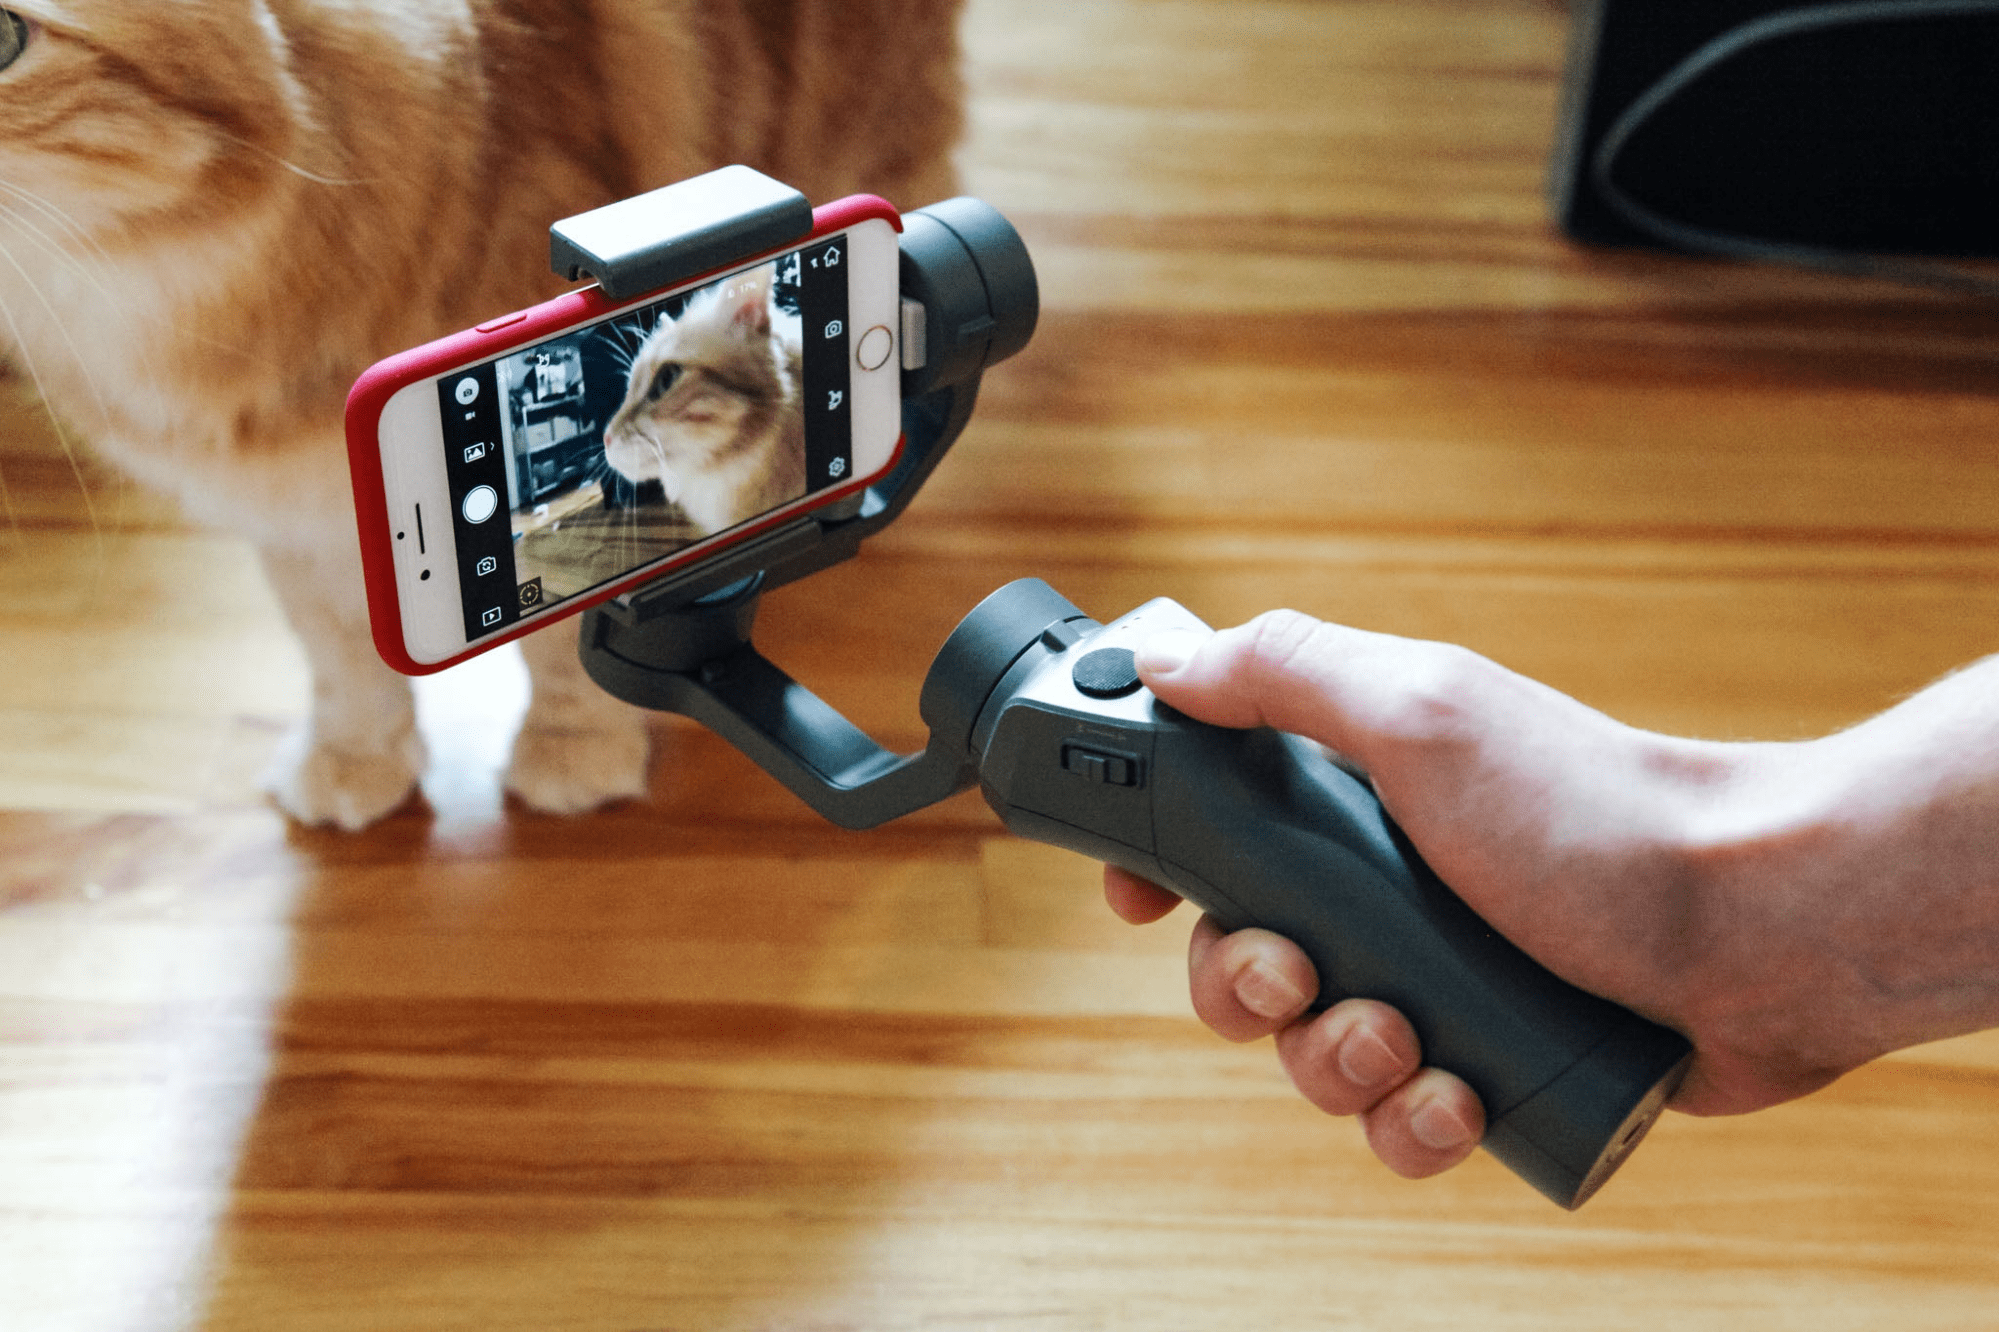
• A gimbal is a piece of equipment used to video using an iPhone. Gimbal allows you to manage what and when you film while producing seamless transitions, pans, and virtually any other manoeuvre you need to perform.
7. Editing and Filtering
Straight-out-of-the-camera images from the native iPhone camera is not to be dismissed, but almost every photograph improves from at least minor adjustments in an editing tool. Use these helpful tools to enhance photos easily, such as changing the exposure or saturation of the photo, or adding presets and effects.
• Snapseed
• TouchRetouch
• VSCO
• Photosplit
• Slow Shutter Cam
• Afterlight
• Adobe Photoshop Express
• Adobe Lightroom
As an added benefit, Lightroom Mobile includes a built-in camera that allows you to take RAW photographs, something the original iPhone camera doesn’t offer. Shooting in RAW format rather than JPEG results in a higher-quality image file with a lot more data, allowing you to perform more radical adjustments to your image without losing quality.
8. Perspective
Most amateur photographers shoot at chest/eye level, however, several more unique views will make your shot stand out from the crowd. Create interest and context by shooting at low, high, or in the foreground, or by rotating the phone; for example, filming behind something or extending the frame to contextualize a moment or a location. These experiments may appear to be minor alterations, but they will make a significant impact and push you to think and shoot creatively.

9. Additional Tips
• Close-up photography may make ordinary items appear interesting.

• Experiment with symmetry and good composition.

• Keep it simple by involving only a few elements.

• Choose the best orientation for your subject.
• For portraits, use iPhone portrait mode (different lighting modes)

• Burst mode is ideal for impromptu or sports photography.
• For focusing, use AE/AF Lock.

• Use a wide-angle lens to capture a broader range.
• Using the slider, adjust the screen’s exposure

• Learn about the optimal picture sizes for various social networking networks.
Here are all of the aspect ratios to be aware of:
Instagram Story – 9:16
Instagram Post – 4:5
16:9 Facebook Post
9:16 Facebook Story
Twitter:16:9
TikTok – 9:16
• Use Live Photographs to morph photos and choose the ideal frame.

• Use panoramic photographs.
• Shooting in direct sunlight should be avoided.
• Keep your go-to settings in the Preserve Settings menu.
• Tell a narrative with your photographs.
• Set the photo format to Most Compatible rather than High Efficiency.

• Back up your photographs to iCloud.
• Improve your selfies by mirroring the front camera.
• Deactivate “View Outside the Frame.”
• Enlarge the scenery by using the lens compression technique.
• Use Night Mode for low-light photography.

• Add captions for later searching.

Final Thoughts
It might take time to learn from your errors and distinguish between terrible and good photography. Incorporating these strategies and advice into your photography will significantly improve your photos without requiring much experience or knowledge. Depending on the circumstance, different iPhone tips and tricks are necessary.





Be the first one to comment