Have you ever experienced the devastation of losing photos when your phone or laptop crashed?
In this digital era, we take many photos, but many of these photos stay in a digital folder. What if something happened to your gadget and you lost all your images?
The best way to prevent this is to bring those memories to life, turning them from digital files into actual photographs and photo albums. Photo albums (or photobooks) are among our most popular products, and it’s not hard to see why. They’re quick and easy to make, and the result is beautiful and personal.
If want to start your photo album project, we’re here to help you. In this article, we’ll give you some simple ideas and tips to make a beautiful photo album to house your greatest memories.
Table of Contents
Photo album ideas
We have seen creative photo albums for gifts, travel journals, memoirs, and family documentation. Everyone has their own creativity reflected in the photo albums, but one thing is always the same: each photo album is personal, with a great story told through captured moments.
The first question you might have is, ‘What should I put in the photo album? Do I need a theme?’
While you can put anything you want in the photo album, we’d recommend you organise it according to a certain topic or time period.
Here are some ideas to get you started.
Travel photo album
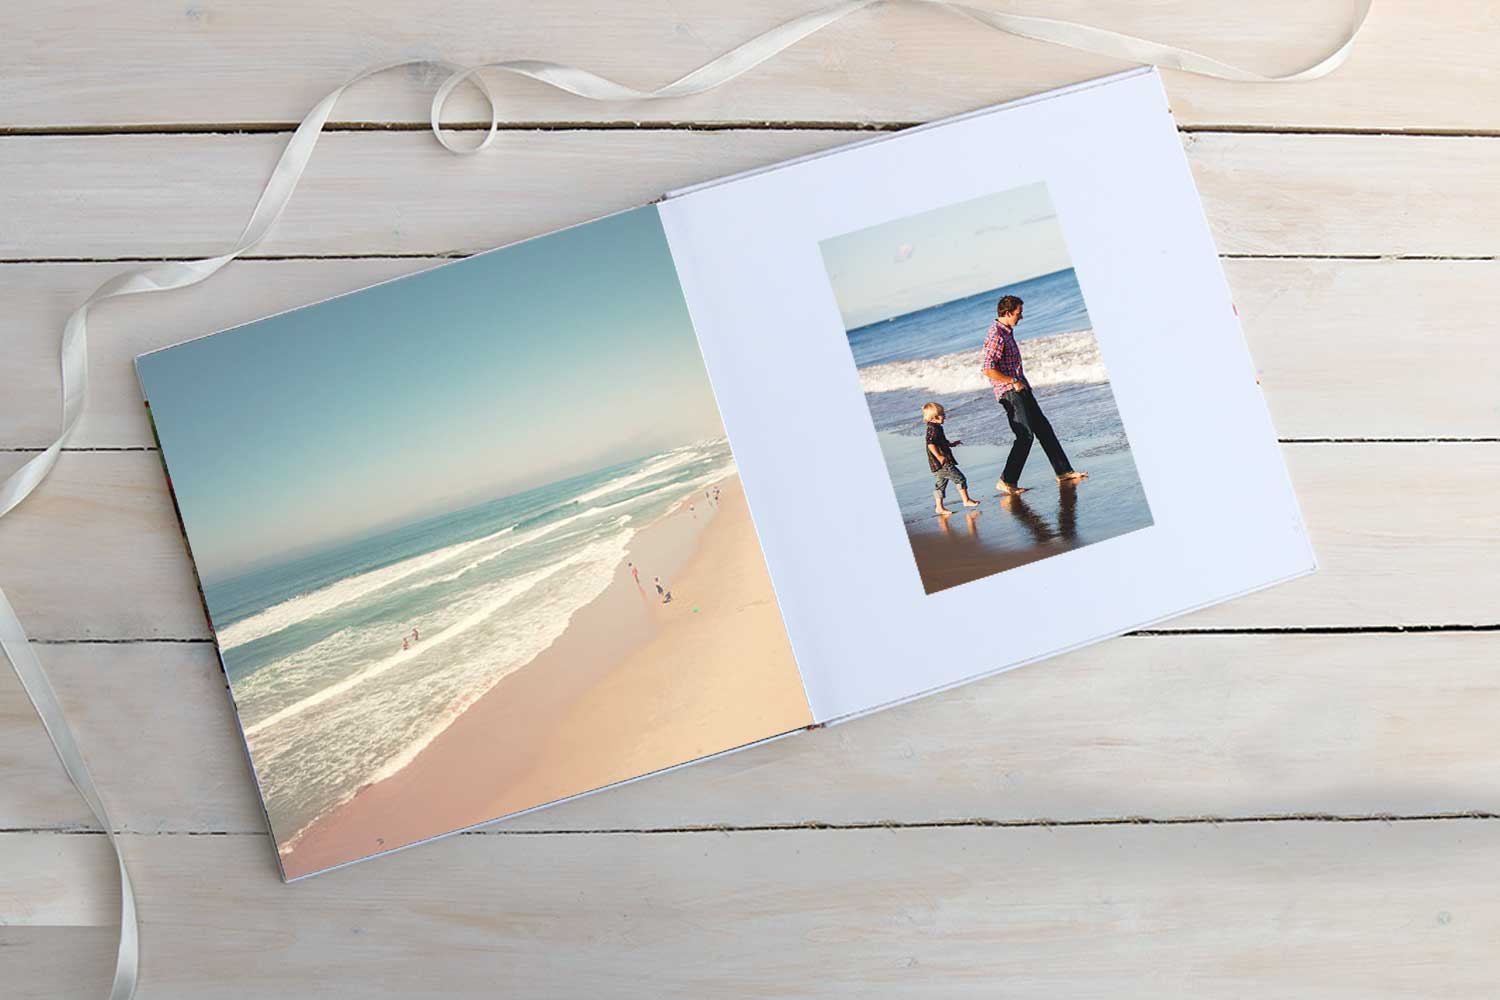
For avid travellers, create an album for every trip you’ve had and relive the memories over and over again. You can also turn this into a travel journal by adding dates and specific details to remind you of little snippets of your travel.
Wedding photo album
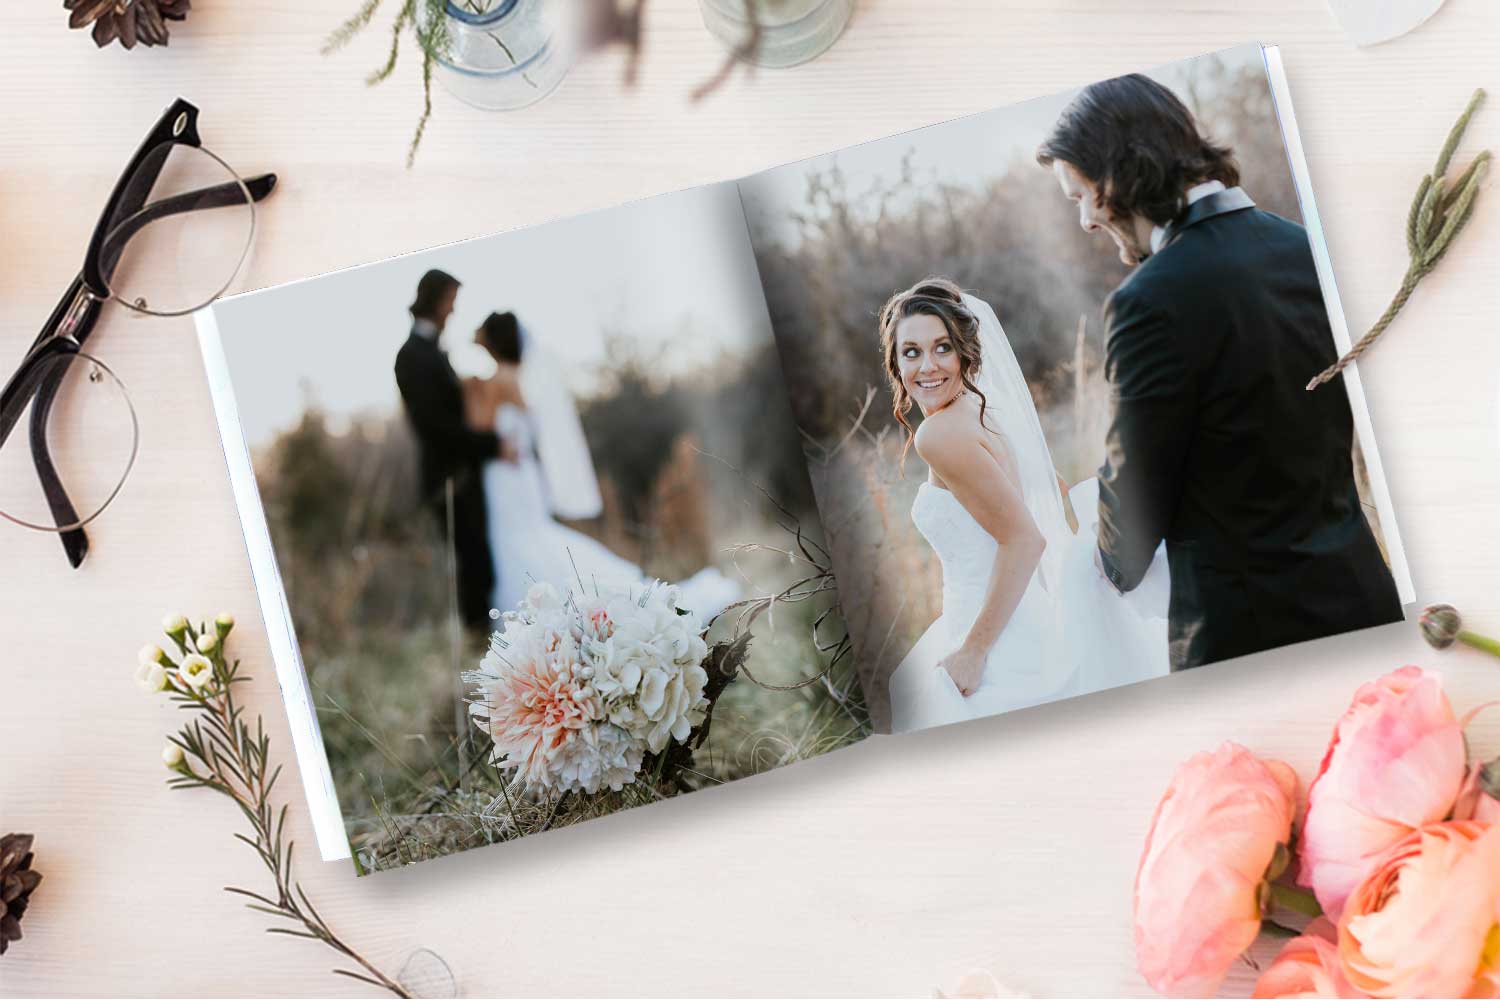
One of life’s most joyous occasions surely deserves to be documented in a beautiful photo album! If you’d like to create yours, check out this practical guide to design your own wedding album.
This wedding photo album is also perfect for anniversary gifts.
Special occasion photo album
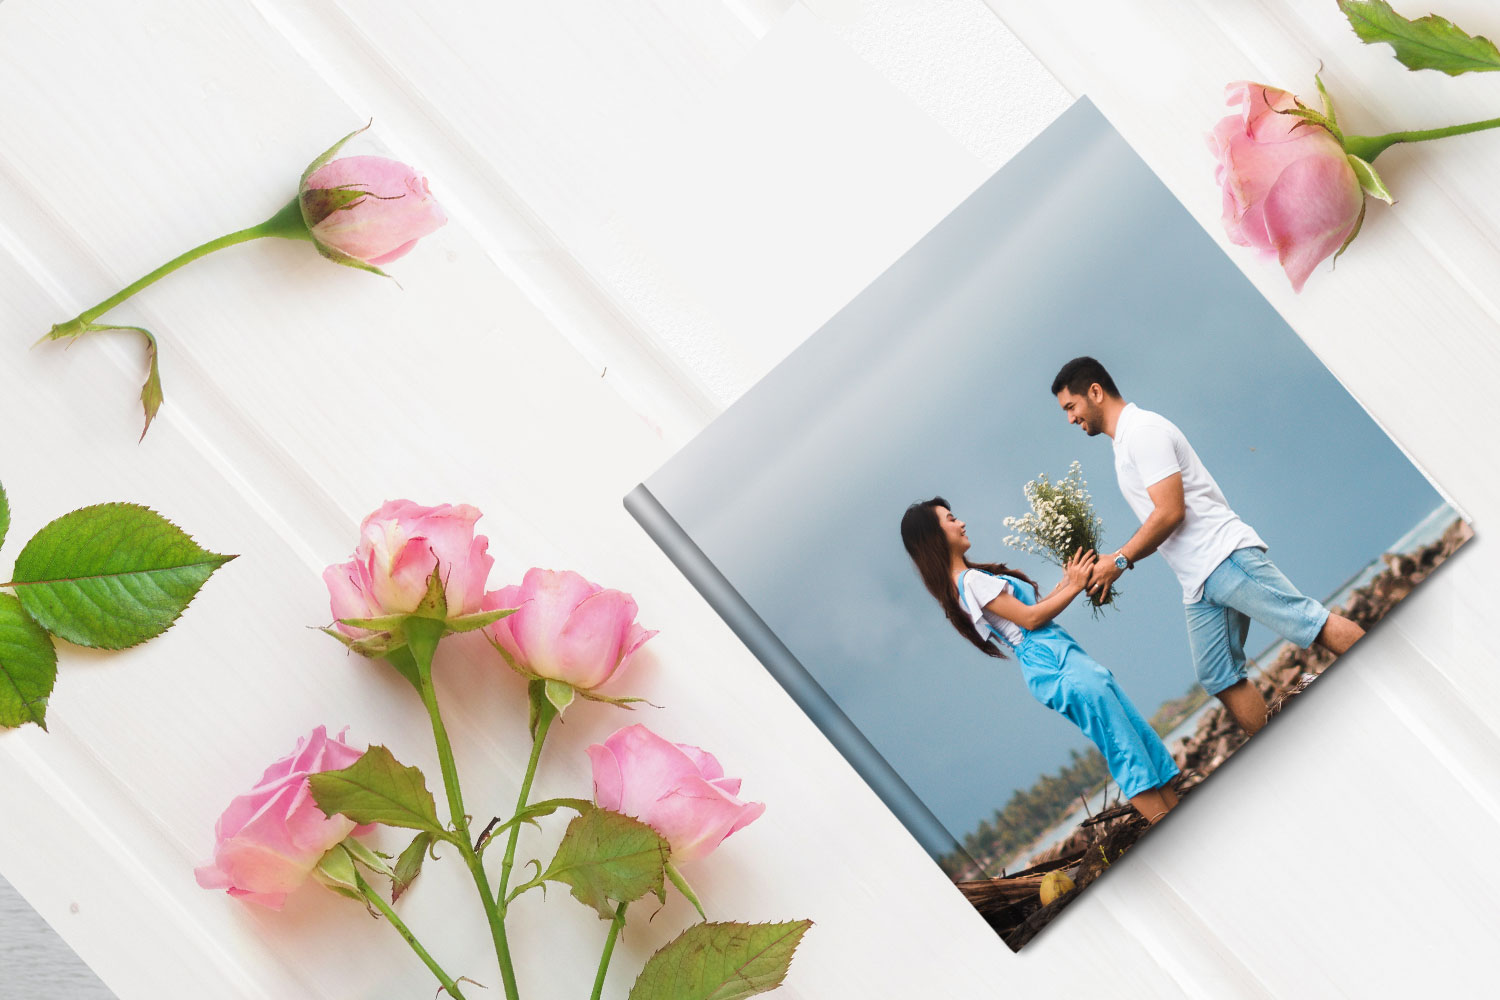
Not just weddings, other special occasions are also worth making a photo album for, including birthdays, graduations, and honeymoons. For something even more special, you can also create photo albums for heritage, silver jubilees, biographies.
Read: DIY Birthday Cards: Ideas, Tips, and Step-by-Step Guide
Maternity or baby photo album
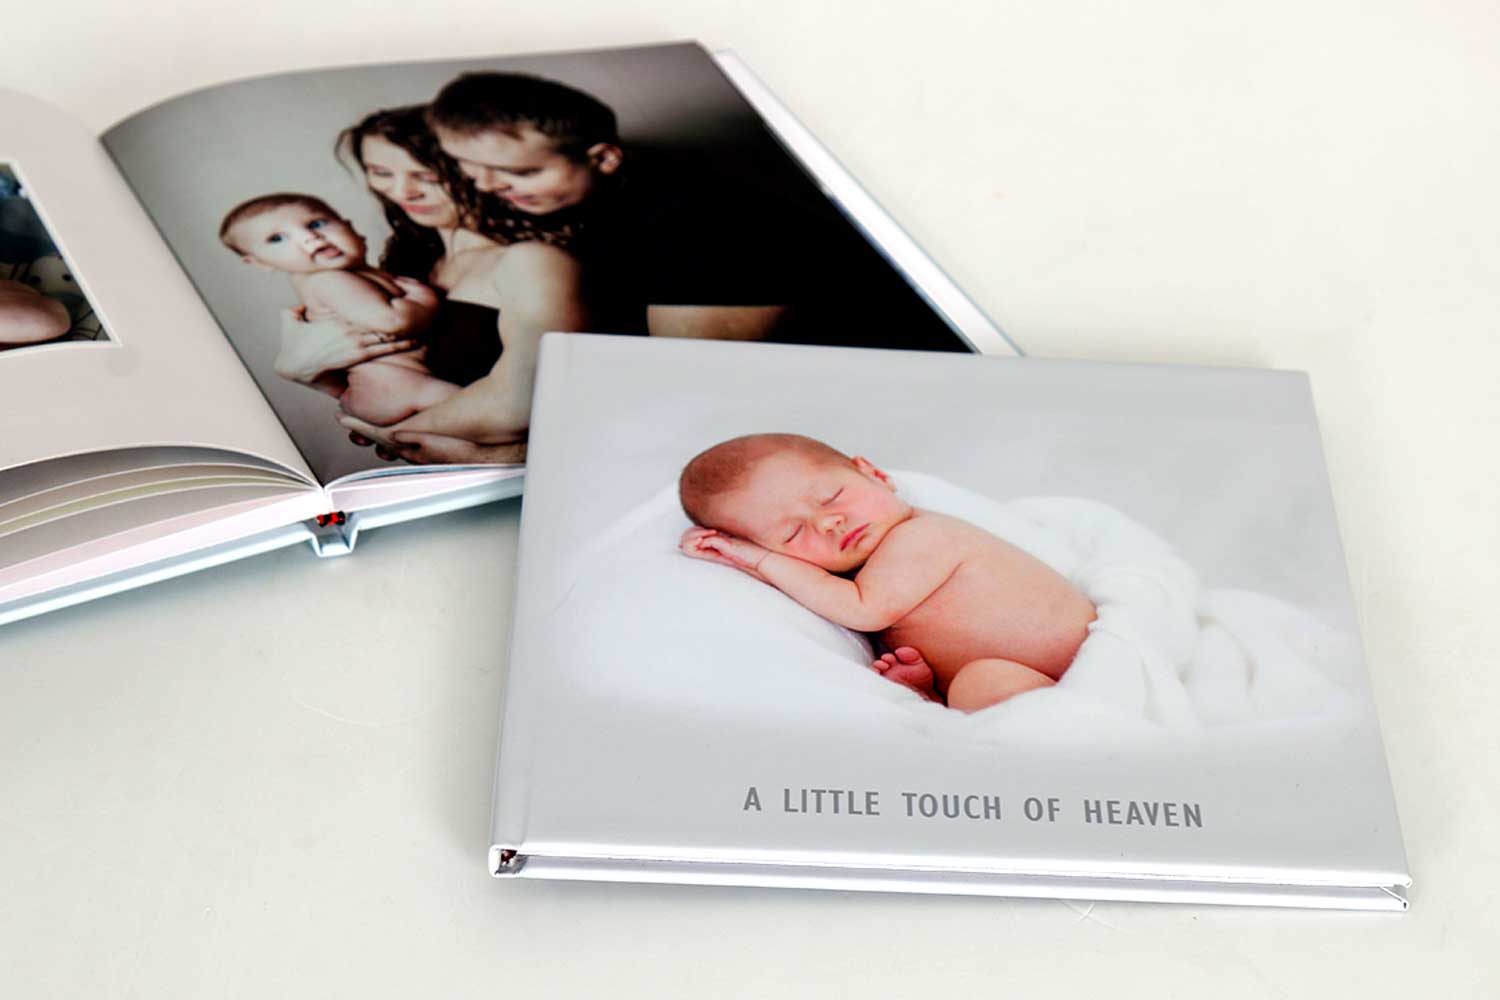
There are lots of things happening and changing around the family during pregnancy and the little one’s arrival, all precious to document. Create a photo album for your maternity, and another one for your newborn to capture every detail. Add notes in your photo album to record important milestones.
Daily moments photo album
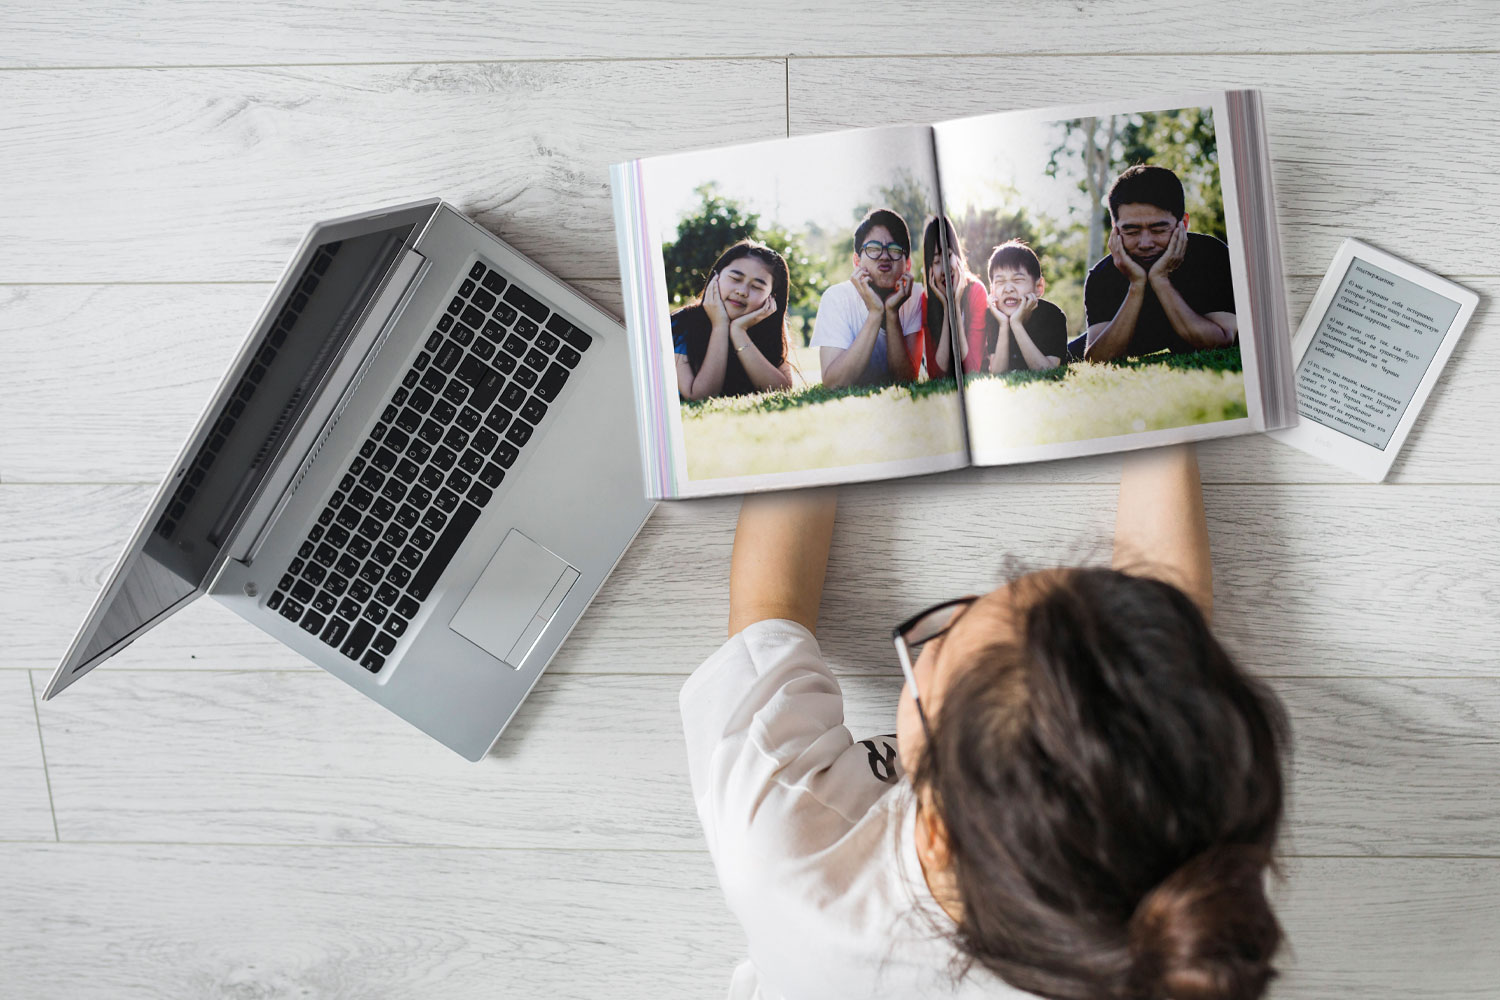
You don’t need to wait for a special occasion to create a photo album. There are lots of little moments from everyday life that are worth capturing. Why not create a library of photos for these moments in the form of timeline photo albums? It can be monthly, quarterly, or as often as you’d like. This way, you’ll have all these precious little moments documented.
How to make a photo album
1. Choose the type, size, and theme
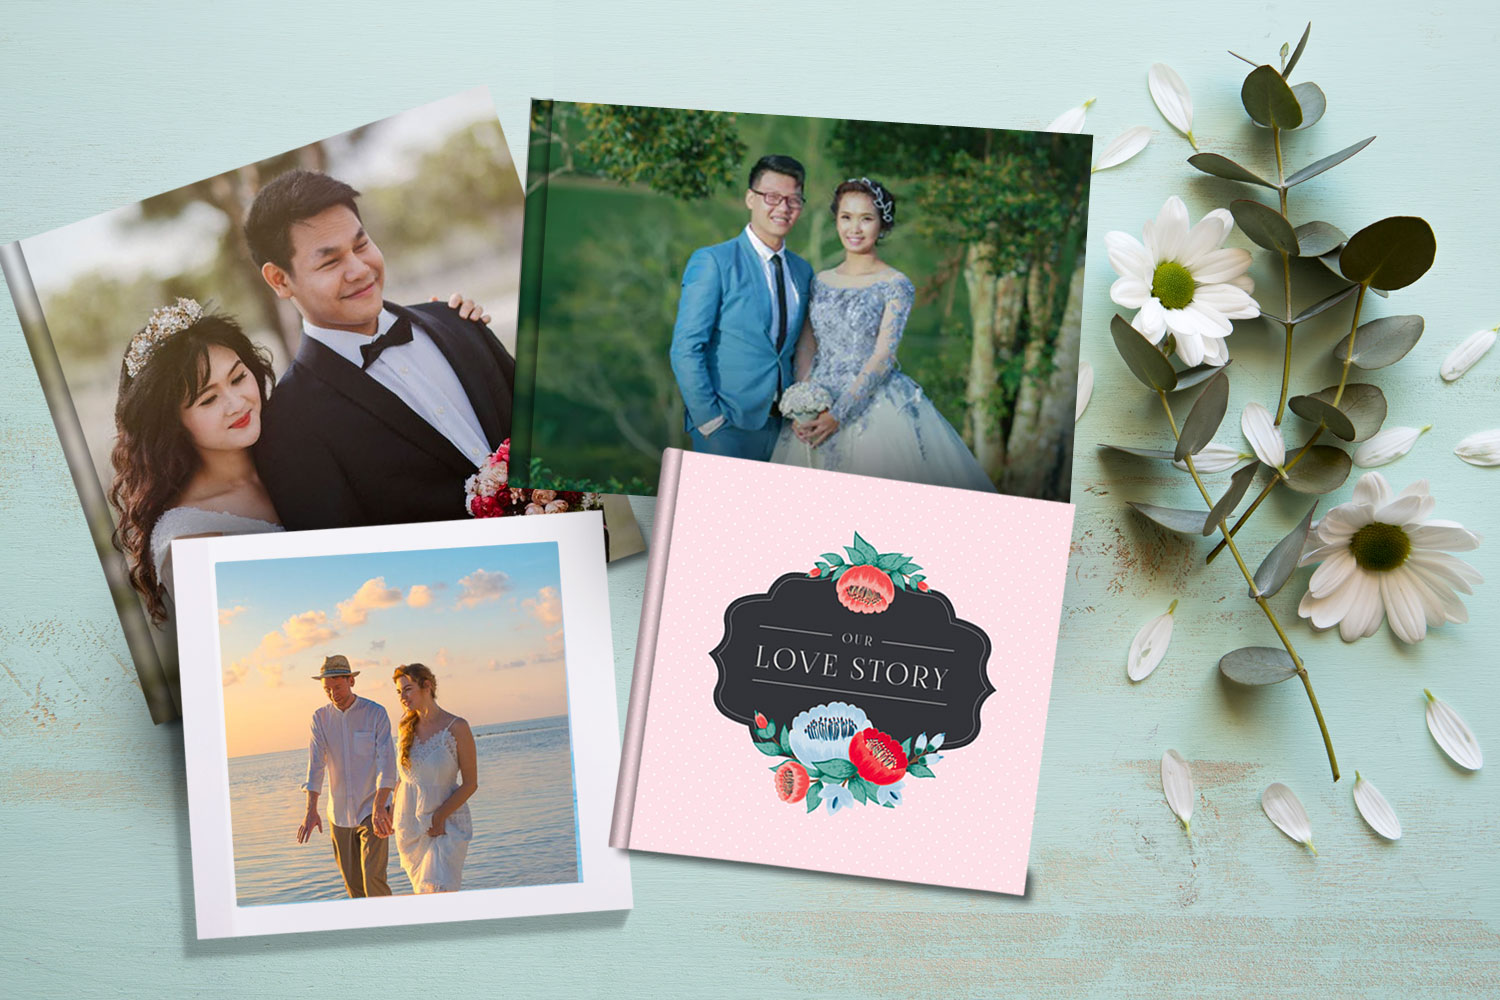
There are several options to choose from:
- Hardcover photo album – perfect for special moments and occasions like weddings, birthdays, or travel. Can also be used to adorn your coffee table, or to gift someone special.
- Softcover photo album – great to document little moments from your daily life, as you can create a series with these softcover photo albums. Stylish, easy to carry around, and it makes a personal little gift.
- Premium albums – layflat albums, available in imagewrap and leather cover options if you want to go for something elegant and luxurious. Perfect for special occasions like weddings.
- Designer cover photo album – bespoke illustrations for the covers, only available on our app. You can download the Photojaanic app here.
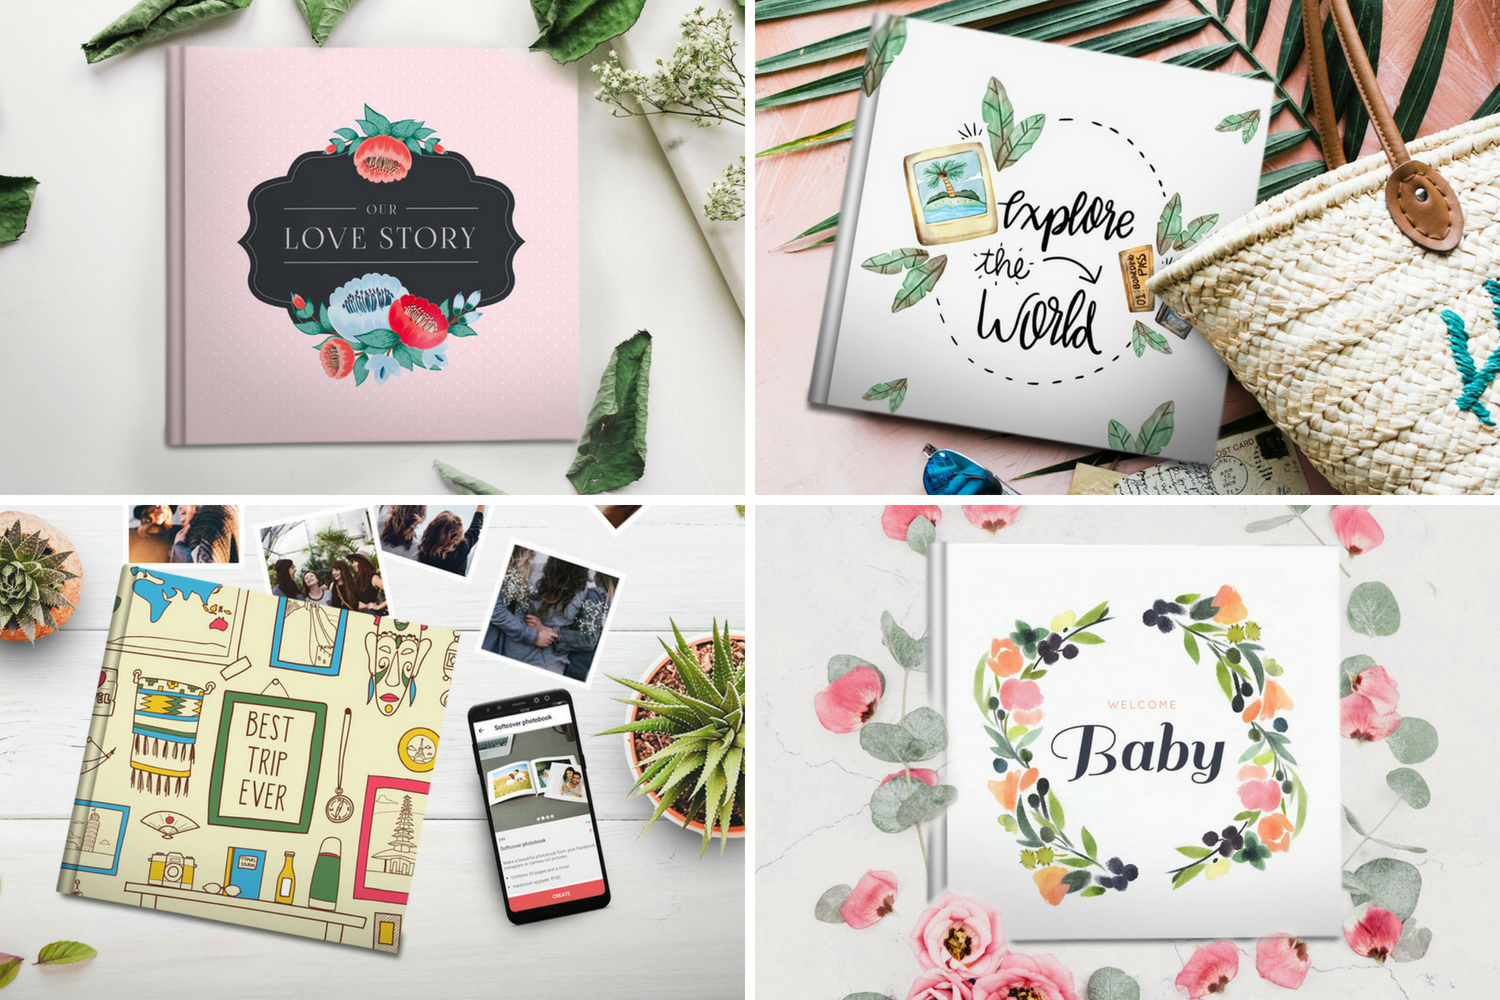 Designer cover photobooks, available only on the Photojaanic app.
Choose the size and theme for the photo album, and you’re ready for the next step!
2. Upload your photos
You can upload photos from your drive/gallery, Facebook, or Instagram. Once the photos are uploaded, you can opt to sort it by date, which will be helpful if you want to have a chronological photo album.
Pro tips for preparing and organising your photos:
- When organising the photos, create a folder specifically for this photo album – it’s easier to sort and curate the photos before you upload them to the editor.
- For the best quality, make sure all your photos are at 300 DPI (dots per inch). This will ensure the photos retain their qualities in prints.
- Increase the brightness – photos can appear darker in prints, so increase the brightness a little bit.
3. Create the cover
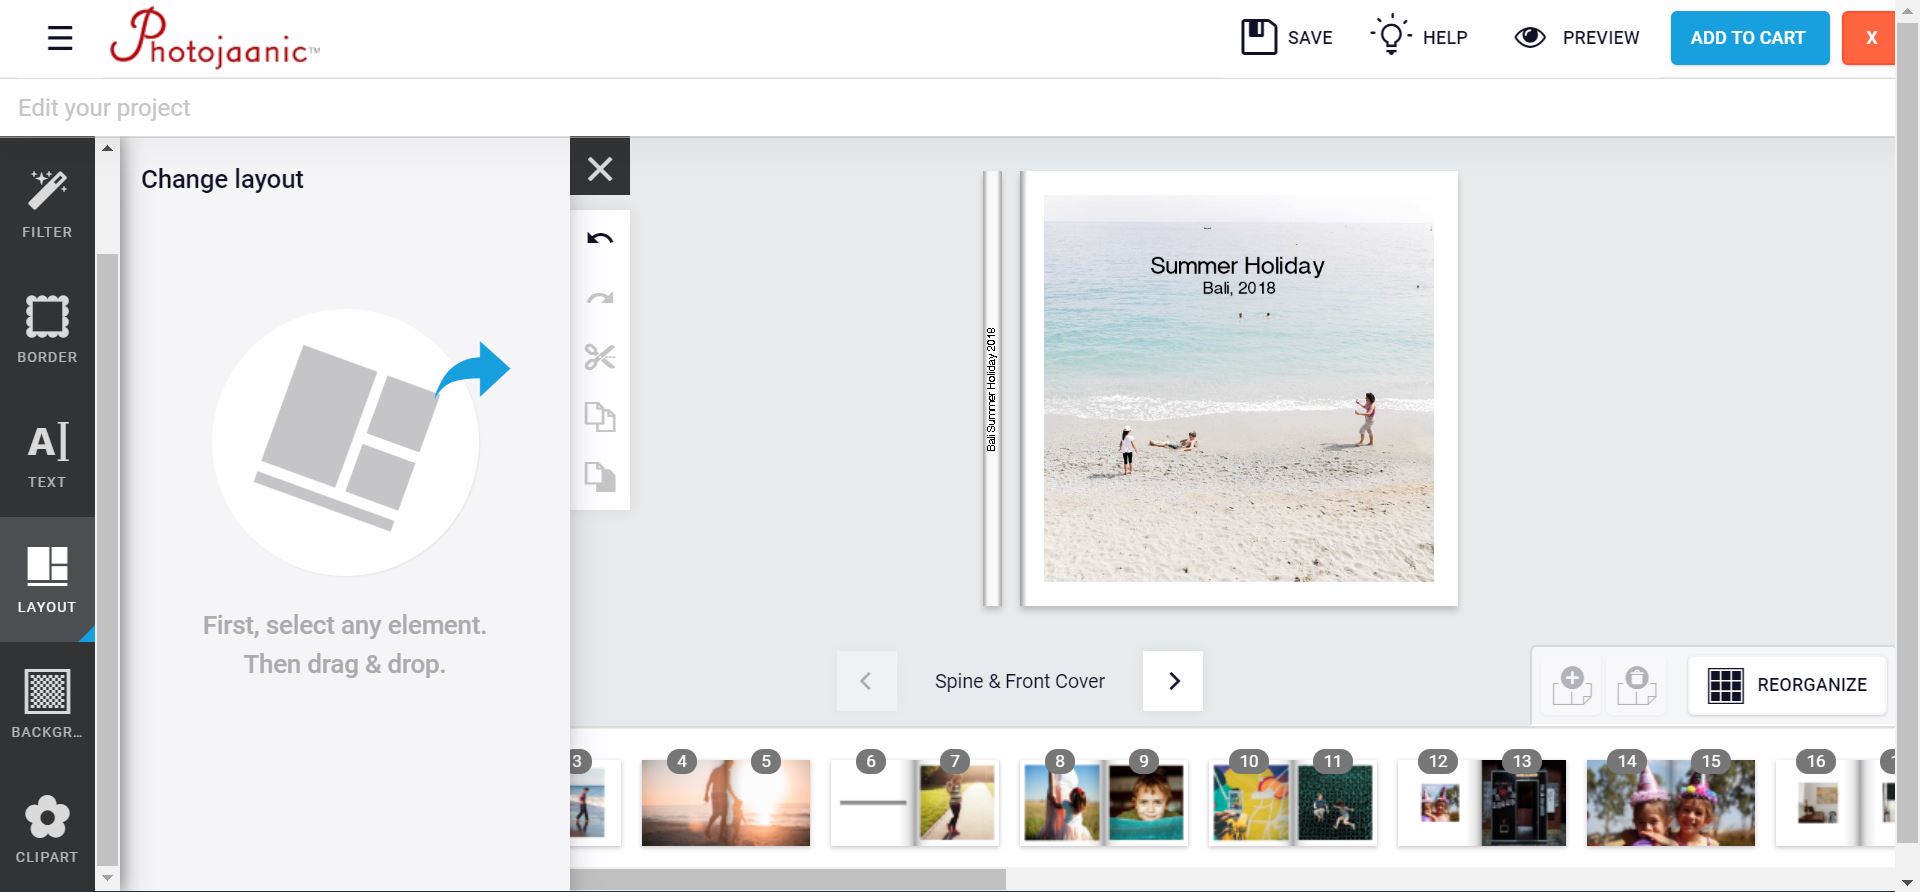
Choose the layout for the cover, and create a title for your photo album. You can also put the title (or any text) on the spine. Adding text at this stage is optional, but we strongly recommend it, especially if you’re planning to build a collection.
4. Choose the layout(s) and arrange your photos
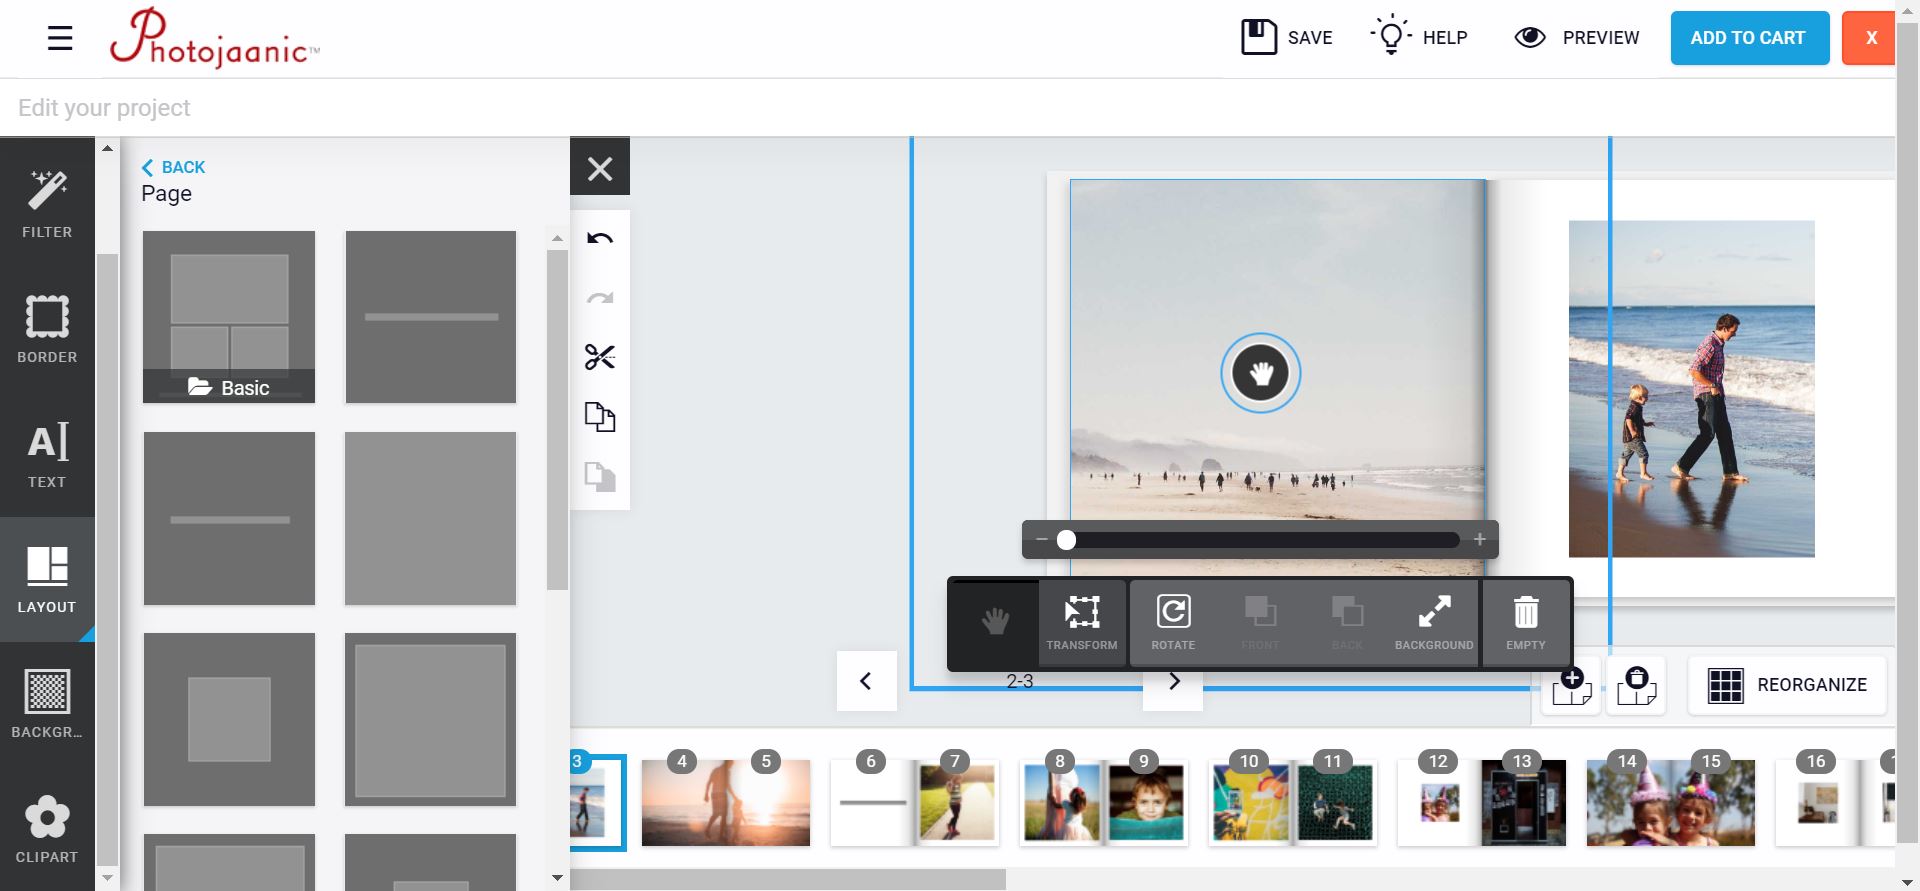
There are various layouts you can choose from. Mix them up and play with different layouts for the pages. Alternate between pages with a full-spread, double-spread (when a photo spreads between 2 pages), or photo collage.
You can also add text anywhere, in case you’d like to add notes.
Pro tips:
- Don’t overcrowd it – having a few photos on one page can be great, but it makes less than an impact compared to a full-spread page. Limit the number of photos to maximum 2-4 on a page, depending on the size of the photo album.
- Play with colours and tones – your photos can be chronological, or not! When a timeline is not important, don’t hesitate to arrange your photos based on the colours and tones. This will have an amazing visual impact on your photo album.
5. Review it
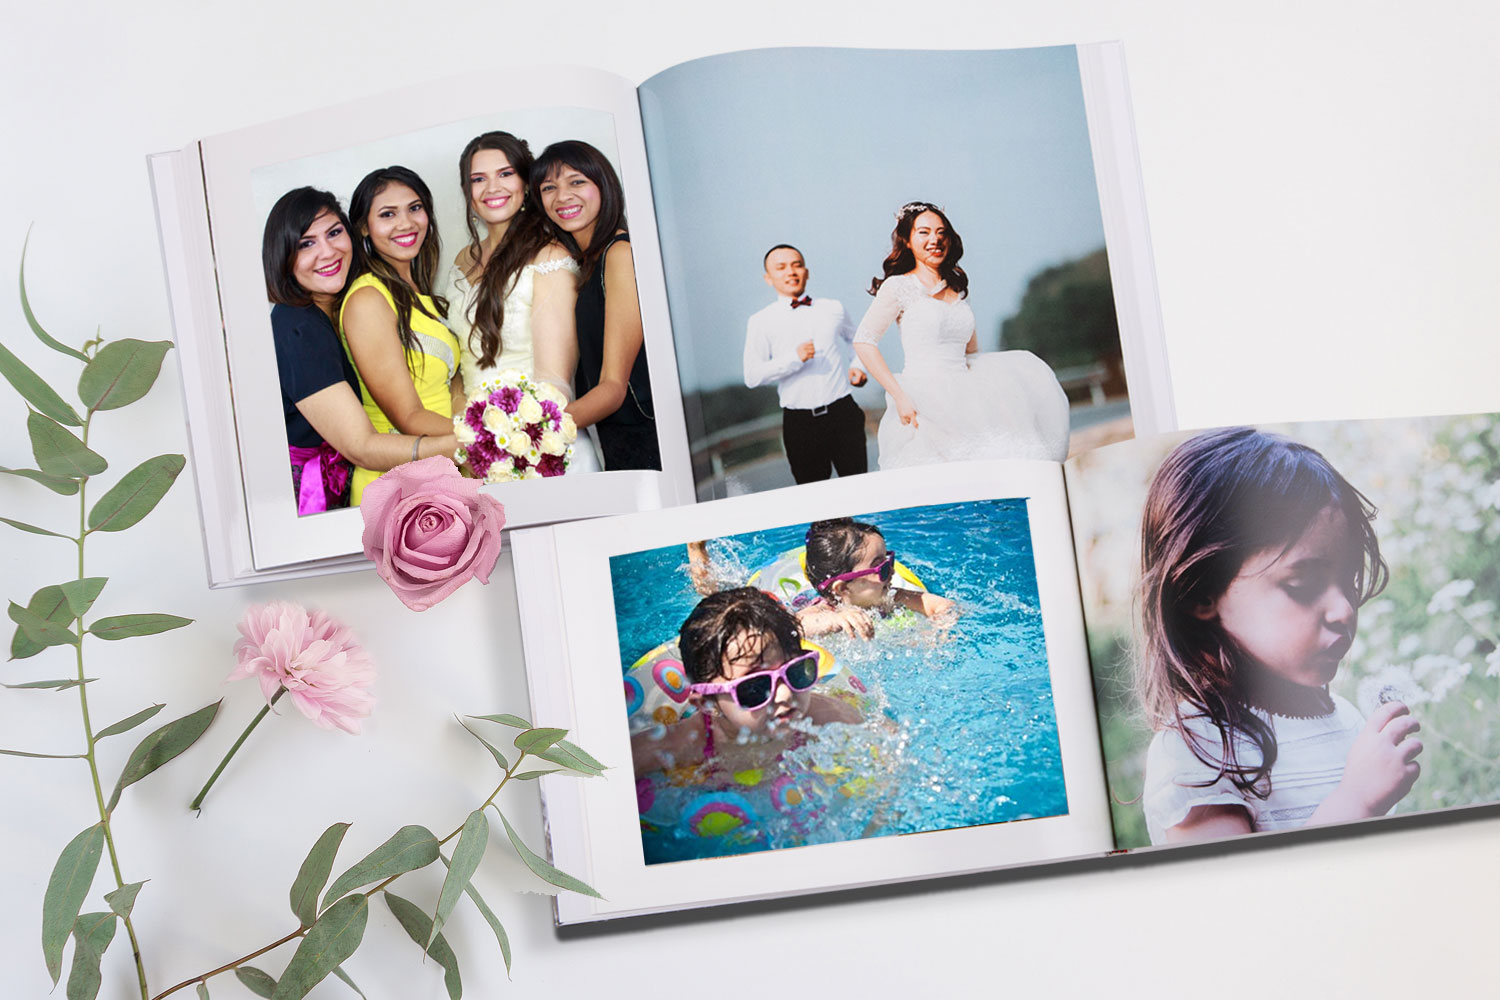
Go through your photo album cover to cover, and see if it flows smoothly and all photos are displayed well. Once done, you can place your order!
Are you ready to make a photo album? Create now and get a 25% discount using the code ‘MYBOOK‘ (valid until August 15th, 2018).



Be the first one to comment