We all love getting birthday cards, and usually, it’s the DIY birthday cards that we’ll always remember. These are the personal cards that are much more special than the store-bought cards.
Do you have friends or family members whose birthdays are coming up soon?
For them, why not create birthday cards that are truly personal and remarkable? It’s simple, quick, and easy, with results that will make them smile.
Table of Contents
DIY Birthday Card Ideas
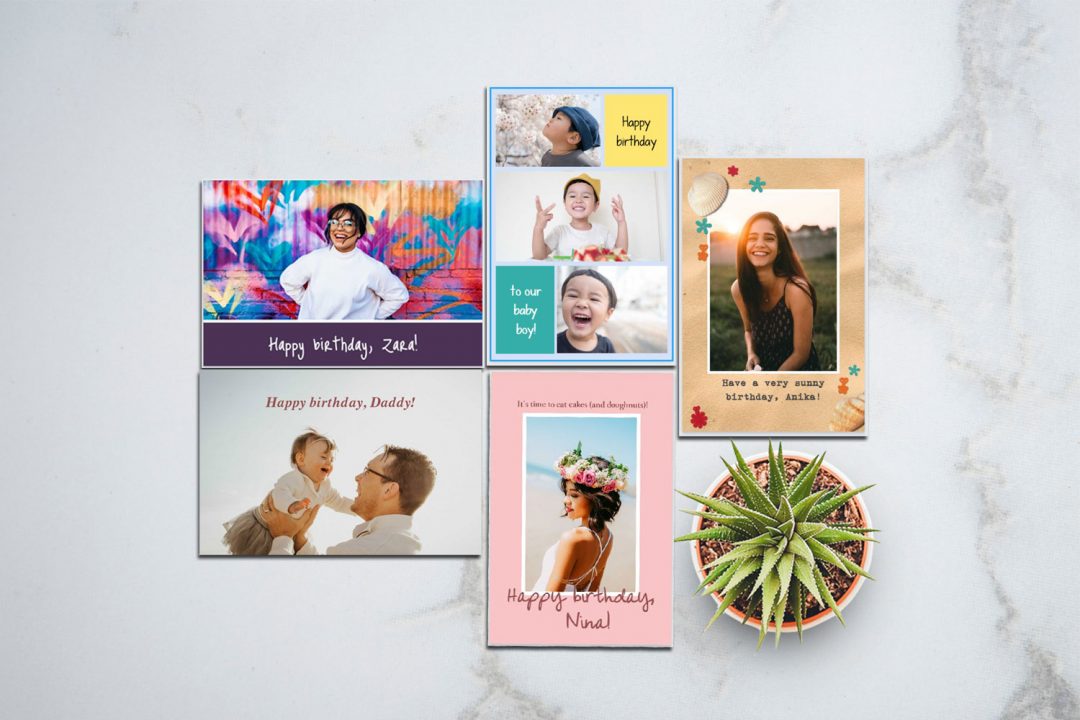
Before we start, let’s have a look at some birthday card design ideas to help you get started. All of these are customised from the templates available at Photojaanic.
Colourful
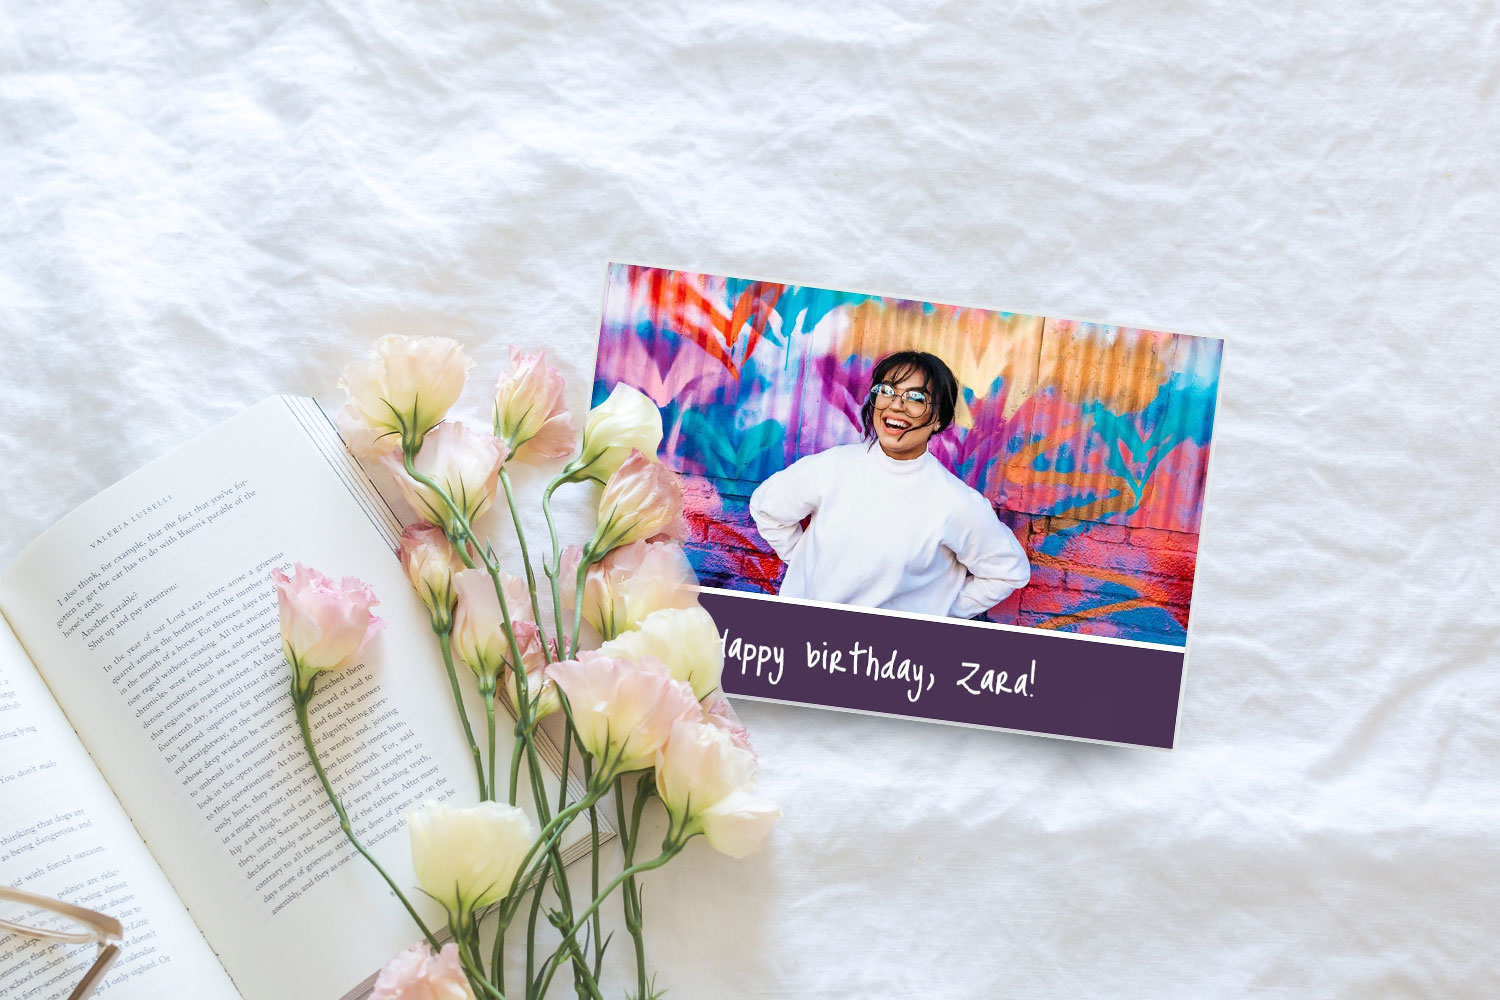
Colours can really transform a simple card into something eye-catching. If you have a colourful photo of the birthday girl/boy to use as the cover, this is the perfect choice for you. Since the photo is already full of colours, you don’t need to add much details to the card.
Photo collage
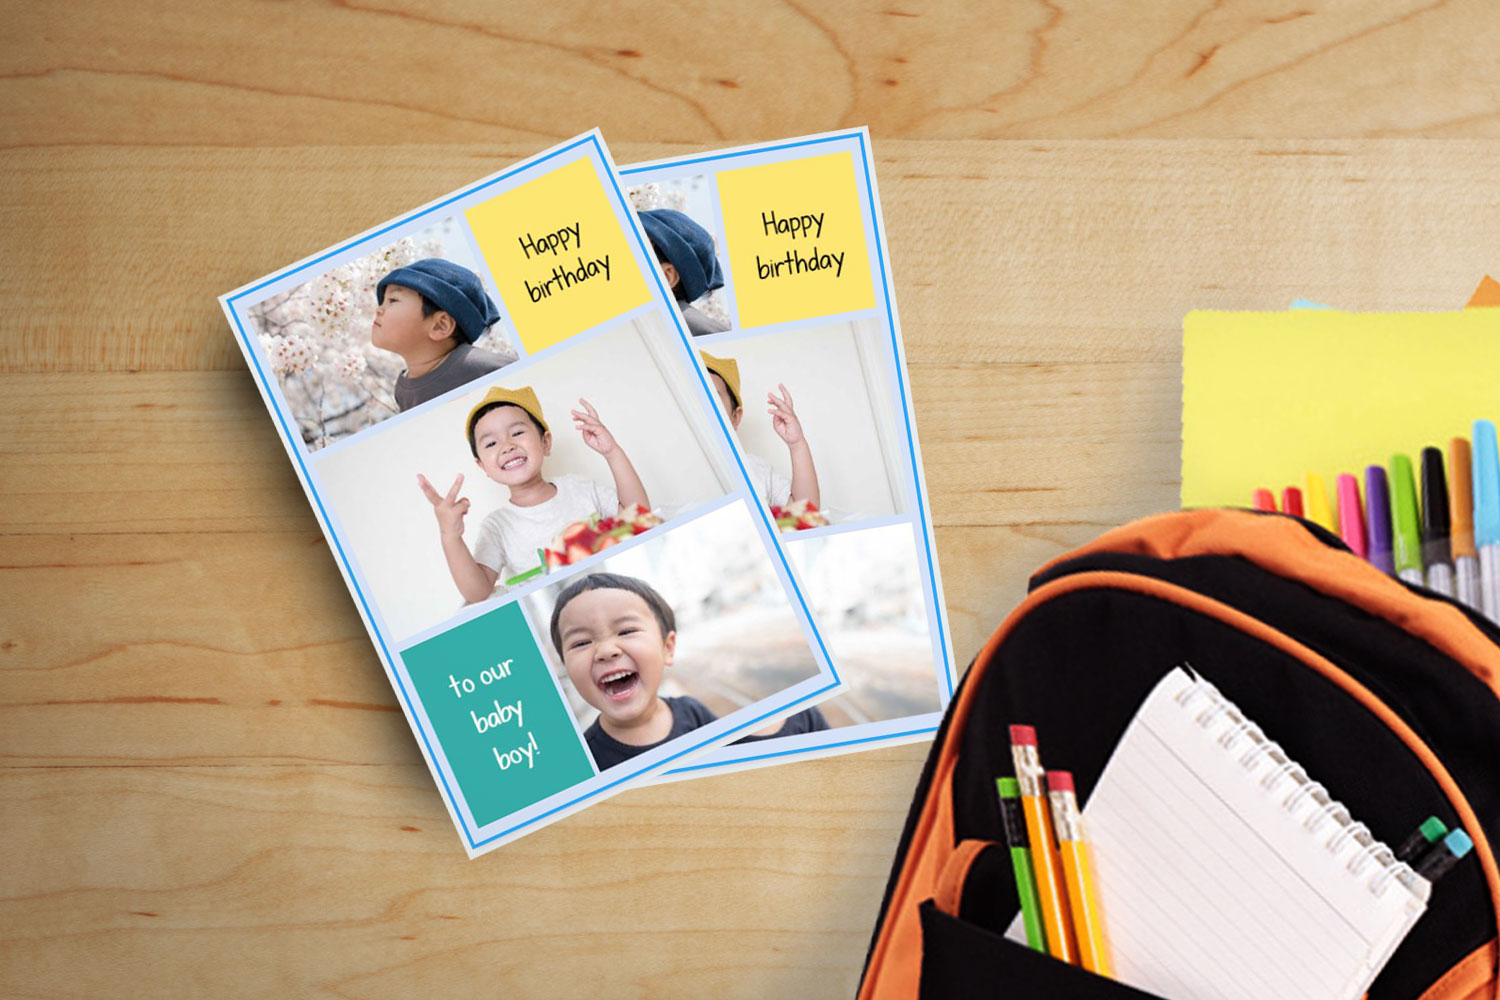
The option for the front cover is not limited to just using 1 photo. You can create a collage with a few photos and messages.
Simple
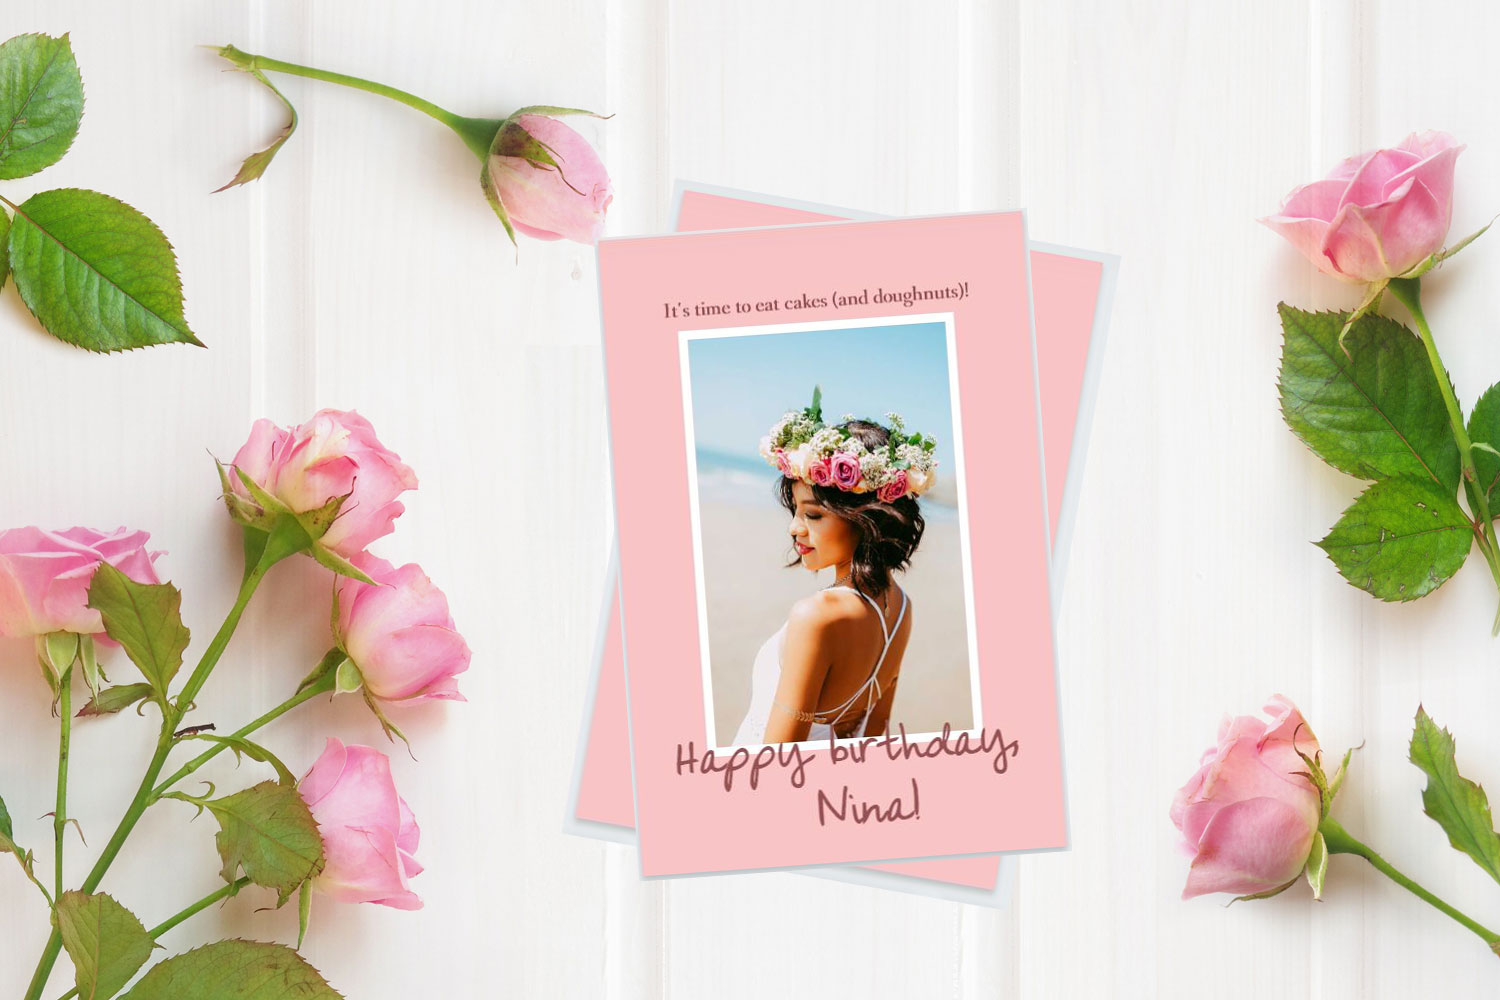
Sometimes, less is more. If you’re looking for a simple design that’s not boring, you can play with their favourite colour and a playful photo. Quick and easy, with a satisfying result.
Elegant
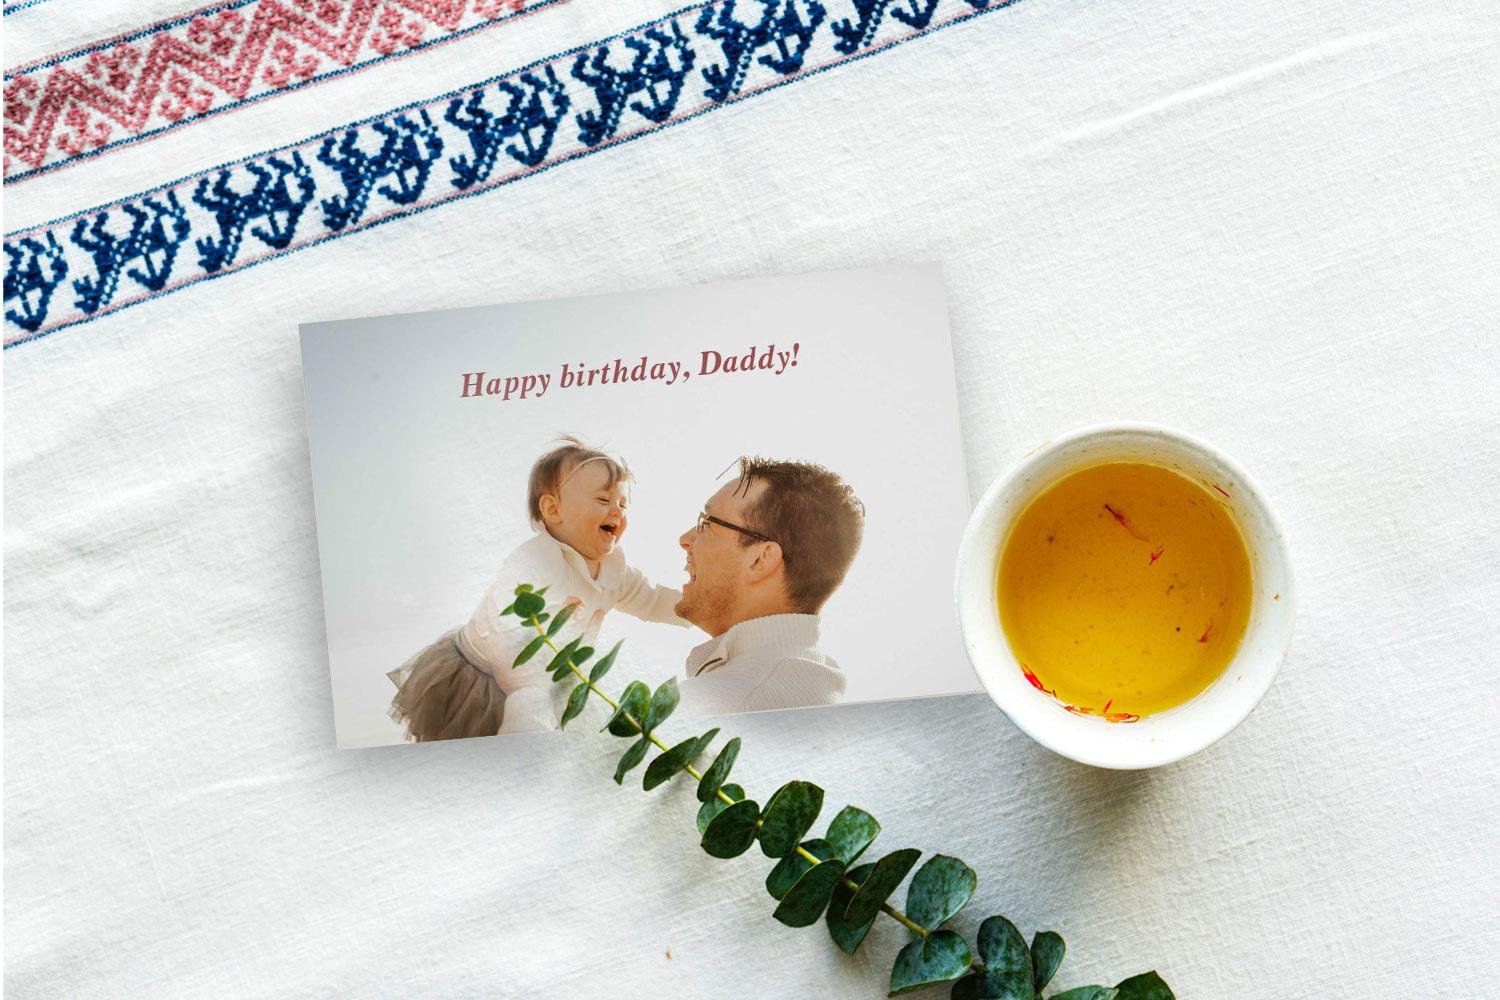
For someone with a minimalist and sophisticated style, this is the card design you’re looking for. Clean and elegant, this style is also perfect for someone who loves a timeless style. Choose a photo with a clean background and use a classic font to create an elegant design.
Rustic
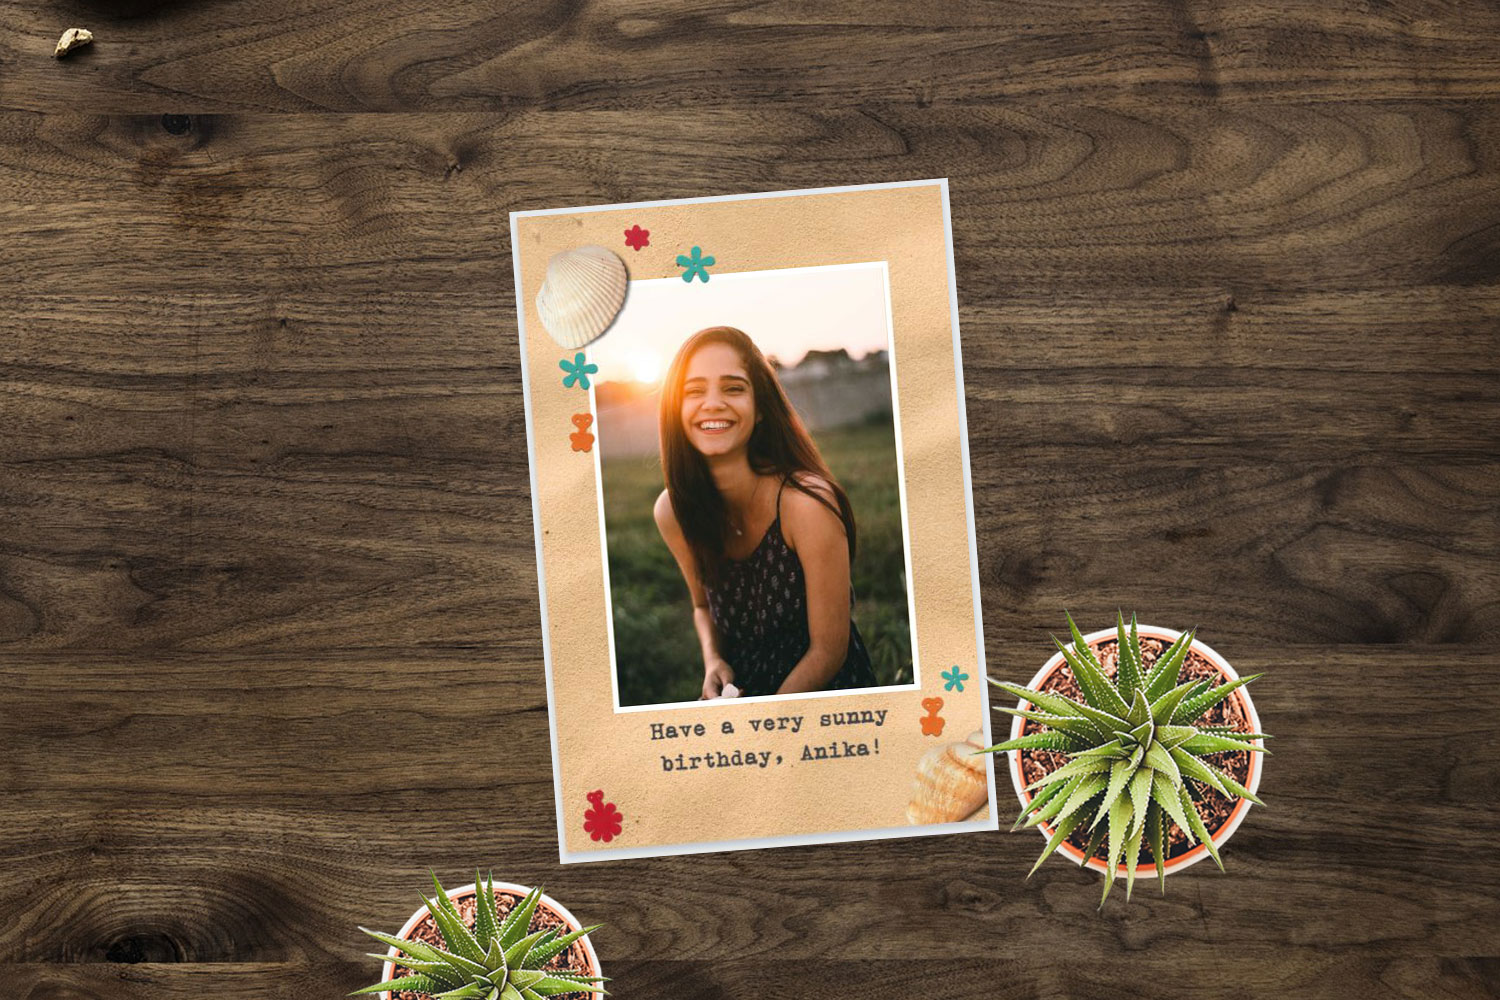
A design with nature-inspired elements is perfect for outdoorsy people. How to make it rustic? The key is using earth colours. You can also use a brown paper or wood texture background, and add nature elements with clipart (we added seashells clipart for this card).
Read: Wedding Invitation Ideas: Which Theme Fits Your Personalities?
There are a lot more designs you can create by tweaking the available templates. Be unique and create something extraordinary!
How to make beautiful birthday cards with Photojaanic
One of the advantages of making DIY birthday cards is you can really customise it with your creative ideas. You can put your personal jokes, favourite photos, or something else that’s specially shared between you and the recipient.
Creating DIY birthday cards can be complicated and time-consuming, and we want to change that for you. With Photojaanic, you can design birthday cards easily. There are many templates available to use, which you can tweak however you like.
Here’s the easy step-by-step guide for creating personalised birthday cards in just a few minutes.
1. Choose the template
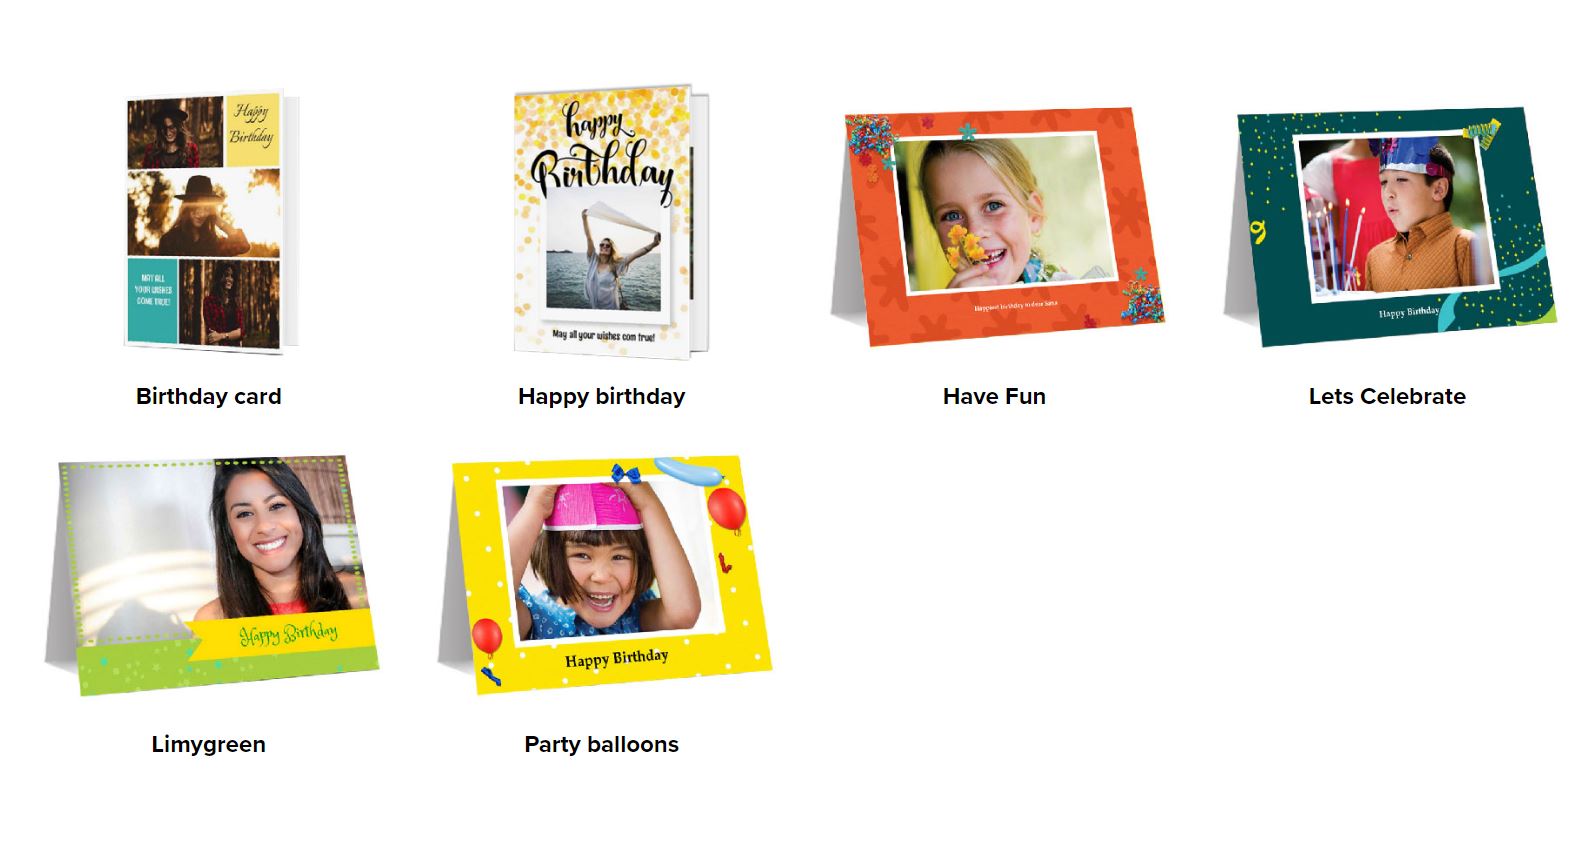
You can start here by choosing the theme that suits the style you’re after. Cheerful, elegant, glamorous, or something else? Any theme you choose can be customised later, so you can change the background and font, or add a filter, clipart, etc.
In this step, you can choose the size and format of the card (portrait or landscape).
2. Upload the photo(s)
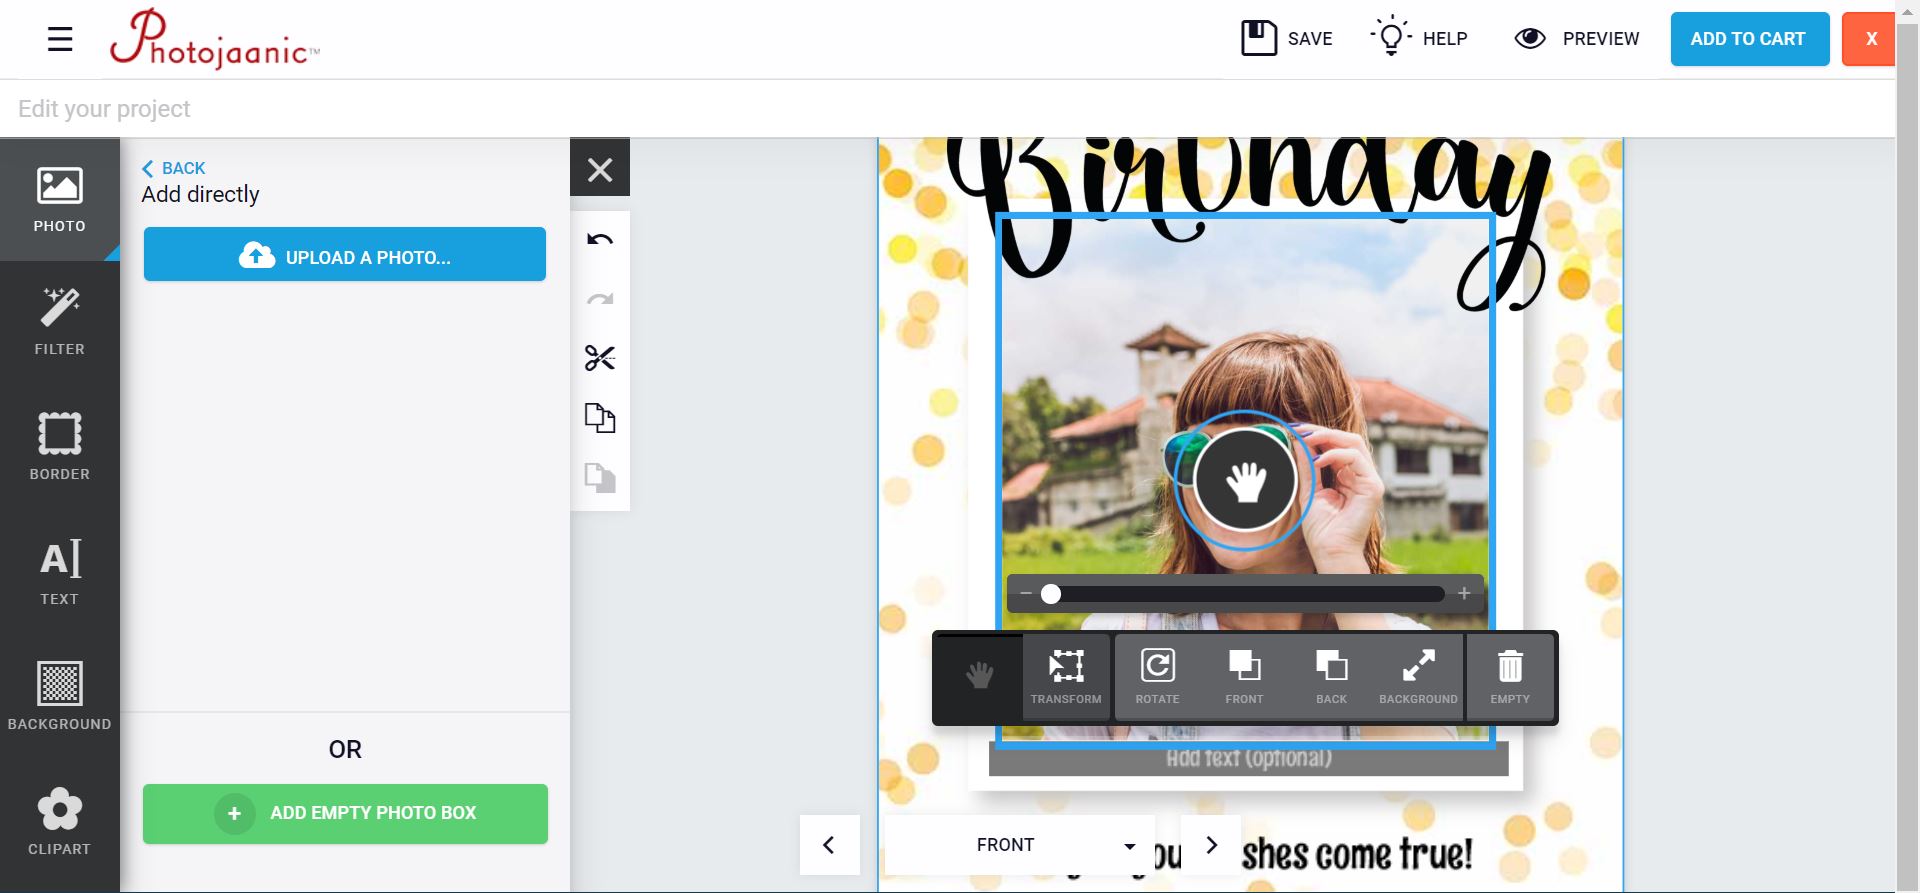
Upload the photos for the front cover and the inside of the card.
3. Write your message
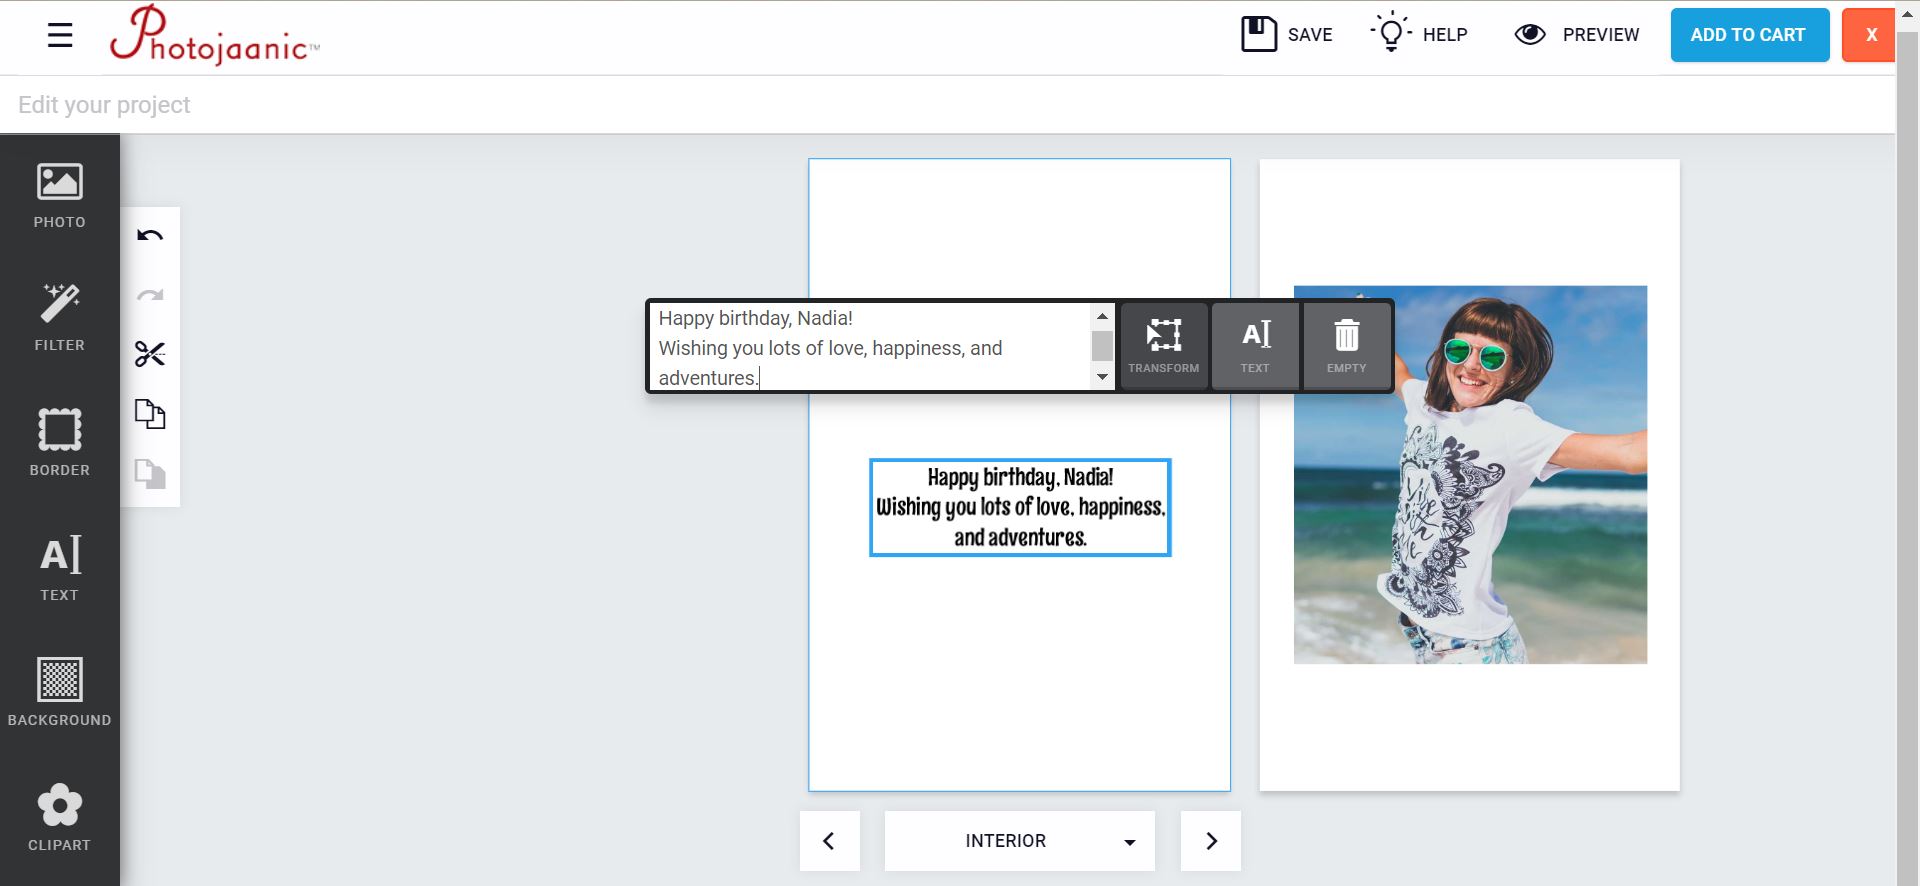
The front cover of the card has a default greeting that you can use, but feel free to change it to make it even more personal!
Inside the card, you can write your own birthday wishes, quotes, or even a funny limerick if the birthday boy/girl loves a bit of a laugh.
You can check these birthday wish ideas if you don’t know what to write.
4. Customise it
Now this is the fun part! Be as creative as you can, and play with the background, font, and other features to create a one-in-a-million birthday card for your loved one.
And that’s it!
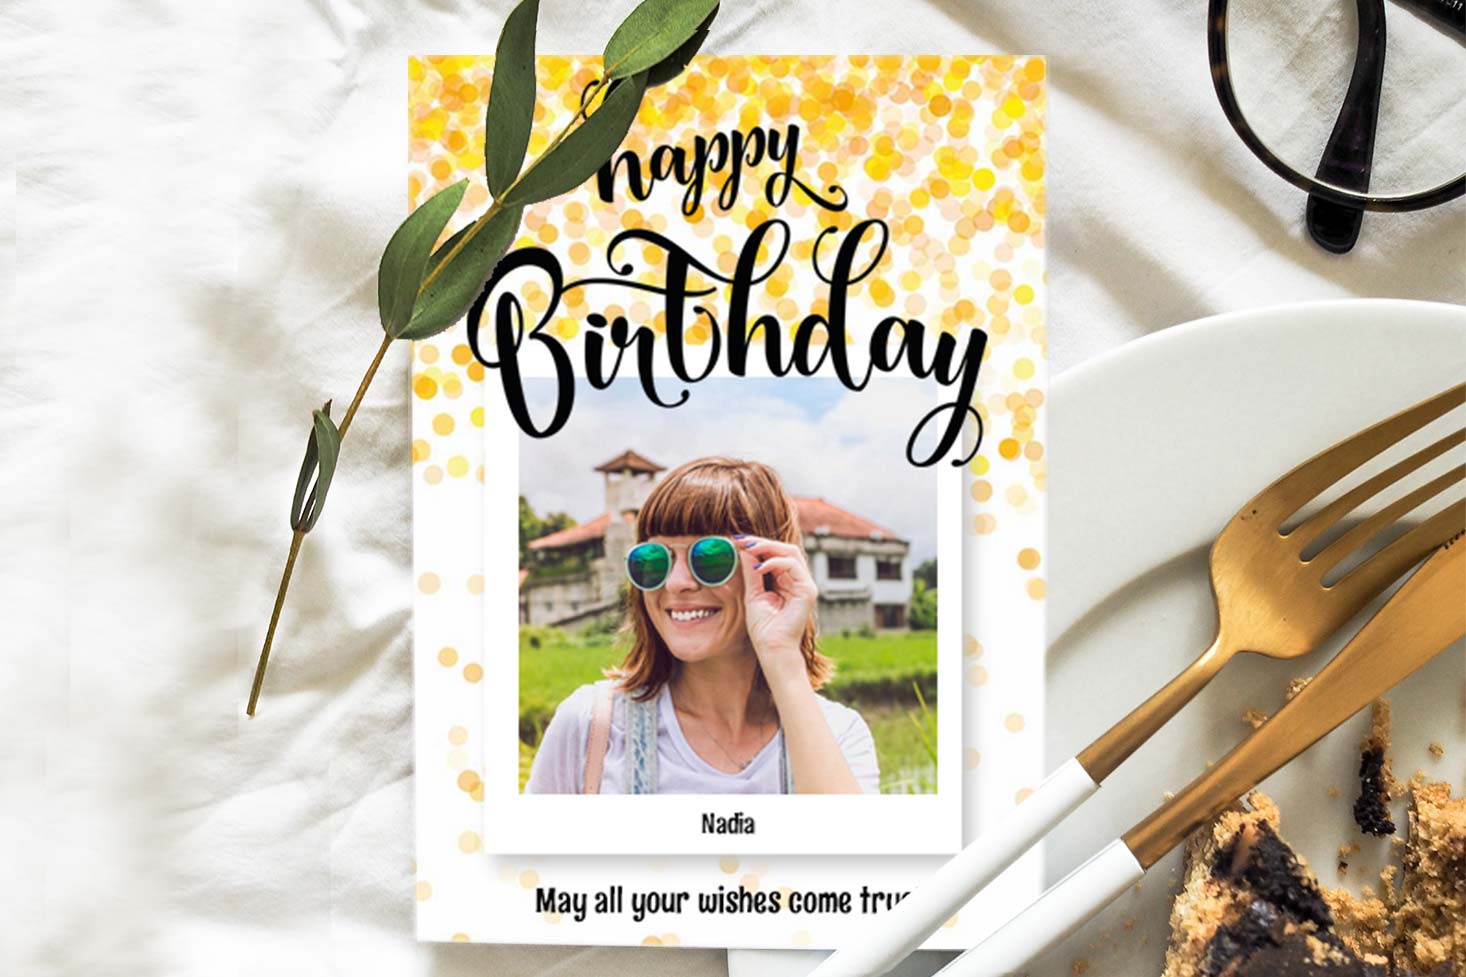
A few tips for personalising birthday cards
- Make a card that they will like – you can choose their favourite photo, use their favourite colour, or create a design that suits their style
- Share something personal between the two of you – an inside joke, a quote, or even a photo of you both will make a lasting impression
Are you ready to create DIY birthday cards? You can start now, and use the code ‘BDAY20’ to get a 20% discount! (valid only until August 5th, 2018).




Be the first one to comment