Pre-wedding photography has gained popularity in the recent years, and has now become a lucrative business. It has the potential for making a lot of profit, but also has some challenges such as finding the right locations, choosing the right angles, and breaking the ice for the nervous couple.
So what can you do to tackle the challenges? Here are important pre-wedding photography tips to help you smooth over the process and create stunning images that will make your clients happy.
Table of Contents
- 1. Use a longer lens for more heartfelt and flattering shots
- 2. Shoot in Burst Mode
- 3. Set your shutter speed
- 4. Talk to the couple beforehand
- 5. Scout the location(s)
- 6. Know the flattering angles and use them
- 7. It’s not always about the face
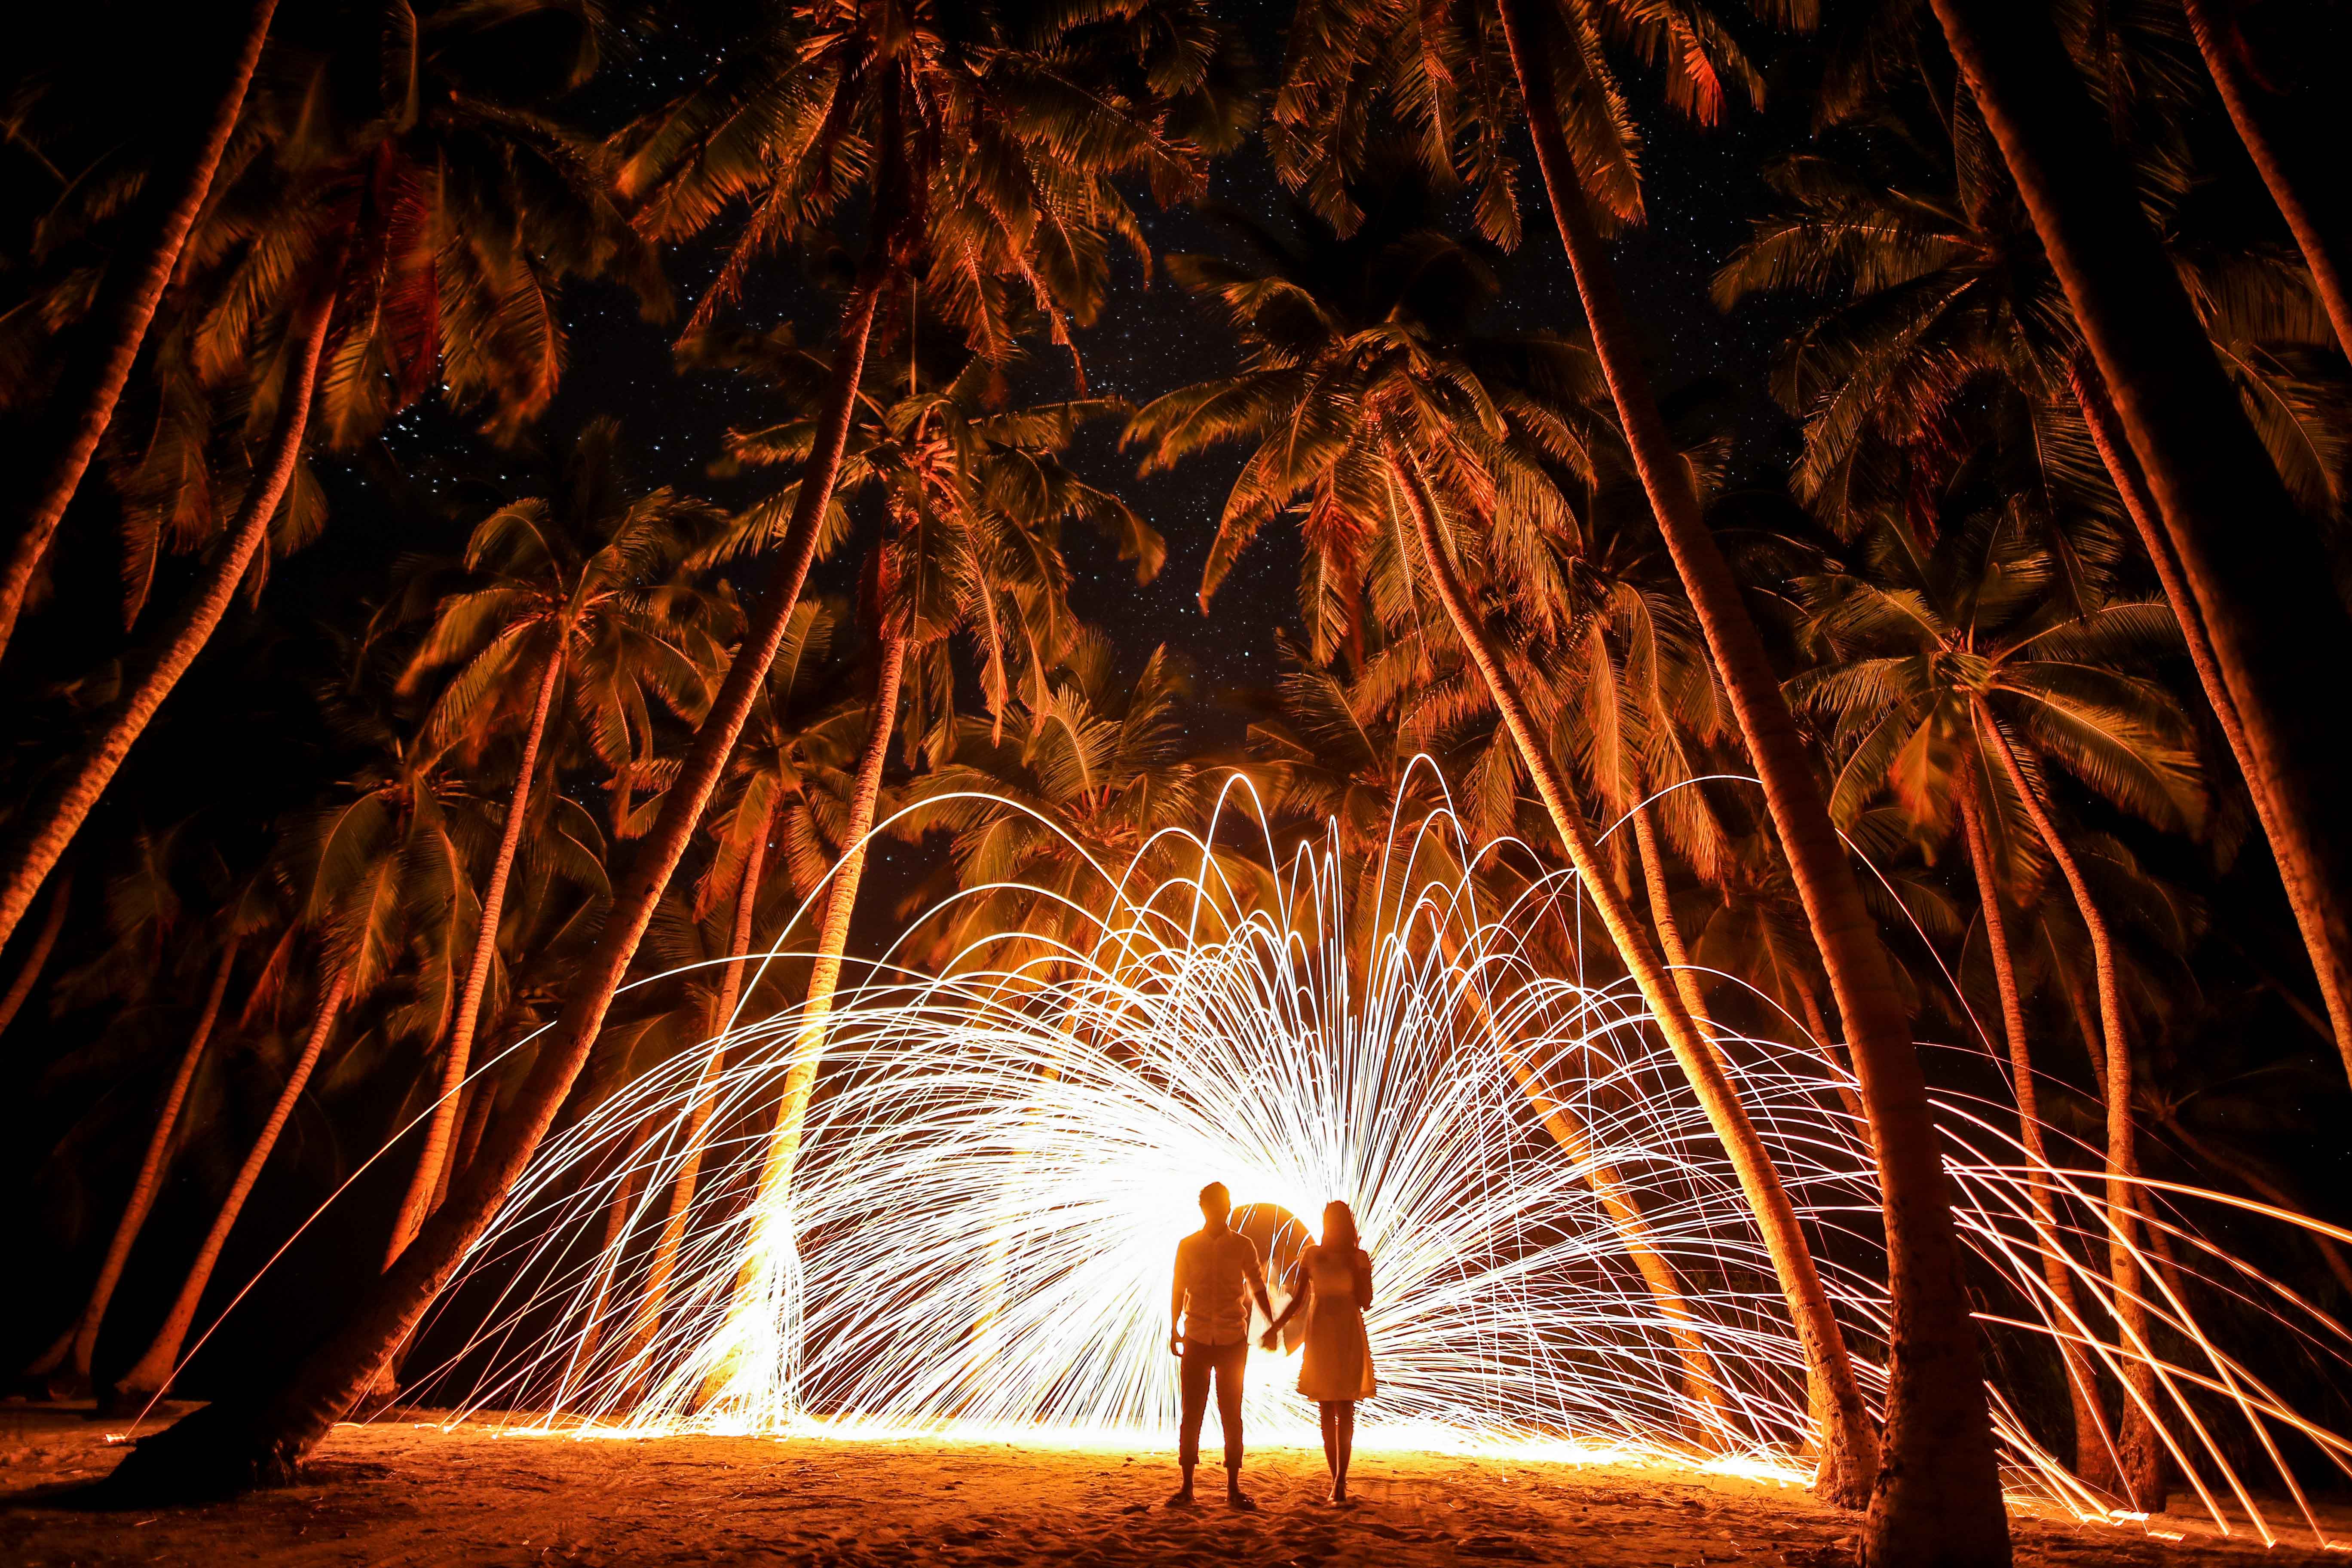
- 8. Use backlight for dramatic shots
- 9. Use off-camera flash when necessary
- 10. Tell their story through your photos
- 11. Break the ice
- 12. Pose the couple
- 13. Balance the posed and candid shots
- 14. Let the clients chimp
- 15. Beautiful packaging and prints do wonders
1. Use a longer lens for more heartfelt and flattering shots
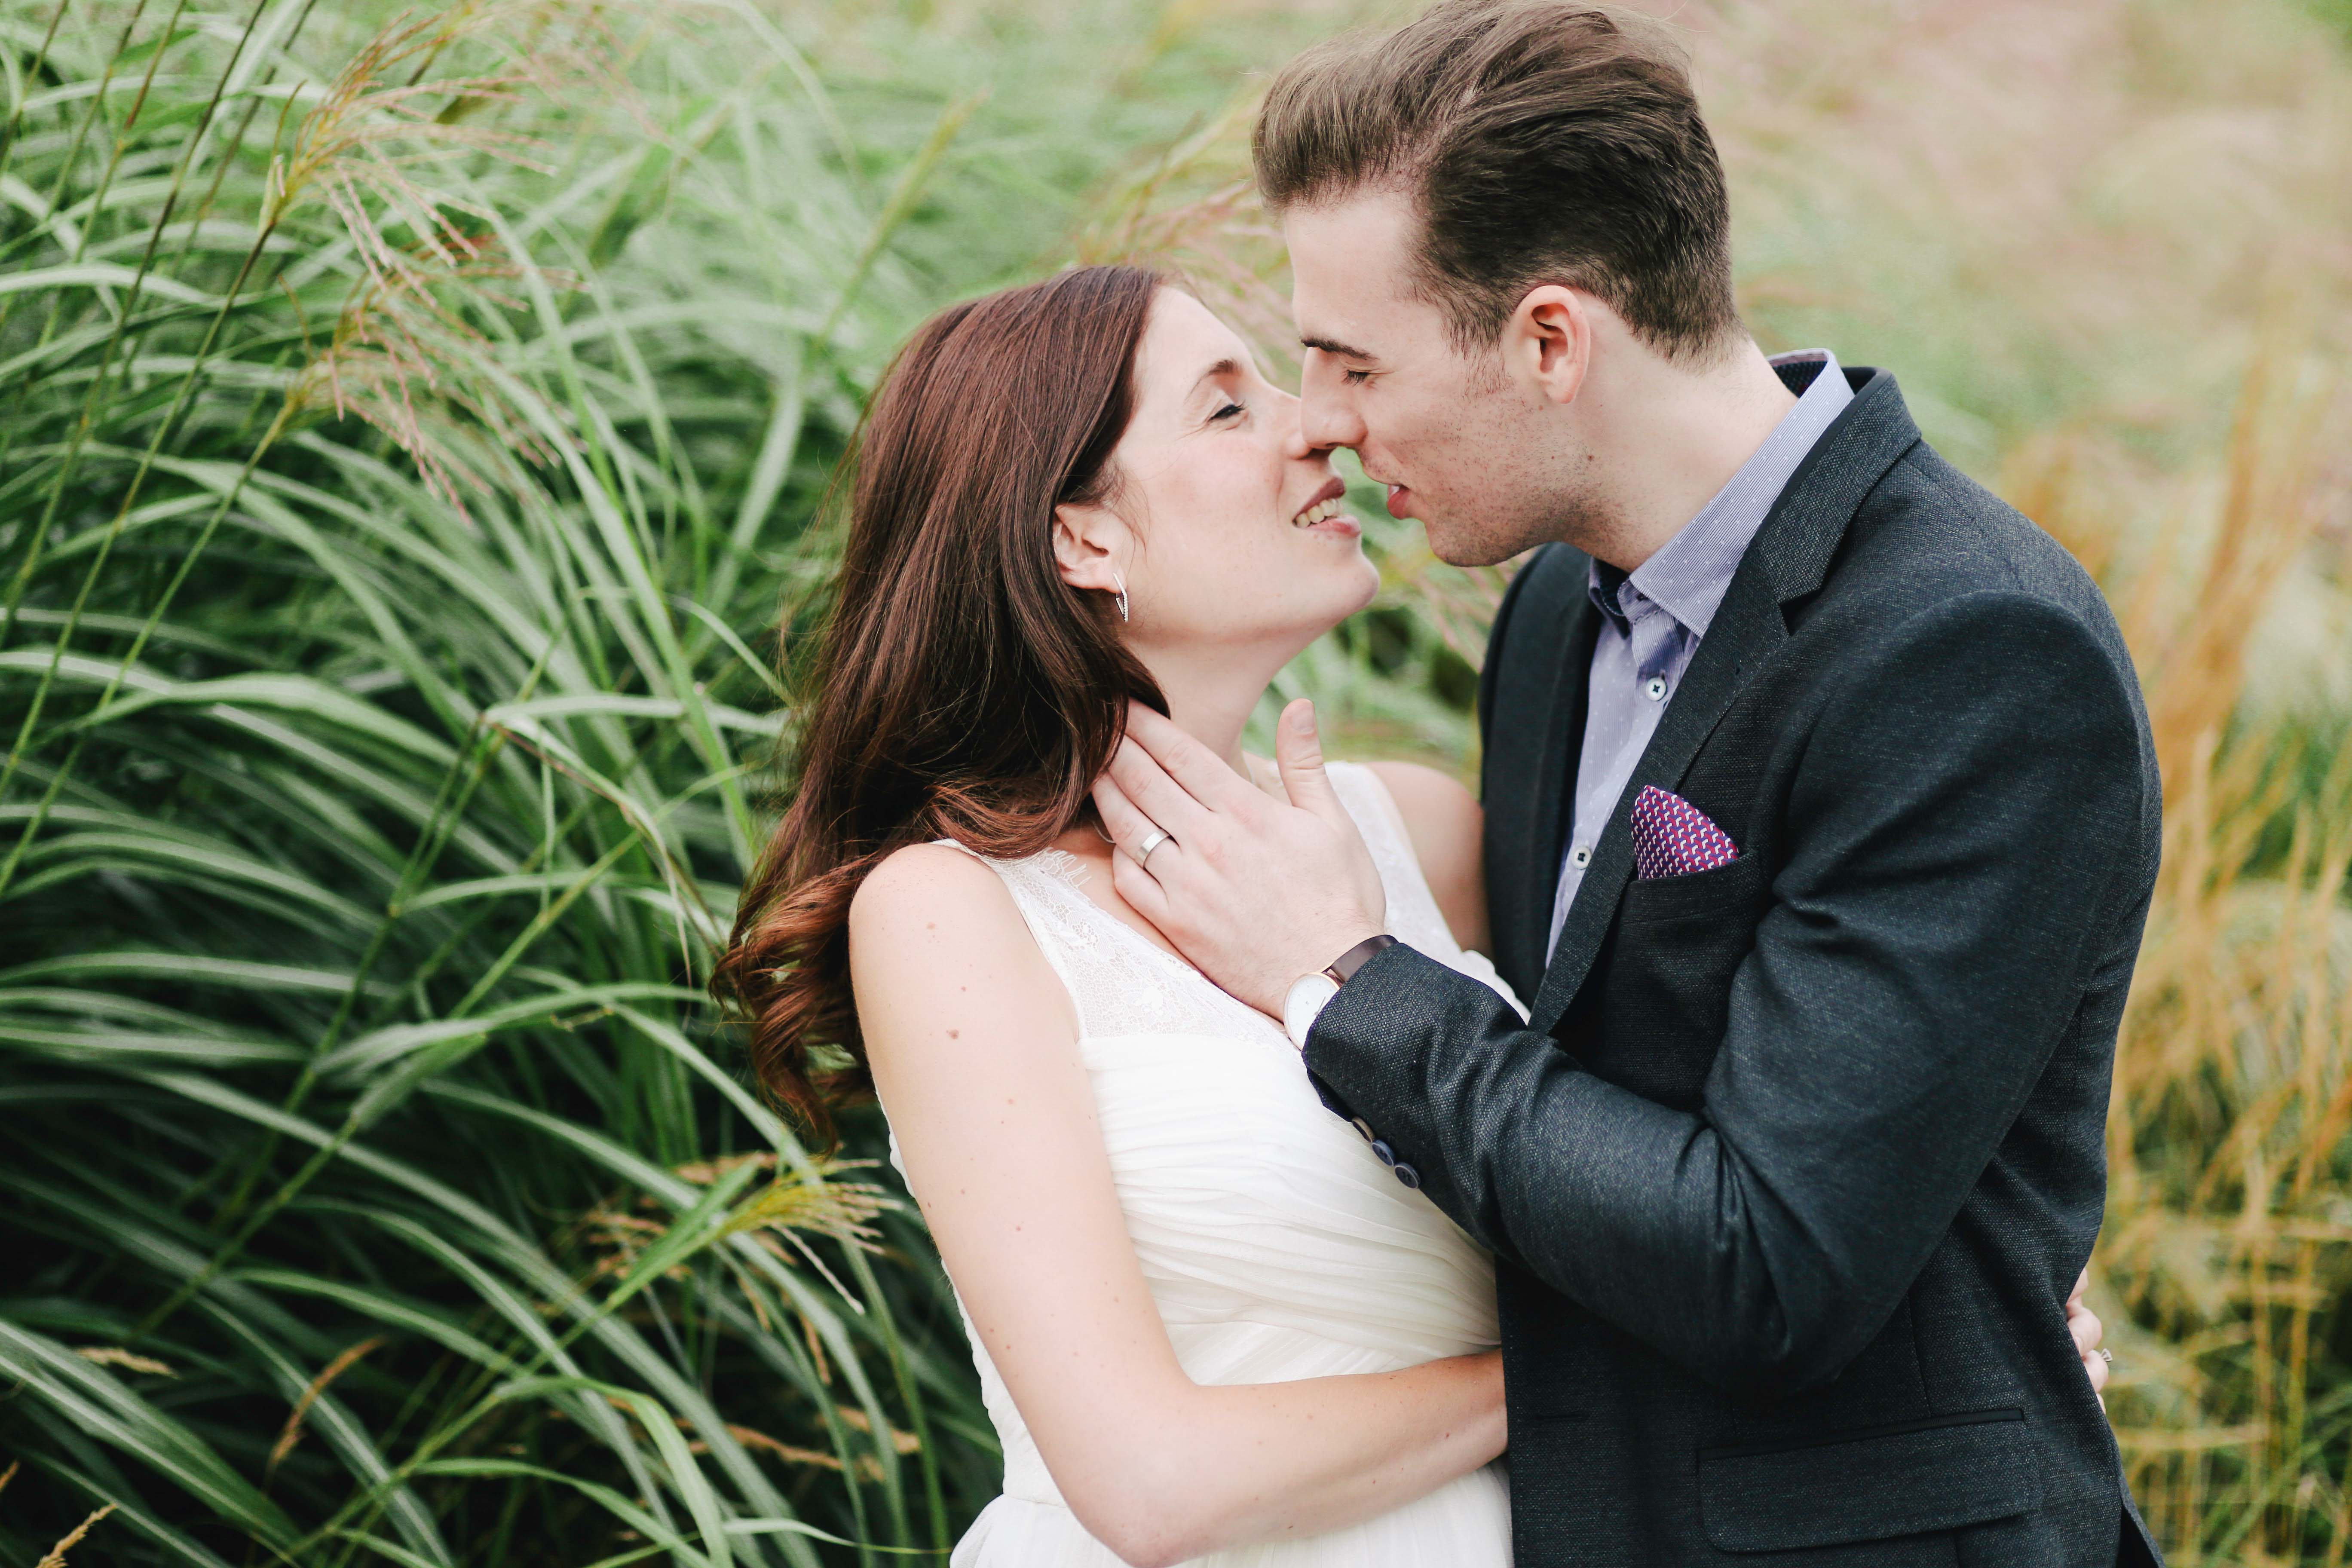
A longer lens is a staple of pre-wedding photography, as it produces beautiful images that not only complements your subject’s best features, but also create a beautiful background blur that helps keep the focus on them. Mid-range lenses like a 50mm lens can create distortion that makes the subject look plump and unflattering, so go for an 85mm or 200mm lens for pre-wedding shots (unless you want to have a landscape shot with the couple, and in that case, go for the short lenses).
Using a longer lens will also make the couple feel more relaxed, as you don’t have to stand too close to them to get the romantic closeup shots. For the couple, it’s hard to act naturally when there’s a camera right in front of their faces, so having it at a distance can help put them at ease.
2. Shoot in Burst Mode
Shooting in Burst Mode helps you catch any fleeting moments between the couple, scenes that are unexpected but can turn out amazingly because they’re natural and real. The beginning will always be the trickiest when the couple poses stiffly and awkwardly. But usually after the pose, they will loosen up and act naturally, and this is your golden opportunity to get some really good shots.
3. Set your shutter speed
When shooting in Burst Mode, be careful with motion blur. You can avoid this by setting your shutter speed manually, using your lens focal length as your guide. The longer the lens, the more you need to increase the shutter speed to avoid blur.
As a rule of thumb, your minimum shutter speed should be 1/focal length.
This works well for many photographers, given proper handheld technique and lens image stabiliser, but in case you still get a blurry image in this minimum shutter speed, the safe option is to increase it to 1/focal length*2 for optimum results. For example, if you use a 200mm lens, the minimum shutter speed should be 1/200, or 1/400 to be on the safe side.
Bear in mind that this works for the effective focal length, so if you use a cropped camera, you need to multiply the lens focal length by 1.6. You can read this article for more details about minimum shutter speed for handheld shooting.
4. Talk to the couple beforehand
Different couples have different ideas for their pre-wedding photos. Some couples want it to be simple and natural, while others opt for more glamorous, editorial shots. It’s important to discuss this before doing the session, so you can deliver exactly what the clients envision.
The best way is to meet them, but it’s not always possible, and in that case, phone or Skype call will do. Dig deeper into their stories, personalities, and important matters. How they met, what themes they have in mind, and if there are any remarkable moments in their relationship that can be incorporated into the session. Couples have usually formed ideas before they meet the photographer, but it always helps when the photographer can come with more creative ideas for the engagement session.
5. Scout the location(s)
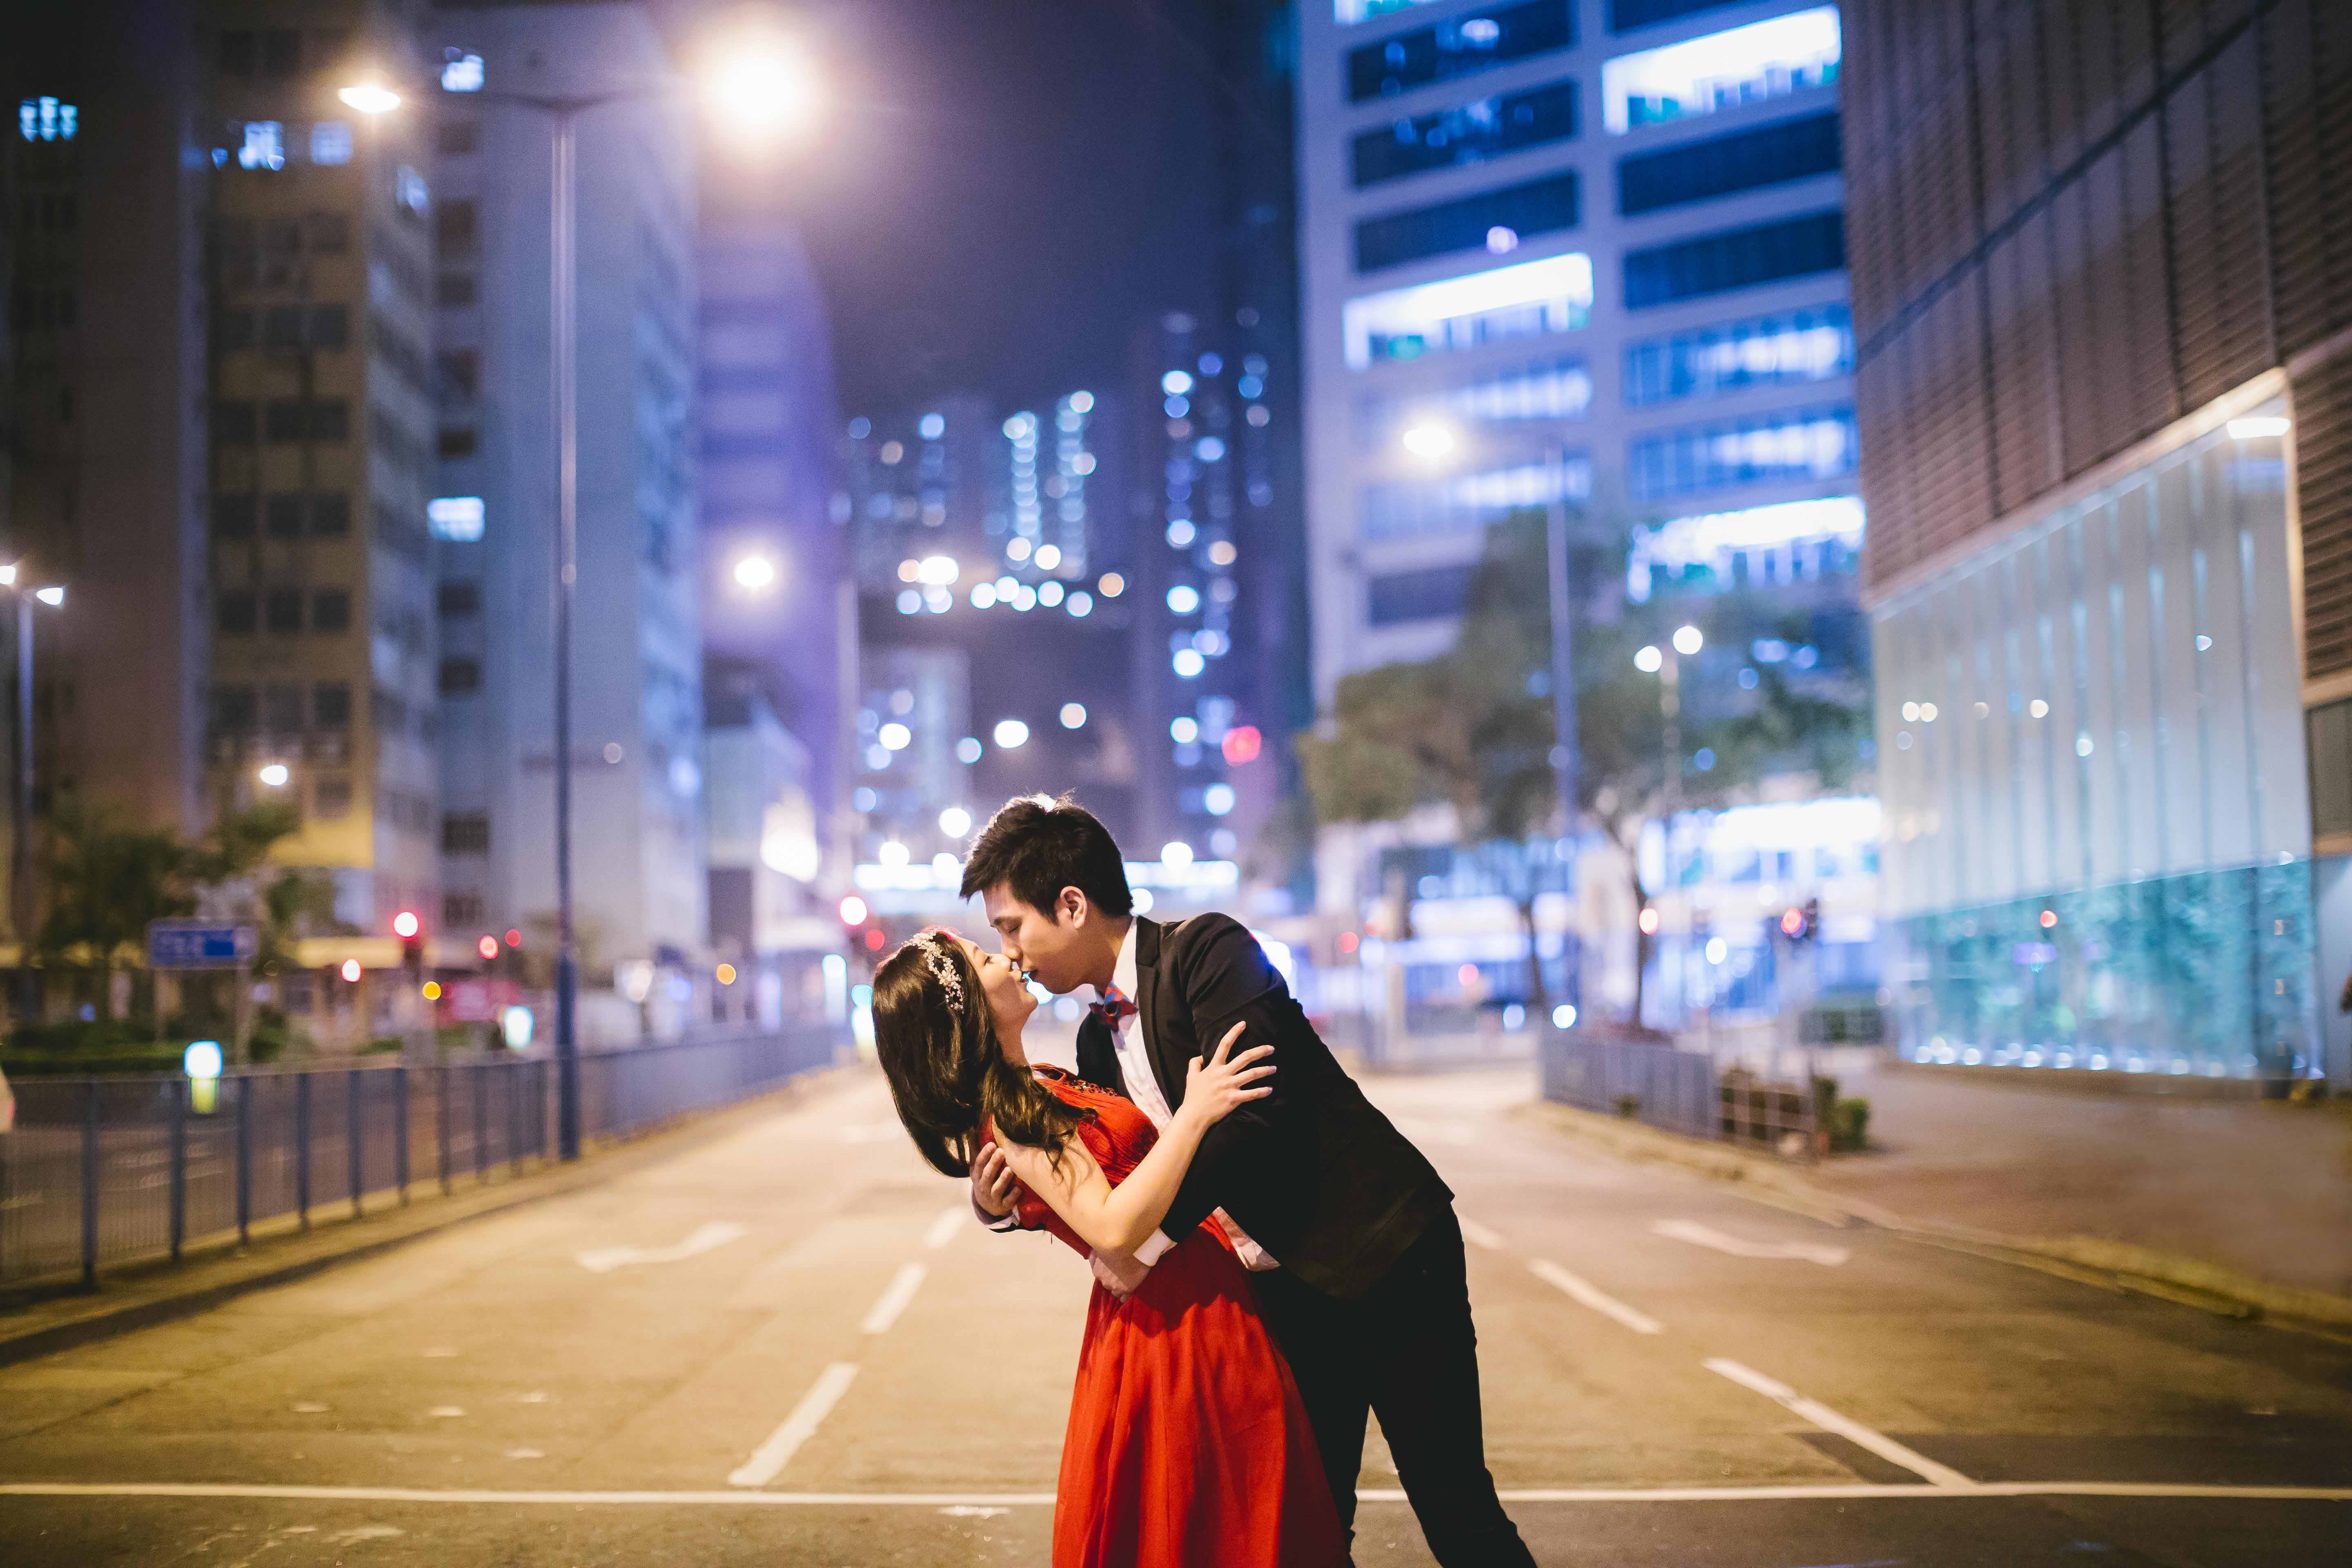
After meeting the couple and listing of their ideas, start scouting locations for your session. A park for a casual shoot, an old and ornate building for a vintage and dramatic look, or rooftop with the city landscape for a modern look are some of the ideas. The best way is to visit the locations, taking note of the lighting, the permission or fee if required, the crowd, and all the details.
Keep in mind your clients’ personalities when looking for locations. Shy clients would probably be awkward and uncomfortable being photographed in a crowded place with all eyes on them, so try to find a quieter alternative for them. Even if you don’t use all the locations you’ve scouted, keep a list of them for your future reference.
6. Know the flattering angles and use them
Most clients will be critical of how they look. Even with the most beautiful lighting and killer bokeh, if the clients don’t think they look good, they won’t use the images. Know the angles that compliment subjects’ features, and avoid angles that will make them look unflattering. Positioning the camera at eye level is the safest option. However, you can do more with different angles.
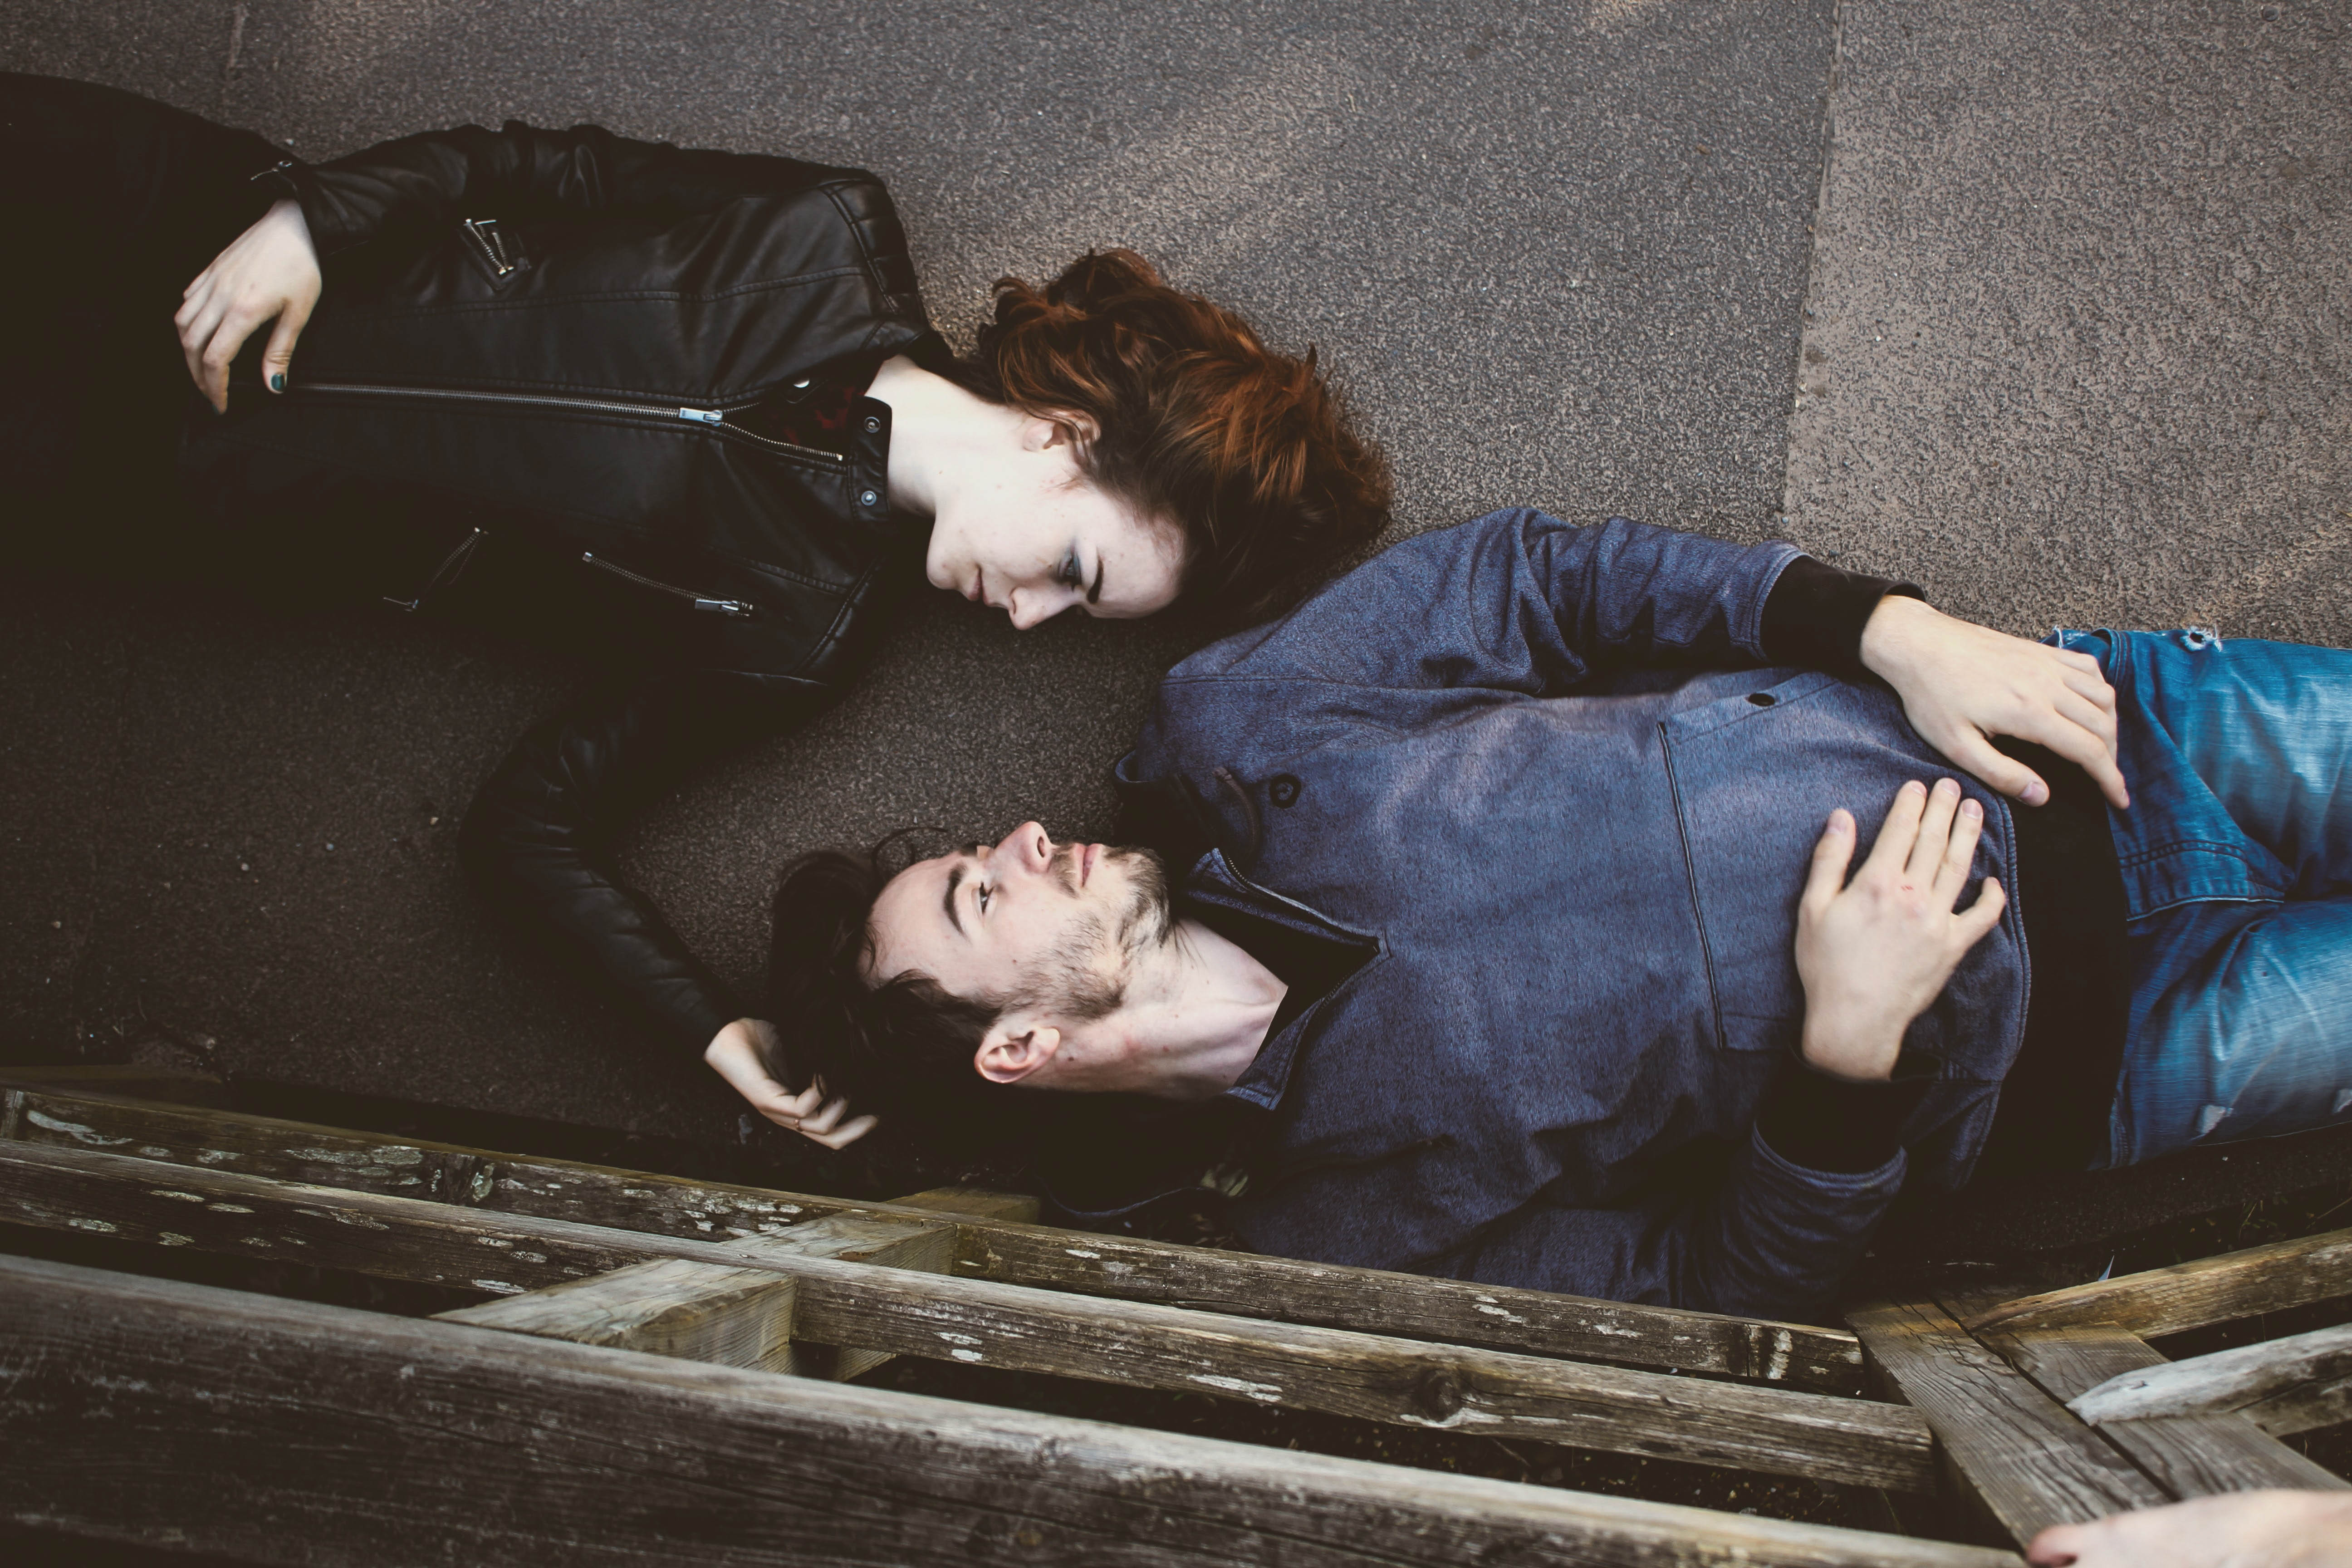
Positioning your camera slightly above the subject’s eye level will enhance their facial features and make them look flattering. On the other hand, the lower camera angle will make the subject look bigger and plump. Tilted angles generally work better for full-body shots, instead of the straight angle that puts the subject directly in front of the camera, as it will make the body parts (like an arm or a leg which) appear shorter. This pitfall, called foreshortening, is common to beginners, so make sure you don’t fall into this.
7. It’s not always about the face
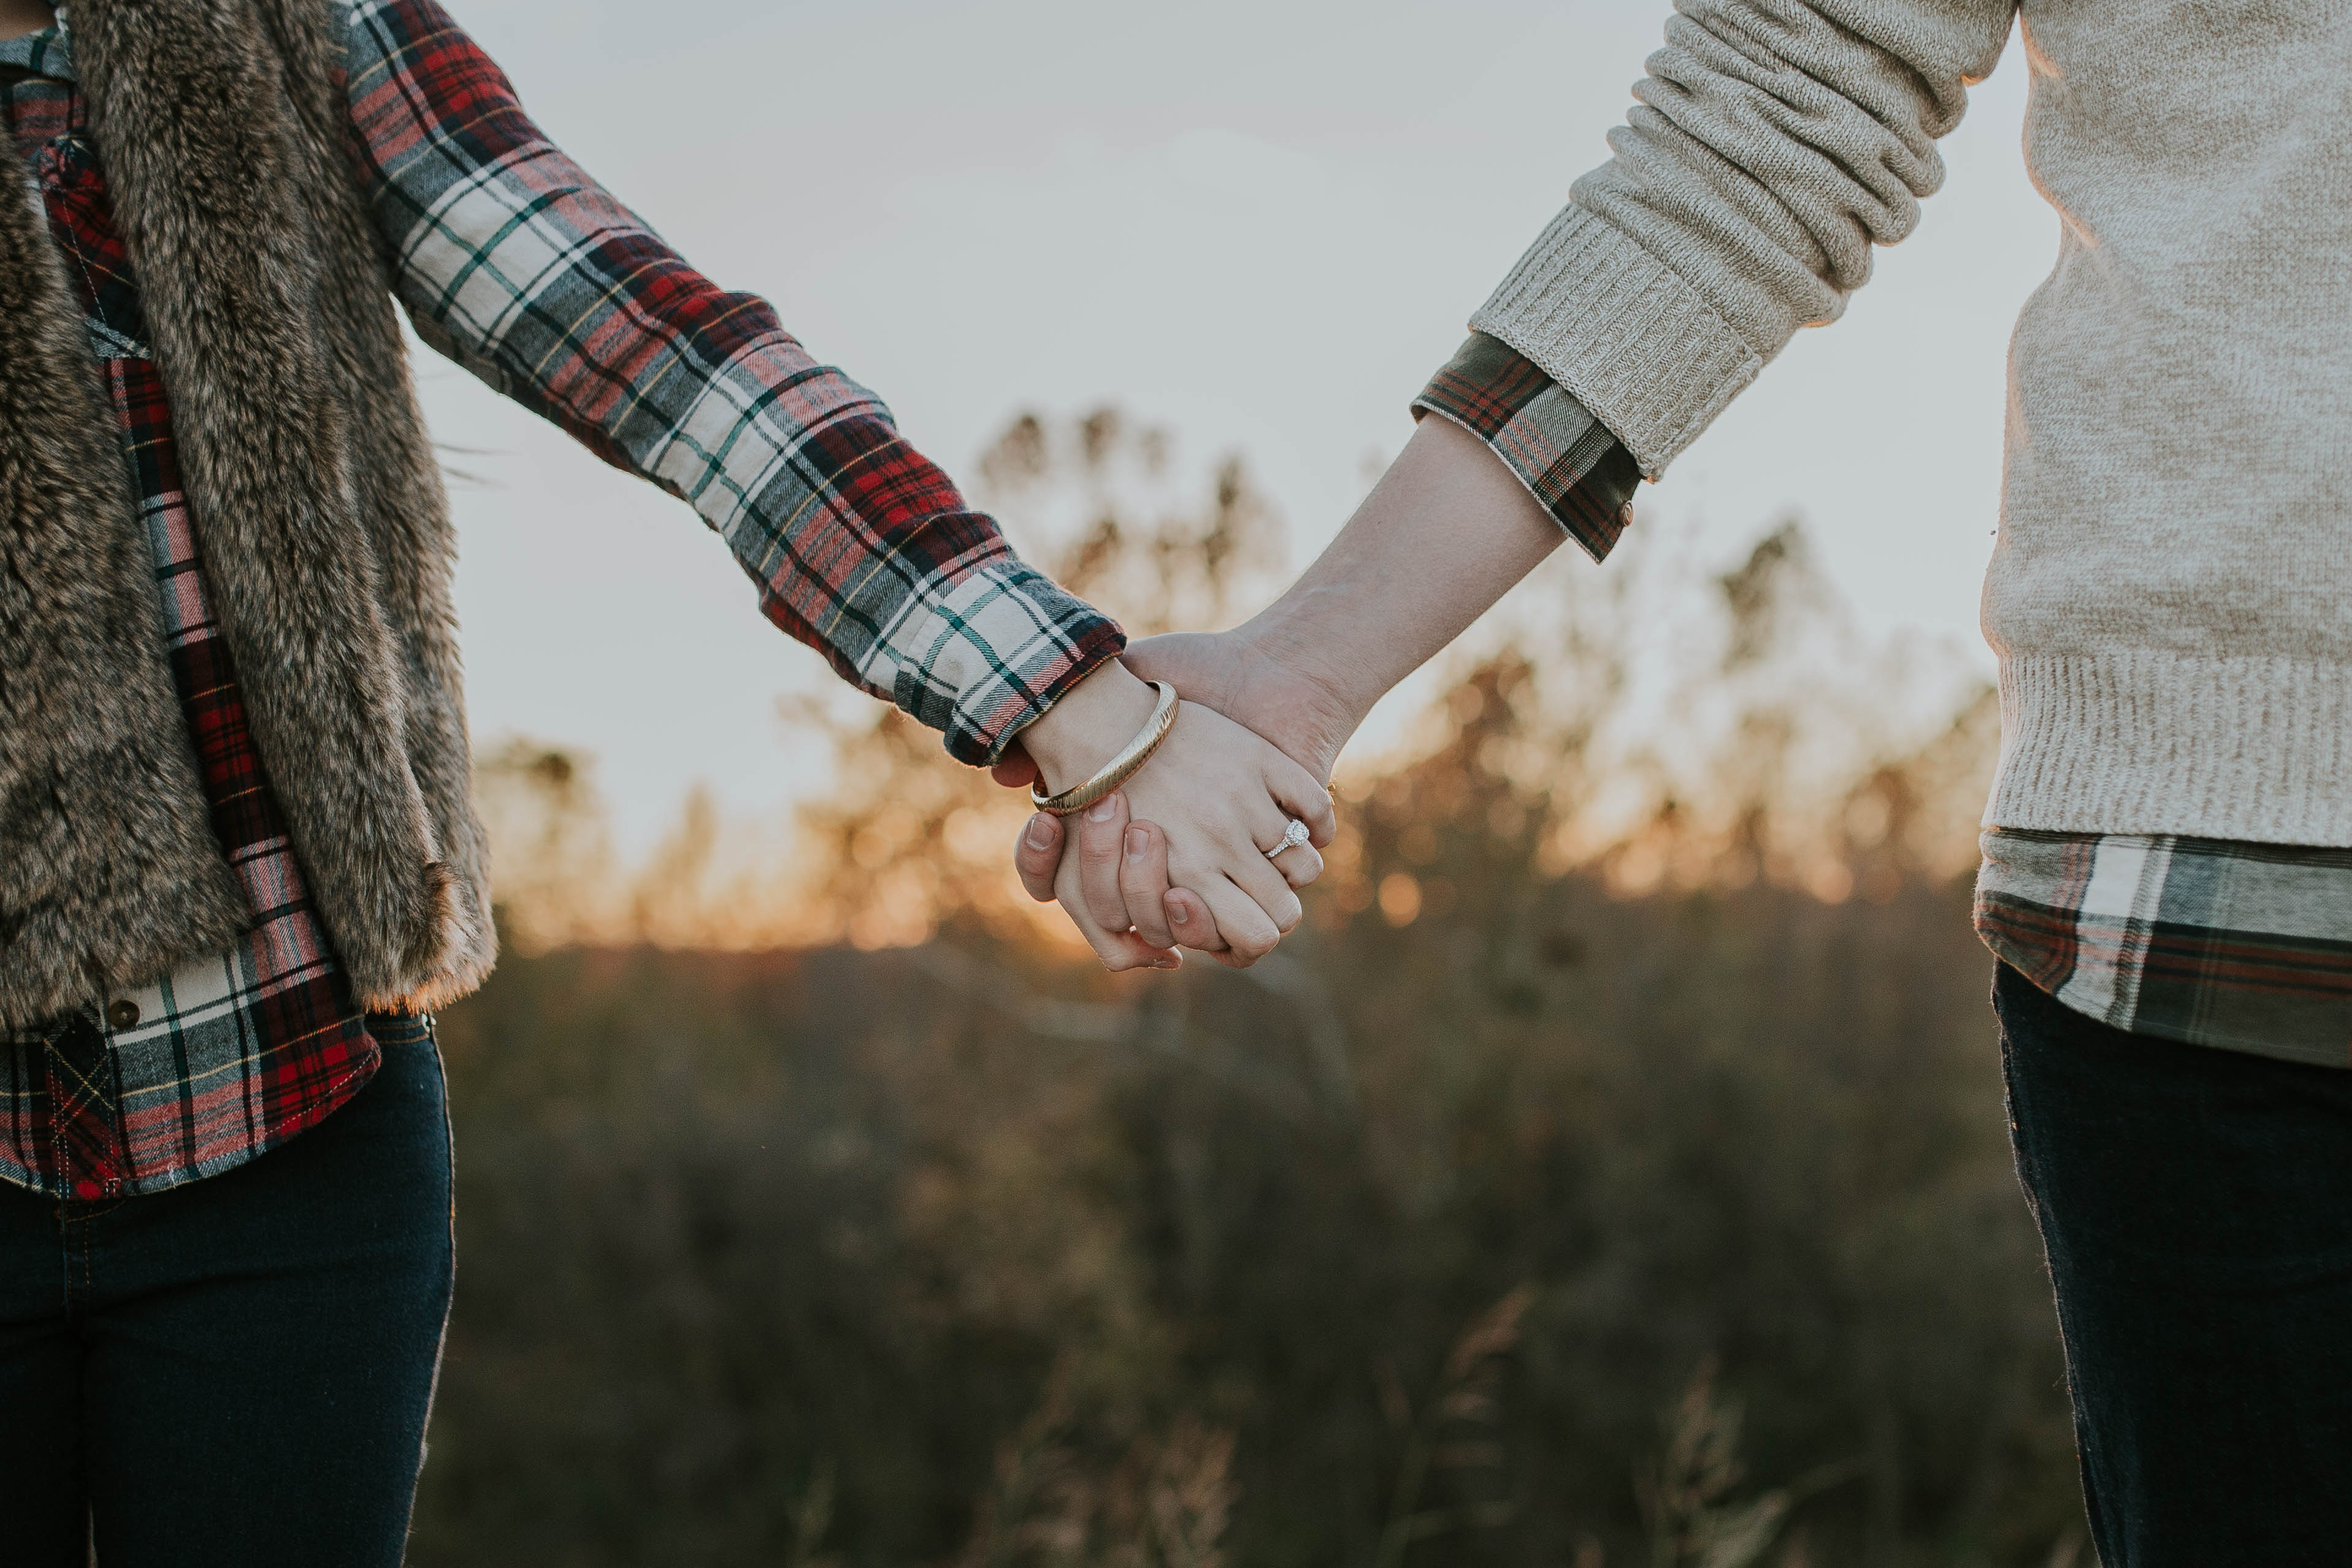
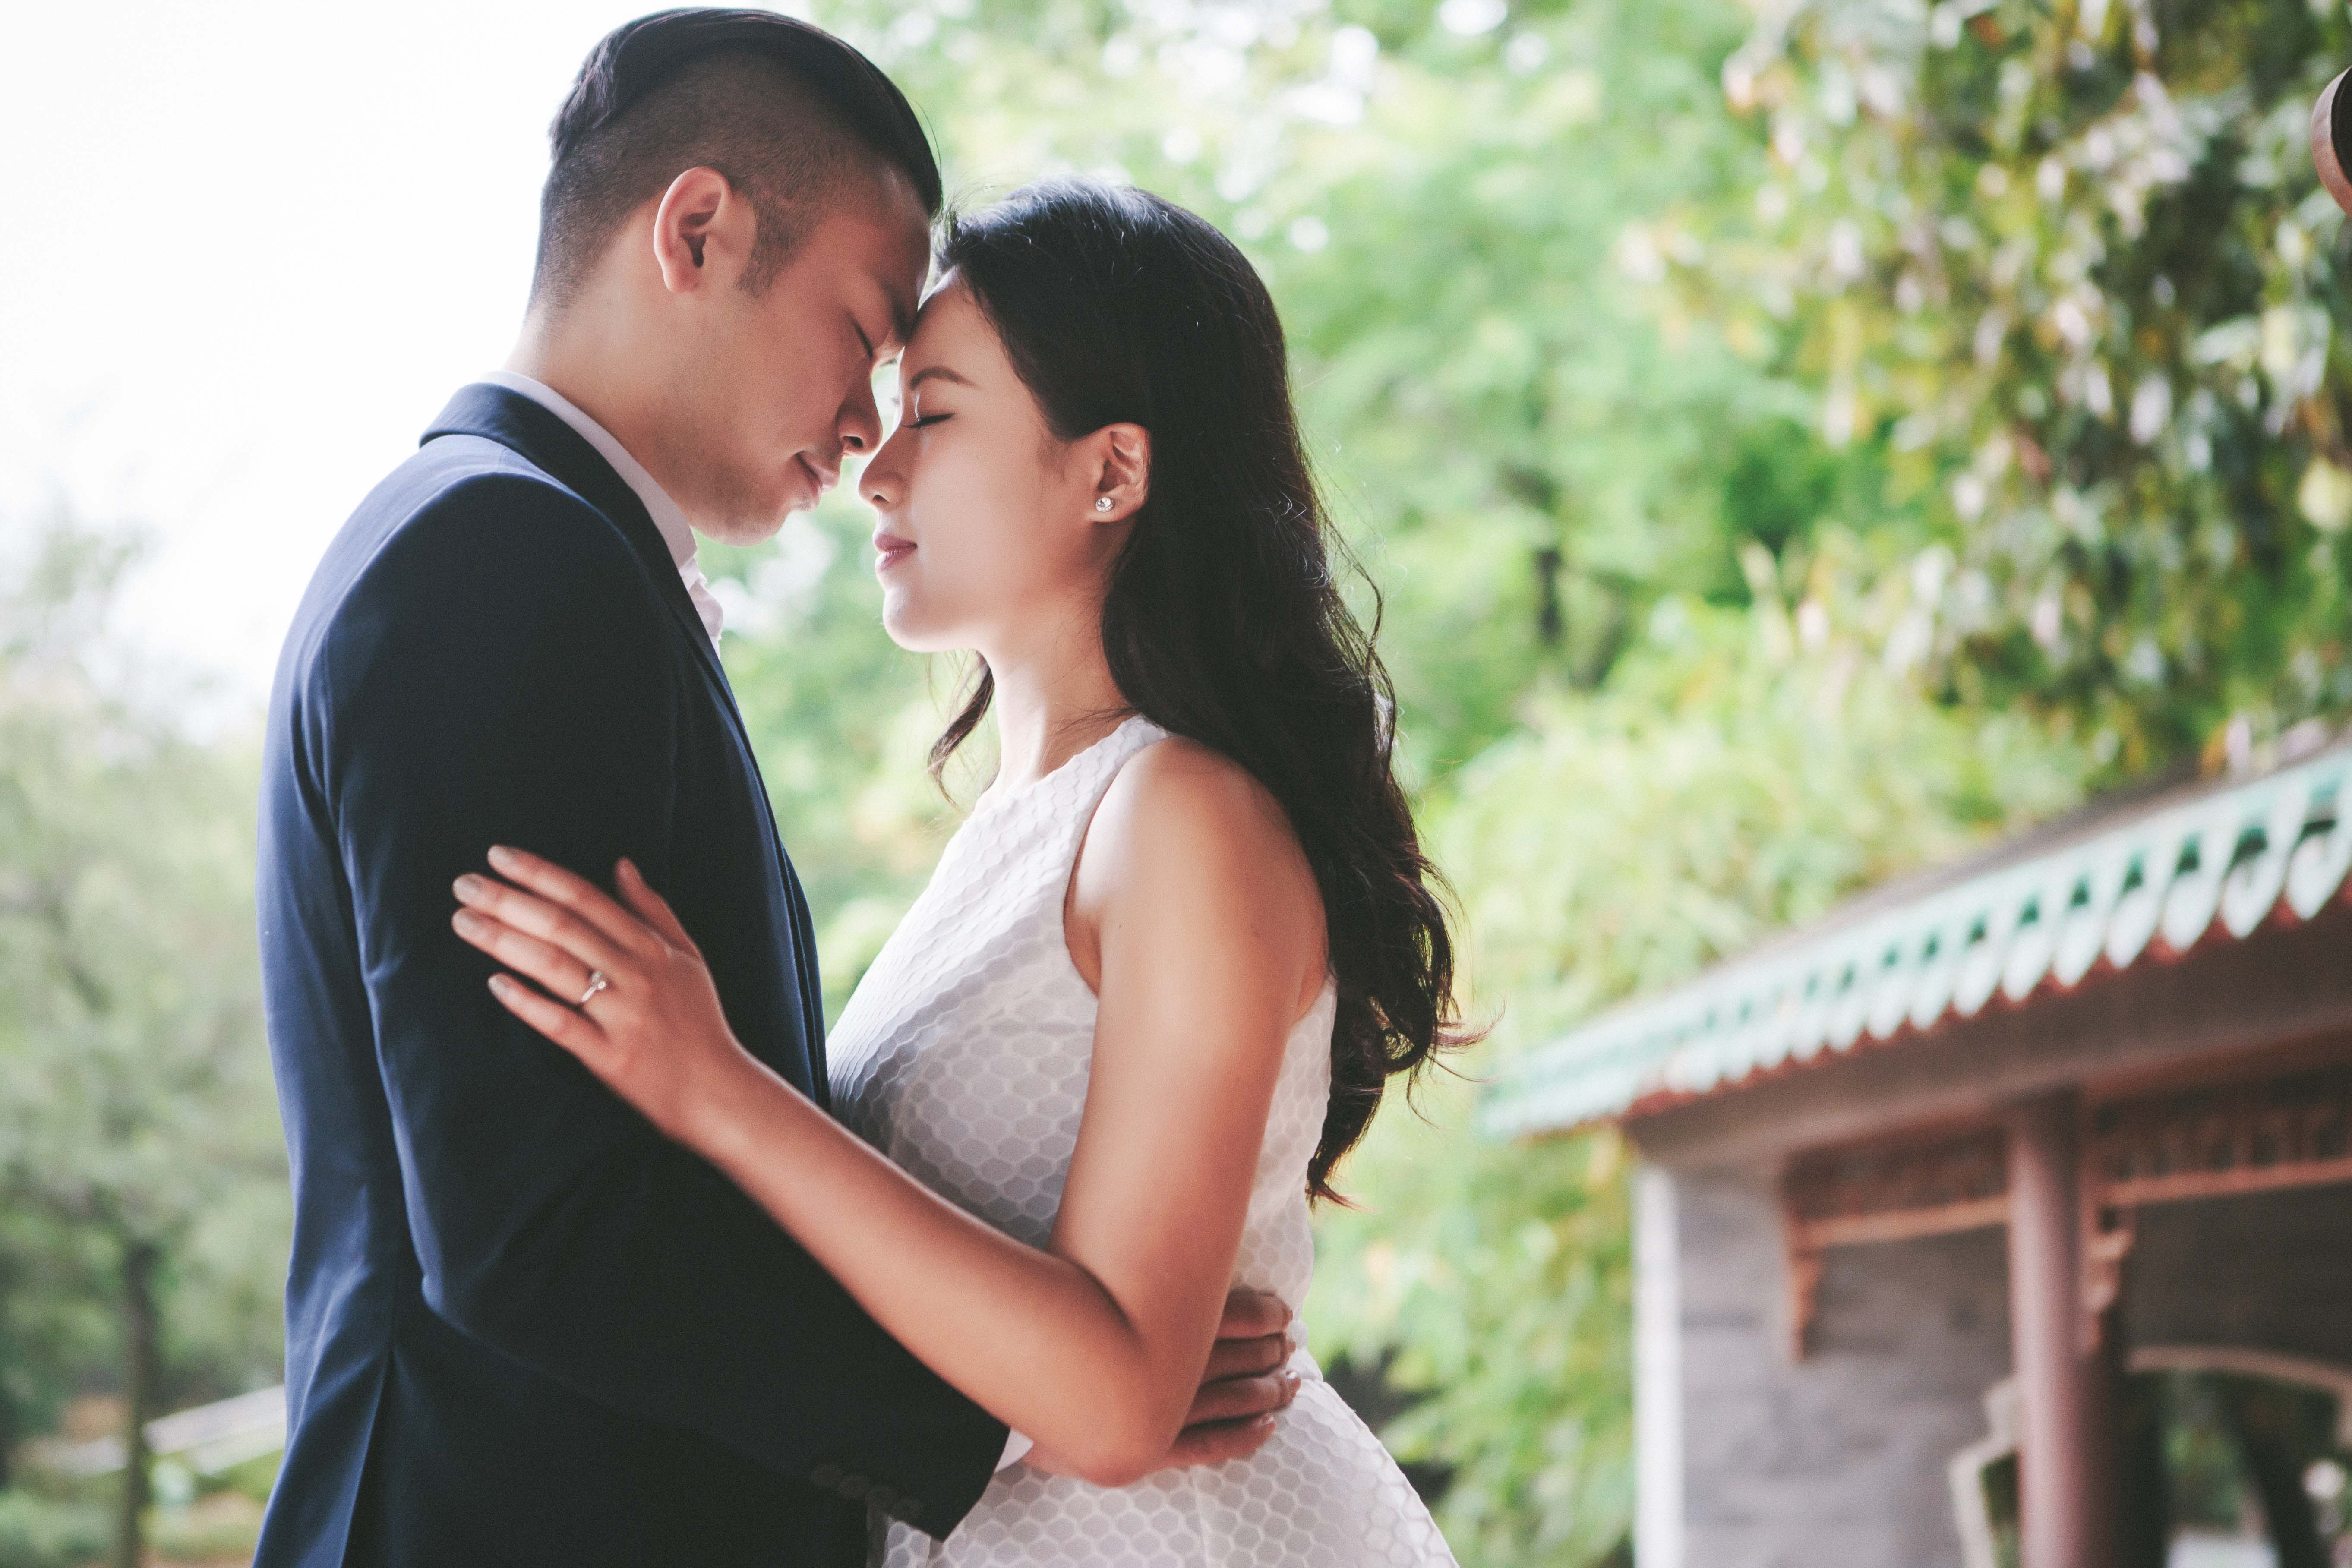
This might sound like a weird advice for a pre-wedding session, but after many shots of the couple, your gallery needs variations. You can add little details like the closeup of the engagement ring, the intertwined fingers, or their barefoot feet on the sand. The body language can say as much as facial expressions do. Having a gallery of couple images interspersed with these details can really transform it to another level.
8. Use backlight for dramatic shots
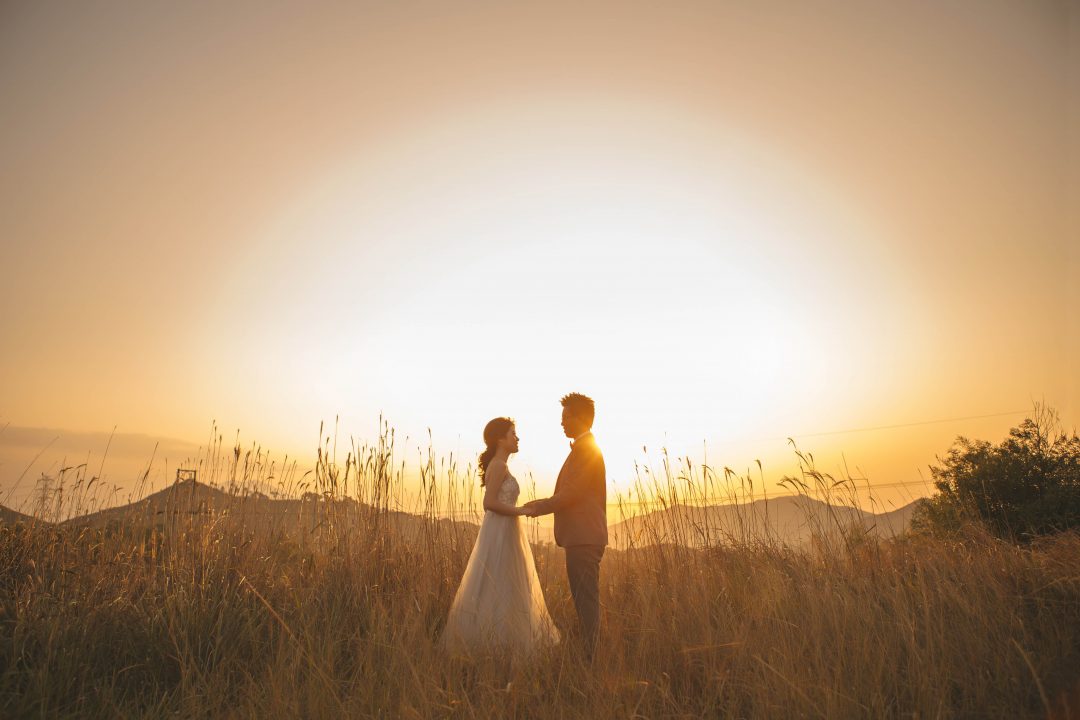
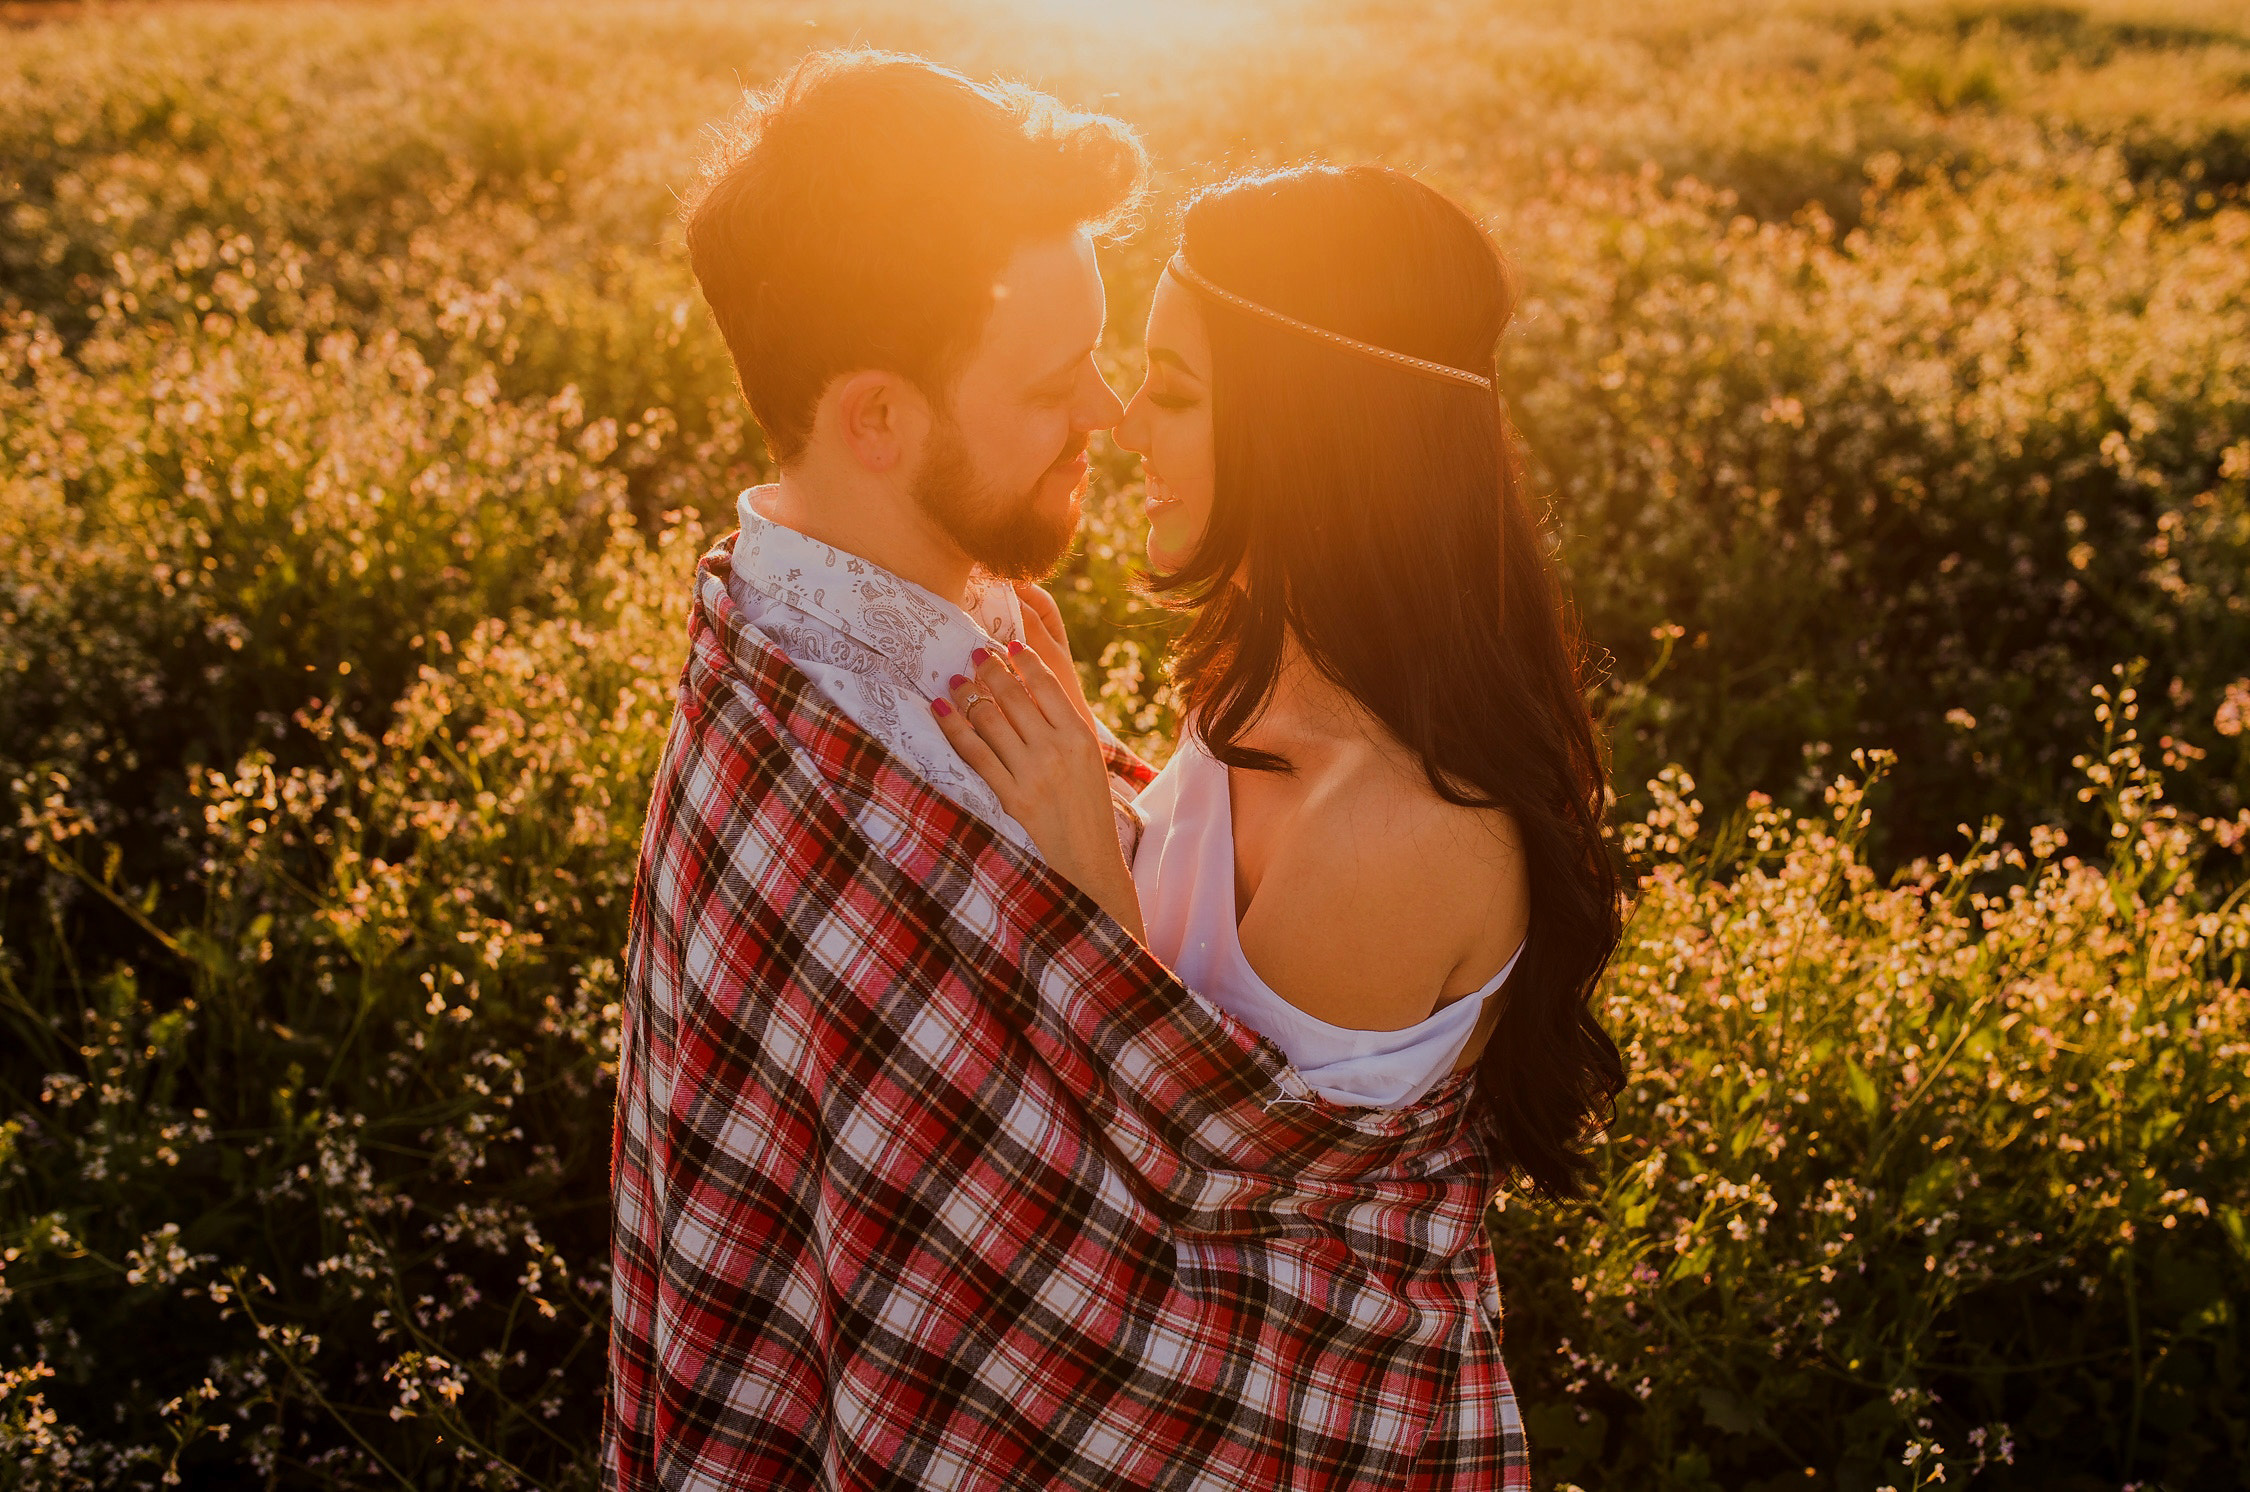
It needs a lot of practice to get it right, but once you’ve mastered using backlight for your shots, it will help a lot in creating a dramatic effect for your photos. Placing your subjects in front of the light source will create beautiful rim light that outlines your subjects, separating it from the background and thus bringing the focus to them.
Train your eyes to spot the light source (the sun or light bulbs, for example), but if you can’t find any, using an off-camera flash is an option that shouldn’t be overlooked. Which brings us to the next point…
9. Use off-camera flash when necessary
Using natural light is preferable for many photographers, but there are times when we need a little help, and this is when off-camera flash comes in handy. Your subjects can be underexposed when the natural light behind them is too strong, and in this case, use off-camera flash to add light to your subjects. On the other hand, when there’s no natural light when you want to create backlit photos, position your flash right behind the subjects to create gorgeous rim light.
The use of off-camera flash is not limited to creating backlit images. In the afternoon when the light is too bright, using the flash can help add light to your subject, enough to overpower the sun and underexpose the sky. The distance between the flash and the subject depends on the light intensity that you aim for. Holding the flash closer to the subject will put more light to them and underexpose the background, creating a more pronounced contrast between the subject and the background for a more dramatic look.
10. Tell their story through your photos
One thing that separates nice imagery and amazing imagery is a story. Many photographers can create good images, but it usually ends there without a meaningful story. What story can you tell through photographs? Plenty! You can show their journey as a couple, recreating their favourite moments, delving into their imaginations, or something as simple as capturing their mannerisms and little moments when they’re together.
Bring little props that support the story, or ask the couple to bring something that has a significance in their relationship.
11. Break the ice
Many people are not used to having a camera pointed at them for hours, and this discomfort could make them nervous and awkward, something that would be obvious in the photos. Ease the tension by chatting with them, or if you’re a joker at heart, crack some jokes to make them relax a bit. This is also why having a meeting beforehand comes in handy; as you’ve met the couple and chatted with them before, it will be easier for them to relax, as they will feel that they’ve got to know you a bit.
12. Pose the couple
Even the relaxed couples can feel self-conscious in front of a camera, and suddenly they don’t know what to do with their body parts.
‘What do I do with my hands?’
‘Where should I look?’
‘Does my smile look weird?’
Those are some of the thoughts clients usually have during a session. If your couple is not used to be in front of a camera, make it easy for them by directing them to pose, keeping in mind the poses that complement their features. Your clients are not professional models who know the poses that work well for them, so it’s much easier for you both if you can give clear directions.
If you’re a beginner, this posing guide is incredibly helpful. Learn the poses and try that with your clients.
13. Balance the posed and candid shots
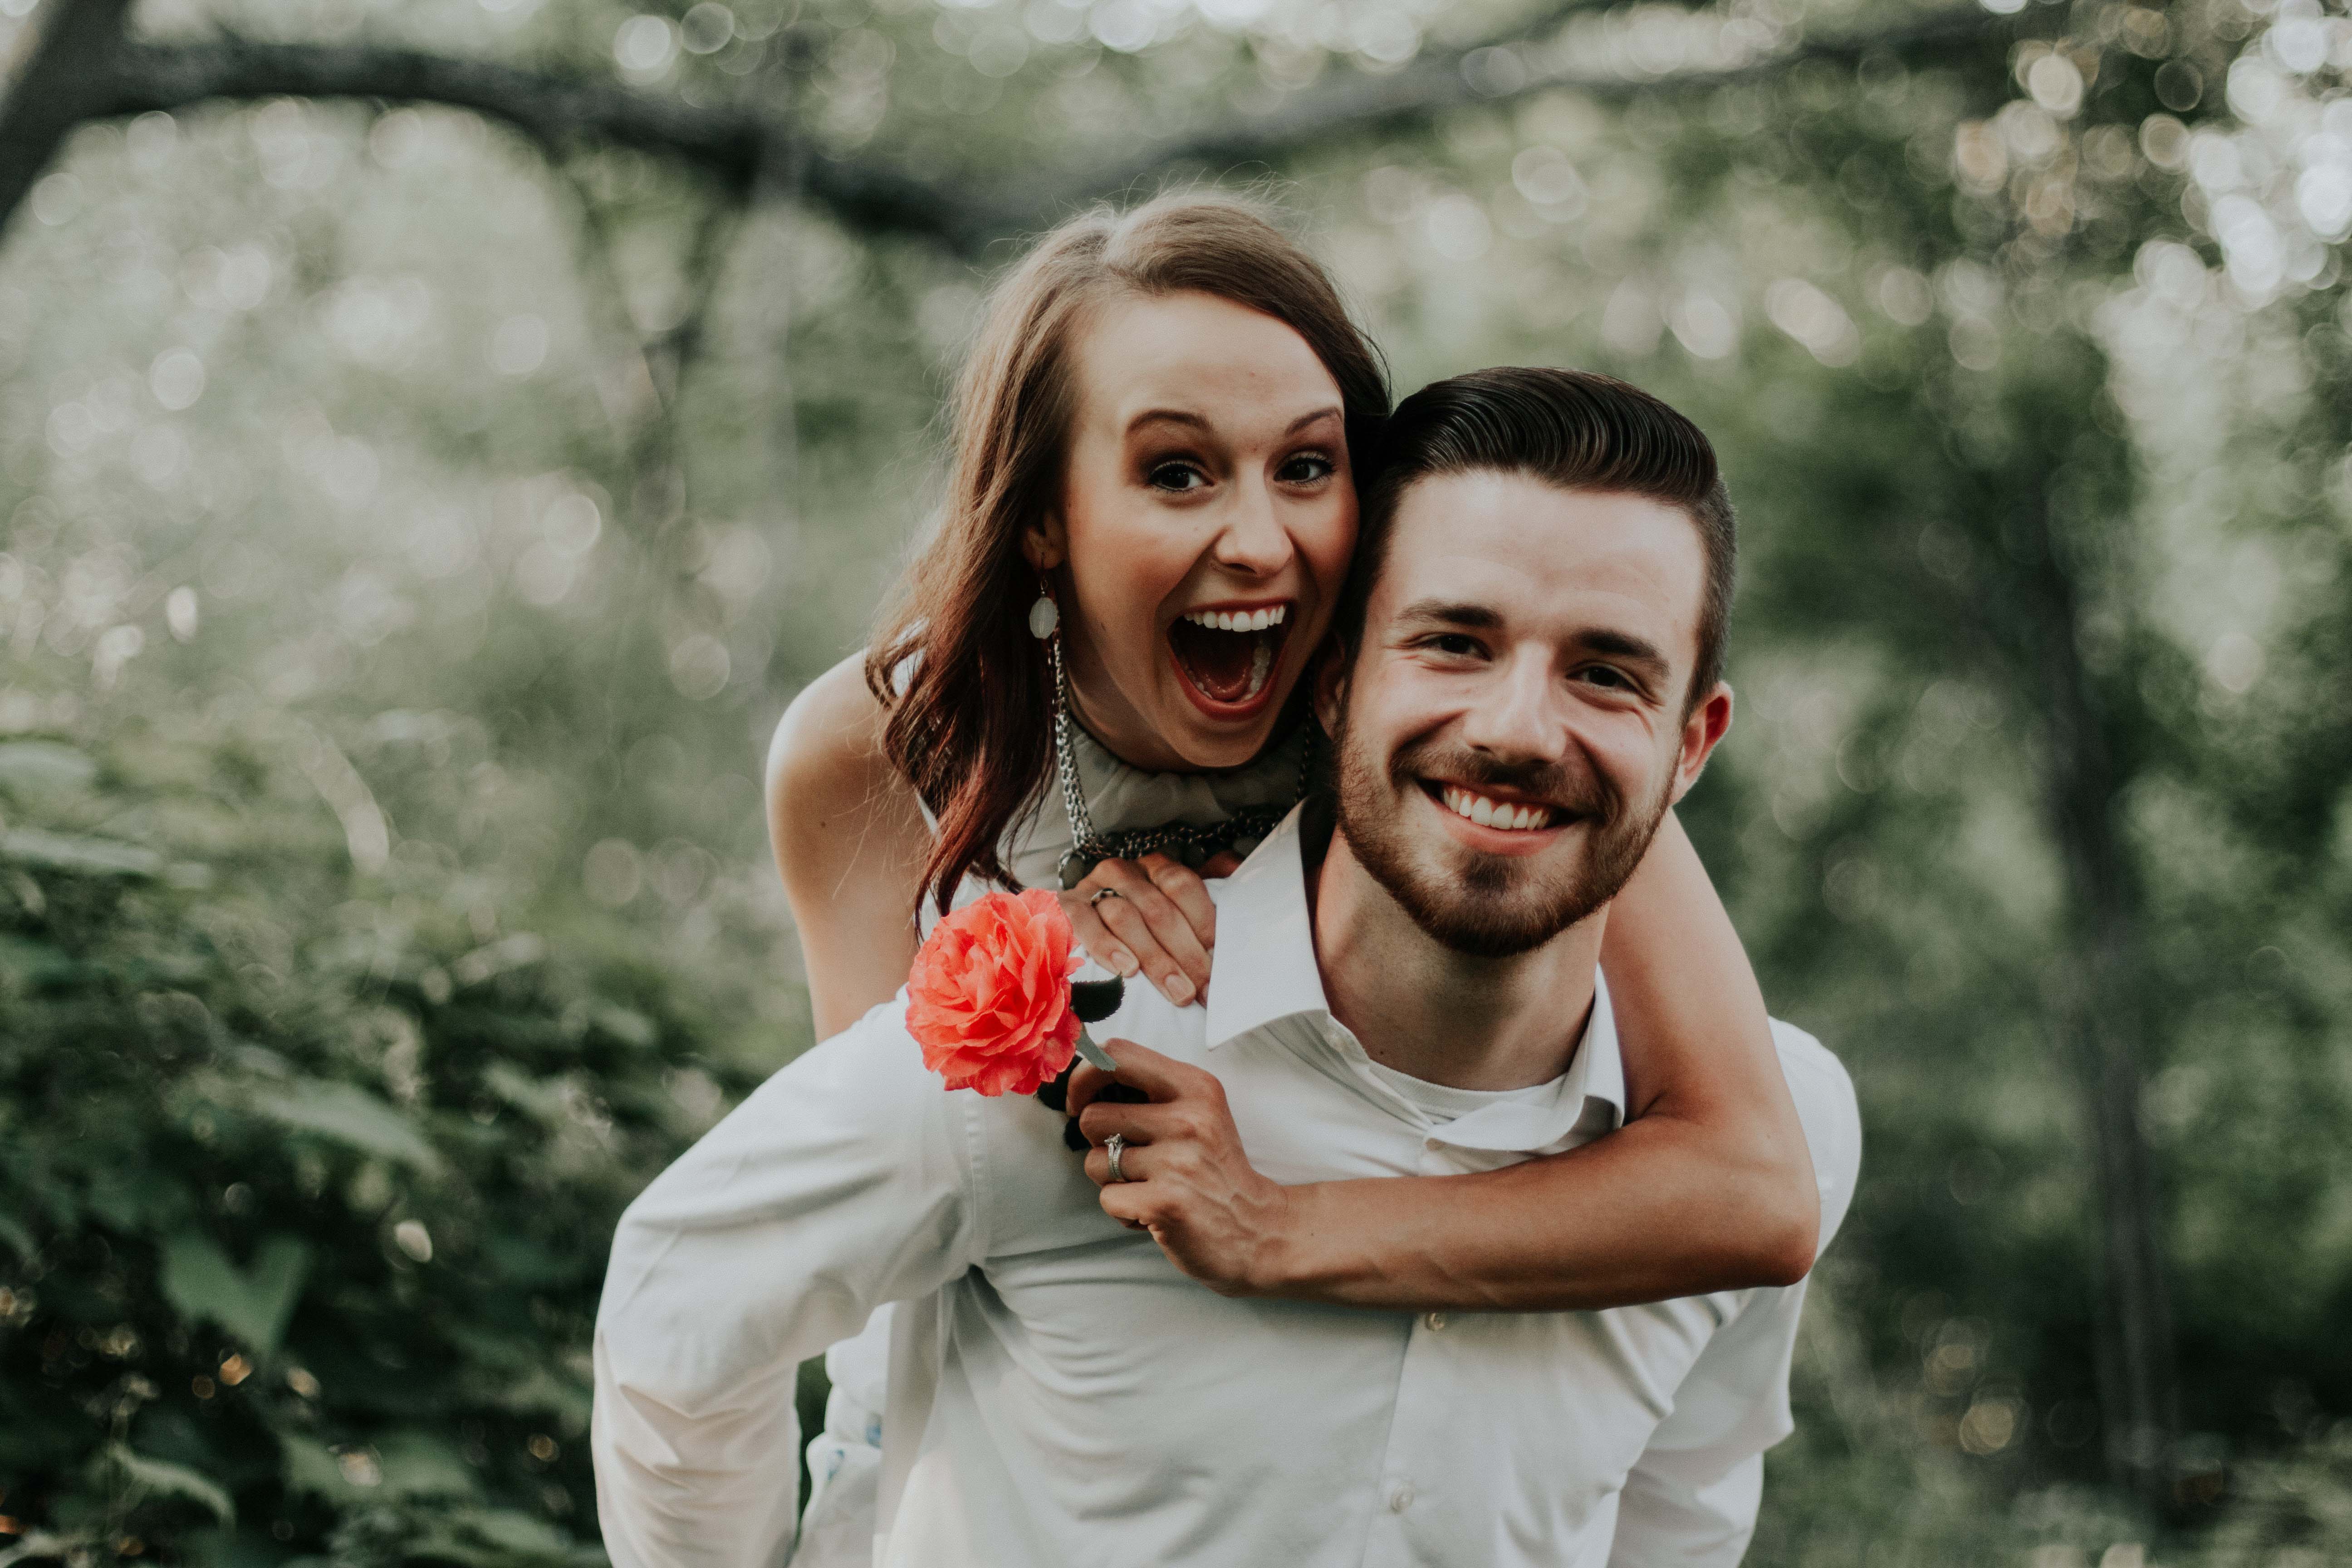
Posed images are necessary and good, but candid shots are gold. Usually, it’s the time when the couple is not aware of the camera that they’re able to let loose, so be mindful at all times and keep your finger on the shutter button, as you never know when the right moments come. The results, in the end, should have a balance between the elegantly posed images and natural, candid shots.
14. Let the clients chimp
Chimping is the funny term in photography that means looking at the images on the camera LCD. While chimping is not recommended in fast-paced events like weddings, the opposite is true for pre-wedding sessions. Show your clients some of the good shots, as this will boost their confidence and excitement for the results. Many clients find it hard to wait patiently for the finished images, so a little peek of some shots will be much appreciated!
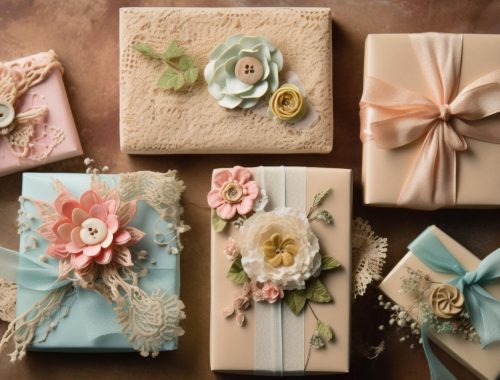
15. Beautiful packaging and prints do wonders
If you plan the edited images only as digital files, think again. Prints (or a photobook) is a little addition that will capture your client’s heart. Seeing the images on a computer feels so different than holding the prints and flicking through the memories. For the clients, it feels more personal and intimate, and this can add to the positive experience they have with you.
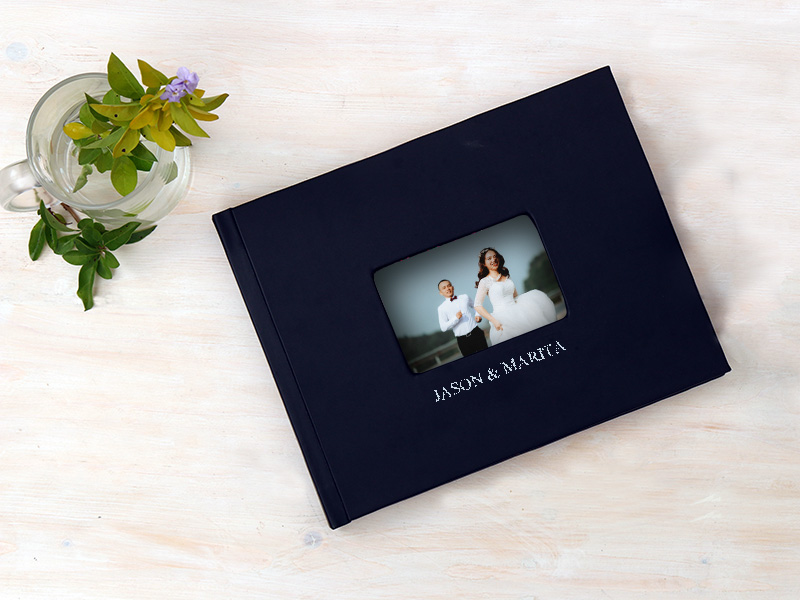
And on that note, don’t underestimate the power of good packaging. The anticipation and excitement when opening the package are similar to opening a beautifully wrapped gift, so make sure you deliver your work in simple, beautiful packaging. Happy clients = a good marketing!
Not only for the clients, printing your photos is also useful for you. Saturation, white balance, and contrast can look significantly different in digital and printed photos. Seeing your work in print can help you improve your editing skills, as you know what to adjust.
If you’re looking for a high-quality print for your work, Photojaanic offers a Pro Plan service designed for professional photographers, where you can get premium, handcrafted products with your own branding. Check out the photo album for more info.
Do you have other pre-wedding photography tips? Let us know in the comments below!




Be the first one to comment